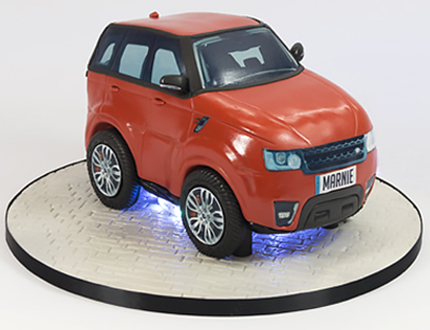
Tutorial Preview
Highlights
Here we have carefully selected the key parts from the entire tutorial and condensed it into on 12 min long video. More than enough to get you started!
1. The design
In the first lesson, Paul discusses his design idea and explains how he will create the wooden template for the cake to sit on. There are many various images of range rovers available online so it’s just a case of selecting the ones you like and re-sizing them using packages such as Word or Photoshop for printing. Paul uses a jig saw cutter to cut out the template, although you could ask your local DIY shop to do this for you or watch a tutorial on how to use a jig saw cutter if you want to give it a whirl.
2. Making the stand
Next Paul shows us how to assemble to stand for the cake to sit on. Now that the wood has been cut out it’s simply a case of drilling the holes for the dowels, then securing them with some hot glue. To keep things food safe, Paul attaches cake card to the top for the cake to sit on.
3. Preparing the cake
Paul has second thoughts about the size of the car, and uses creative licence to stretch the image a little to make the car taller. This makes the car look a bit more like the Range Rover we imagine, plus gives us more cake to eat… always a good thing. Off camera Paul ganaches all the sections together in preparation for carving.
4. Carving and ganaching the cake
Paul uses all the printouts of the Range Rover by pinning them to the cake, and then carves around them to get as accurate a shape as possible. Pay attention to all the little curves and angles. Once the cake is carved, ganache the entire cake and smooth it down with a small wet palette knife, followed by a large pastry brush to get it nice and smooth. Pop it in the fridge for a few minutes and then it’s time to add some detail.
5. Adding detail to the body pt 1
In this lesson Paul demonstrates how to build up the shape of the bumpers and the bottom of the car using modelling chocolate and a little ganache.
6. Adding detail to the body pt 2
Here Paul goes on to build the wheel arches again using modelling chocolate and ganache. Paul uses circle cutters as references for the arch and wheel size, and indents the cake with them as well as cutting the modelling chocolate. Once he has made them and bevelled them with his small rolling pin, he attaches them with water and uses ganache to get rid of the joins.
7. Covering the cake
In this lesson Paul covers the cake with red sugarpaste and works it around the arches with his hands and then cuts away the excess. He then goes on to smooth it with acetate smoothers to fine tune the shape.
8. Adding the details
Paul studies pictures of the Range Rover and uses his printouts pinned to the cake to map out where he needs to cut sugarpaste away. He focuses on the front of the car, including the grill and the lights.
9. Adding the windows
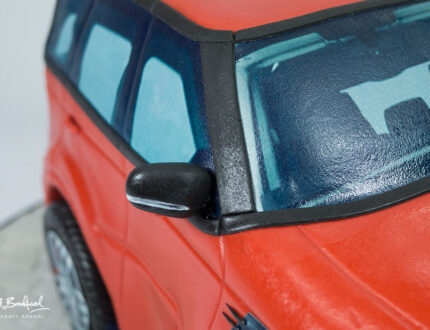
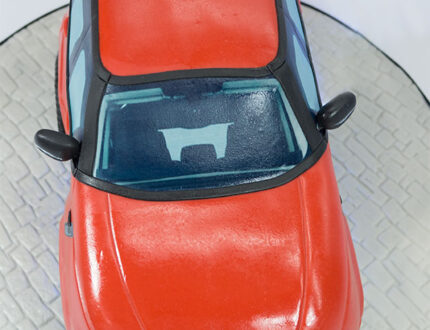
Paul uses an edible printer to print off images of car windows to get a super realistic look. You could use grey sugarpaste and add light streaks with some white, but it’s difficult to do it without it feeling a little too much like a novelty cake. Using real images adds a touch of class. All the images are available for download and you can either purchase an edible printer or use an online company to do it for you. It’s a good idea to use medical gloves when handling the edible paper, as you can easily smudge the ink.
10. Adding detail around the windows
In this lesson Paul focuses on the casing around the windows using a ribbon cutter to cut out thin strips of black sugarpaste. He then uses some edible glue to attach them around the windows and carefully cuts them on the corners, allowing them to attach as one long piece.
11. Adding detail to the body
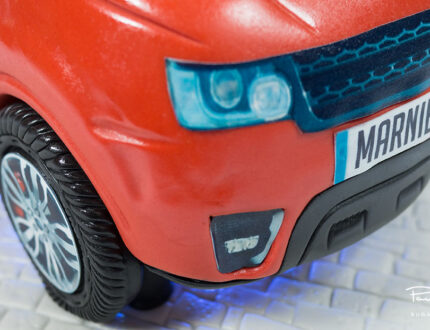
Here Paul focuses on adding detail to the body by adding defining lines and indentations, as well as the handles and wing mirrors. He then goes on to attach the headlights and fog lights, again using edible printouts to keep continuity.
12. Adding detail to front and back
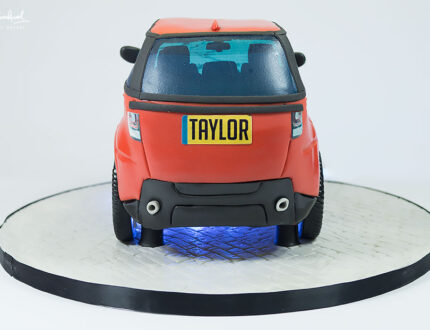
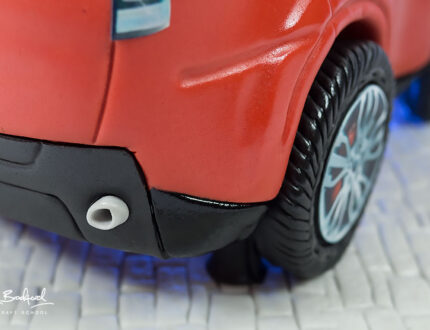
In this lesson Paul adds more detail to the front and back of the cake, with printed registration plates and some more lights. He also studies pictures of Range Rovers and copies all the lines and definitions using modelling tools.
13. Making the tyres
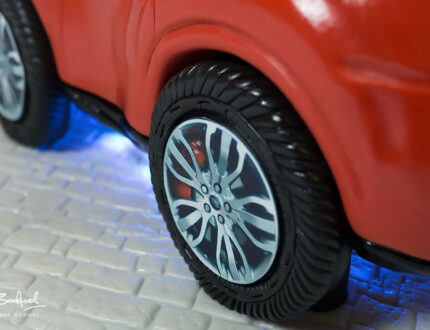
Next Paul shows us how to make the tyres using some white modelling chocolate, black sugarpaste and the printouts of the alloys. The modelling chocolate tends to be stronger than sugarpaste.
14. Finishing touches
We’re finally here! All that needs done now is to cover the board, add some ribbon and give everything a little spray with some edible glaze. Paul covers the board with grey sugarpaste and uses an old brick effect textured mat and then adds some nice black ribbon which works great with the grey.
15. Other ideas
Here Raewyn shares some other ideas you can try your hand at when making this cake. We’re sure you have some of your own great ideas and we’d love to see what you come up with.
Please share your pics with us on our Facebook page.
16. Pro lesson
In this lesson, Paul shares some insider information about the cost to make this cake, as well as pricing, portions and other vital information for any professional cake designer.
The Range Rover Story
The Ranger Rover is a symbol of luxury and off-road prowess. It is a car that is as capable on the pavement as it is on the trails. With its powerful engines, advanced suspension, and luxurious interior, the Range Rover is a true all-around vehicle.
The Range Rover is powered by a variety of engines, including a supercharged V8 that produces 557 horsepower. This engine gives the Range Rover blistering acceleration and a top speed of 155 miles per hour. The Range Rover also features a sophisticated suspension system that allows it to handle rough terrain with ease.
The interior of the Range Rover is a sanctuary of luxury. It features premium leather seats, a panoramic sunroof, and a state-of-the-art infotainment system. The Range Rover is also equipped with a variety of safety features, including blind-spot monitoring, lane departure warning, and automatic emergency braking.
If you are looking for a car that is both luxurious and capable, the Range Rover is the perfect choice. It is a car that will turn heads wherever you go.
Don’t forget to share your interpretations of this wonderful cake with Paul and the rest of the CakeFlix Family on our Facebook group.
View hundreds of more world-class tutorials only at www.cakeflix.com.
