Tutorial Preview
Highlights
Here we have carefully selected the key parts from the entire tutorial and condensed it into an 10 min long video. More than enough to get you started without taking too much time.
1. The Design
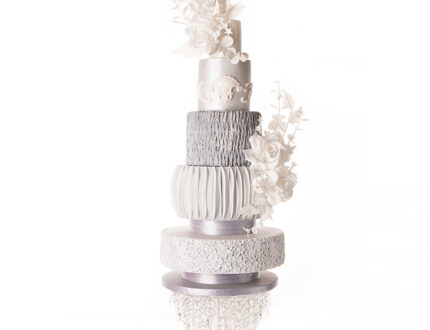
Paul takes us through his thought process for the design, and shows us all the lovely moulds he’ll be using along the way.
2. Starting on the roses
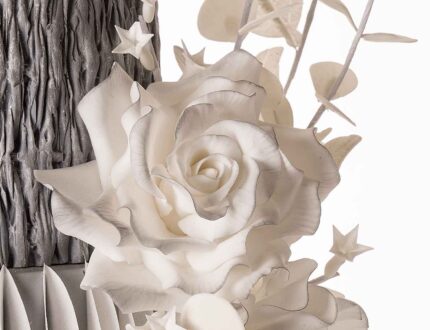
In this lesson, Paul shows us how to make the first couple of layers of petals for the large roses that will cascade down the cake. The key is to roll out your flower paste thin enough to read through.
3. Continuing with the roses
Paul continues with the roses, adding the third layer of petals, whilst holding it upside down. Watch to find out more and pick up some handy tips for creating volume.
4. Adding the final rose petals
In this lesson, Paul adds the final rose petals, making sure they’re attached securely to the polystyrene ball with plenty of volume and movement.
5. Making the leaves and buds
Paul shows us how to make all the beautiful leaves and buds, with some simple but effective techniques along the way.
6. Decorating the bottom tier
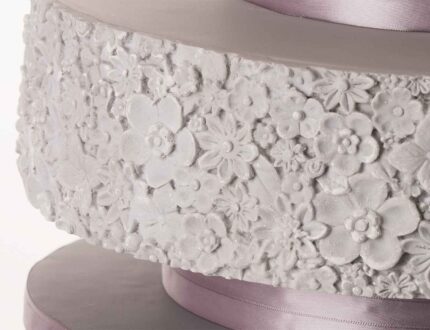
Paul uses a beautiful Karen Davies mould. He demonstrates how heavy handed you have to be with the sugarpaste once placed on the mould to get the best results.
7. Decorating the bottom tiers
Paul adds the panels of decoration to the bottom tier, and shows us how to seamlessly join them together. He then goes onto decorate the tier above with a lovely wicker mould.
8. Decorating the third tier
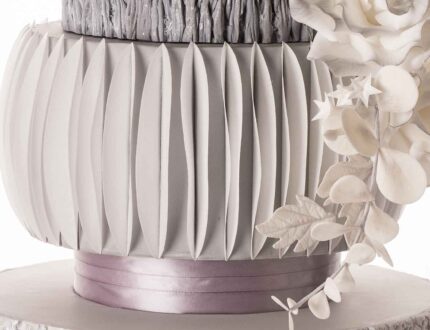
In this lesson, Paul shows us how to create the funky retro shade look. Paul also explores other ways to make it a little different – but in the end sticks with the clean, crisp look.
9. Lesson 9- Decorating the fourth tier
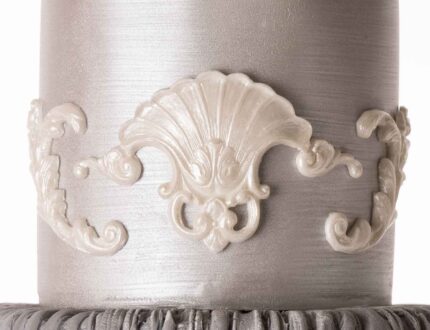
This tier is all about using those moulds. Paul shows us a great trick for getting a nice finish, whilst making them easy to pop out.
10. Decorating the top tiers
Paul gets the dusts out to create a lovely silver tone, for which he then brushes dry to get a fantastic metallic look. Then it’s on with the moulds.
11. Stacking the cake
Paul puts it all together using lots of sticky glue – made by mixing sugarpaste and water.
12. Making the eucalyptus
In this lesson, Paul shows us how to put the tumbling eucalyptus together using florist wire and florist tape.
13. Dusting the flowers
Paul gets some more dust out, but this time to add a bit more interest to the flowers.
14. Arranging the flowers
It’s time to arrange all the flowers and foliage on the cake to bring it to life. Paul has second thoughts about the buds and thinks it may bring an old fashioned feel. What do you think?
15. Other ideas
Paul shares some inspirational ideas you can give a bash during this project. We’re sure you’ve some of your own and we’d love to see what you come up with.
Share your photos with us on our Facebook page.
16. Pro lesson
In this lesson, Paul shares some insider information about the cost to make this cake, as well as pricing, portions and other vital information for any professional cake designer.
We’d love to see your take on the Silver Elegance Cake – so make sure you share your photos with us on our Facebook page.
