Tutorial Preview
Highlights
Here, we’ve carefully selected the key parts from the entire tutorial and condensed it into an 10 min long video. More than enough to get you started without taking too much time.
1. Covering the cakes
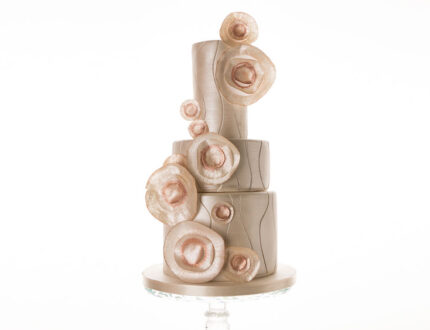
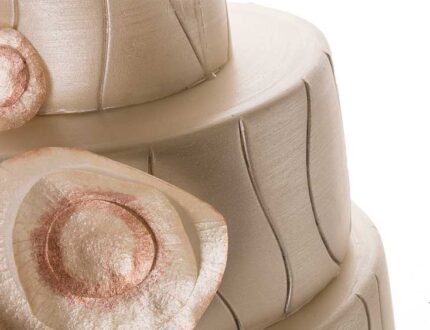
Paul has covered two cakes already and now shows us how to get lovely semi sharp edges using acetate smoothers.
2. Adding the lines
Here Paul shows us how to add interest to the cake with some nice wavy lines using PME modelling tools. Just be careful not to rip or drag the sugarpaste.
3. Painting the cakes
Paul gets the dusts and alcohol out to create a lovely warm golden tone, which he then paints onto the cakes using a sponge.
4. Making the discs
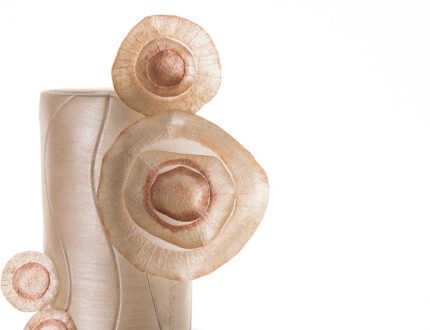
In this lesson, Paul starts off by stacking the cakes and then shows us how to make the discs using rice paper.
5. Painting the discs
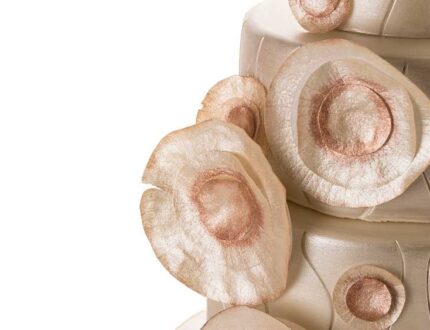
Using the same colours, plus a couple extra, Paul creates lovely textures and tones for the discs. Now it’s time to allow them to dry and take shape.
6. Finishing touches
Paul now arranges all of the finished discs onto the cake, and then paints the board to tie it all together.
7. Other ideas
Paul shares some other ideas you can try out during this project. We’re sure you’ve some of your own, and we’d love to see what brilliant alterations you’ve made.
Share your pics with us on our Facebook page.
8. Pro lesson
In this lesson, Paul shares some insider information about the cost to make this cake, as well as pricing, portions and other vital information for any professional cake designer.


