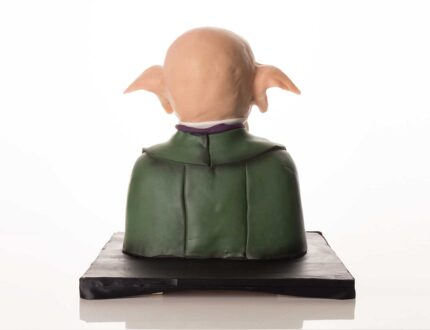
Tutorial Preview
Highlights
Here, we’ve carefully selected the key parts from the entire tutorial and condensed it into an 10 min long video. More than enough to get you started without taking too much time.
1. Making the stand
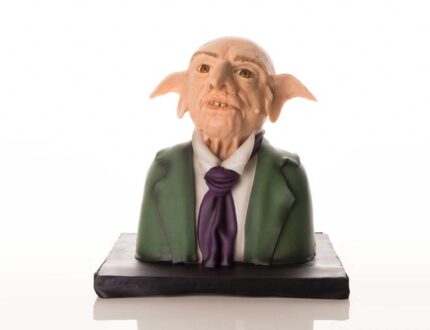
In the first lesson, Karen shows us how to assemble the stand, before working on the Goblin head.
2. Building up the face
In this lesson, Karen starts on the face and builds it up with sausages and large pieces of modelling chocolate. She uses a sugar shaper and a dresden tool to smooth and create shape, as well as a small ball tool.
3. Building up the head and ears
Karen now focuses on the the back of the head. She makes sure everything is the right size and shape, and then shows us how to create cool goblin ears without any support.
4. Finishing the face
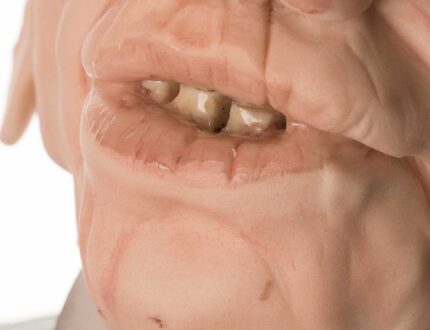
Karen finishes off building up the features, using little sausages and balls of modelling chocolate and blending them into the brow, cheeks and nose. Next up – creating the body.
5. Carving the body
Karen cuts and carves the cake underneath the head to form the upper body of the goblin using a nice long serrated knife.
6. Ganaching the body
Here Karen adds a nice thick layer of ganache to the entire body, smoothing it all off with acetate smoothers as she goes. To get it extra smooth you can either use your hands with some warm water, or you can go over it with a brush and warm water.
7. Covering the head
Karen starts off by adding sausages of modelling chocolate to form the neck and then adds a large piece of sugarpaste covering the entire head. She then brings the detail back out using her hands and modelling tools – beginning to add some character.
8. Painting the head pt 1
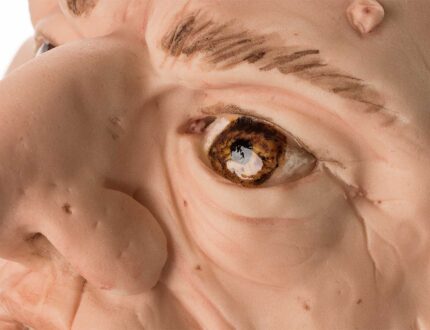
Karen gets the dusts and alcohol out and proceeds to bring Gilbert to life with amazing flesh tones. She then moves onto the eyes and gives some great tips for all different levels.
9. Painting the head pt 2
The key here is diluting the paint heavily to make it more of a highlighter than a thick colour. You want to just slightly warm the tone of the sugarpaste to give a flesh effect.
10. Covering the board
Karen now adds four sections of sugarpaste which she blends together using her hands and acetate smoothers.
11. Adding the clothes
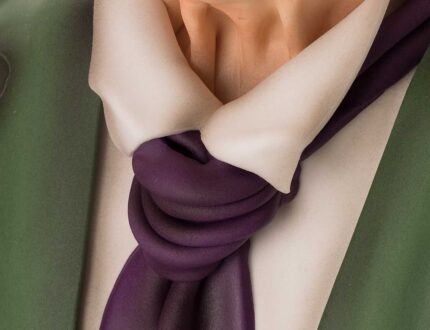
Time to add the confectioners glaze to the eyes, and get the airbrush out to add character to the clothes.
12. Finishing touches
Karen finishes Gilbert’s clothes and eyes, and uses a little airbrush work to finish it all off.
13. Other ideas
Karen shares some other ideas you can try out during this project. We’re sure you’ve some of your own, and we’d love to see what brilliant alterations you’ve made.
Share your pics with us on our Facebook page.
14. Pro lesson
In this lesson, Paul shares some insider information about the cost to make this cake, as well as pricing, portions and other vital information for any professional cake designer.
