Tutorial Preview
Highlights
Here we have carefully selected the key parts from the entire tutorial and condensed it into an 9 min long video. More than enough to get you started without taking too much time.
1. Introduction and working on the pebbles
Paul explains his design and gets straight to it by making little pebbles that sit around the cake.
2. Painting the bottom tier
Paul gets the dusts and alcohol out to create some nice stone colours which he then dabs onto the pebbles of sugarpaste.
3. Adding the bamboo
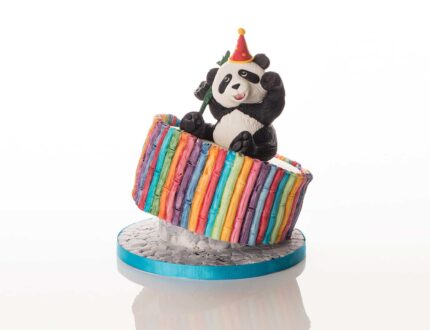
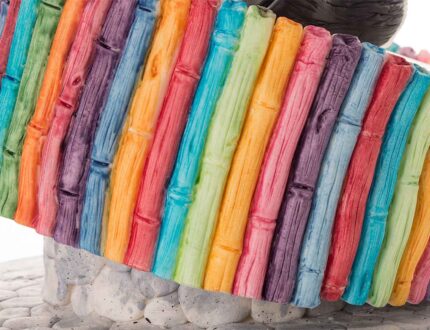
In this lesson Paul adds the bamboo around the main cake using his new favourite glue…a white chocolate decorator tube.
4. Painting the bamboo/ making the panda pt 1
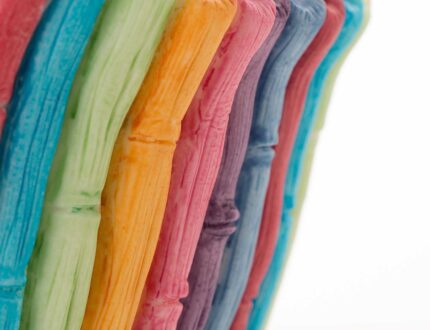
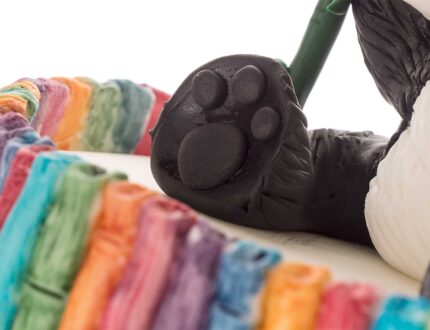
Here, Paul brings the bamboo to life with some lovely vibrant airbrush colours and then goes on to start making the adorable panda.
5. Making the panda pt 2
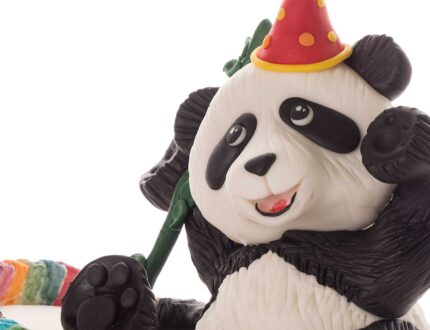
Paul finishes the panda’s eyes and adds the arms. He creates lovely furry textures using two different techniques.
6. Finishing the panda
Paul now finishes off the texturing of the panda, and adds cute little pads to its feet as well as a little colour to its mouth with some edible dust.
7. Finishing touches
What finishes off a cute little panda more than a party hat? And a shoot of fresh bamboo, of course! Now for the ribbon and we’re all done.
8. Other ideas
Paul shares some inspirational ideas you can give a bash during this project. We’re sure you’ve some of your own and we’d love to see what you come up with.
Share your photos with us on our Facebook page.
9. Pro lesson
In this lesson, Paul shares some insider information about the cost to make this cake, as well as pricing, portions and other vital information for any professional cake designer.
We’d love to see your take on Rainbow Panda – so make sure you share your photos with us on our Facebook page.
