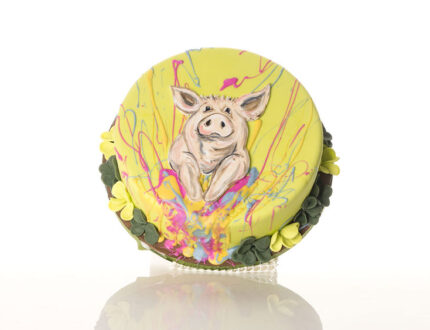
Tutorial Preview
1. Covering the board and cake
Learn how to cover the cake board and cake, using cake smoothers to get rid of any cracks.
2. Drawing the pig
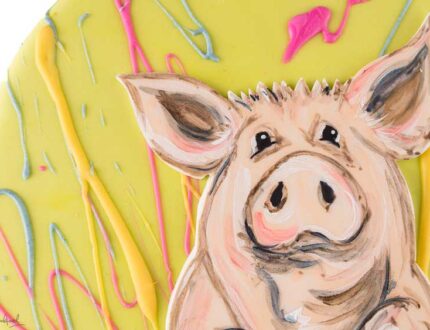
Heike rolls out a piece of white sugarpaste mixed with CMC, and draws out an outline of her pig.
3. Painting the pig
You’ll learn just how much texture and detail can be achieved with only one size of paintbrush and using only water with the dusts. Remember to clean your paintbrushes and make sure there are no rogue hairs.
4. Coloured ganache
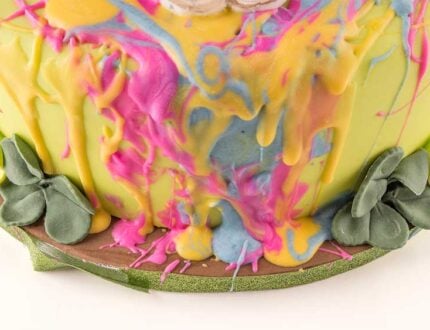
Here we see delicious white chocolate being melted down. Colour dusts are added to create lovely colourful ganache, which is then drizzled over the cake.
5. Finishing touches
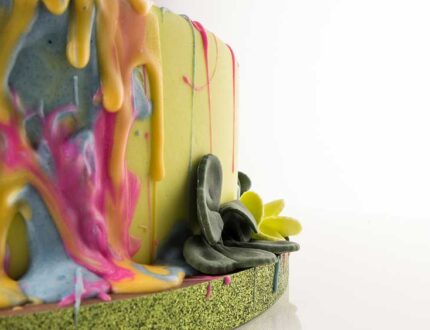
Heike shows us some final decorations we can add to the cake to really finish it off. Join us in the next lesson to see other ways to use this design idea.
6. Other ideas
Heike shows us her other designs and demonstrates how we can create completely different themes with the same little piggy. We’re sure you’ve some of your own and we’d love to see what you come up with.
Share your photos with us on our Facebook page.
7. Pro lesson
In this lesson, Paul shares some insider information about the cost to make this cake, as well as pricing, portions and other vital information for any professional cake design.
We’d love to see your take on this pig cake – so make sure you share your photos with us on our Facebook page.


