Tutorial Preview
Highlights
Here we’ve carefully selected the key parts from the entire tutorial and condensed it into an 10 min long video. More than enough to get you started without taking too much time.
1. Carving the monsters
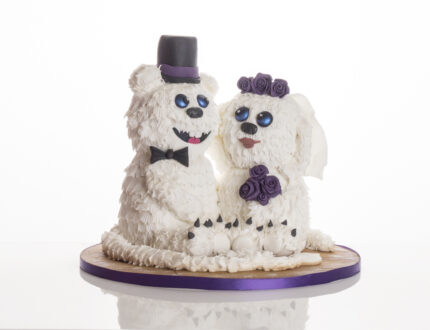
Emma starts us off by carving the basic shape for the two monsters from yummy chocolate cake.
2. Preparing the board
Emma shows us how to quickly create a lovely wood effect on the cake board, which the monsters will sit on. Of course, you can decorate the board in whatever covering you like.
3. Stacking the cakes
Time to add the heads. Emma shows us great technique to ensure they are on as securely as possible. The last thing we need is a headless monster!
4. Adding feet and arms
Emma now adds cute little feet, arms and tails, which will be covered in fur once the sugarpaste sets.
5. Adding the fur pt 1
Adding fur can be difficult and painstaking, but Emma shows us a brilliant way to create an adorable fur effect that’s quick and easy.
6. Adding the fur pt 2
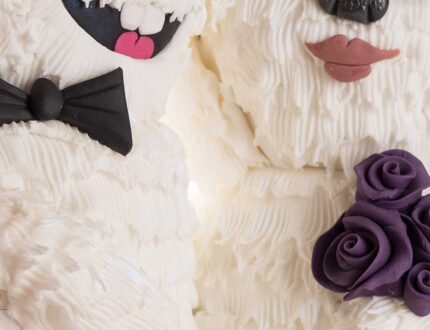
Emma finishes adding the fur to the groom then adds the mouth and ears.
7. Airbrushing and further details
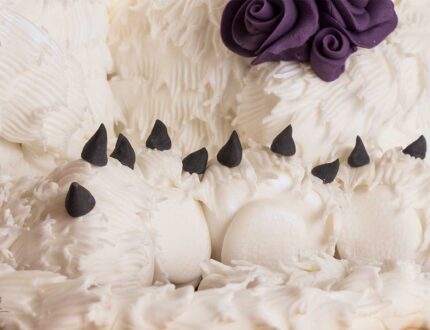
Using the airbrush Emma creates lovely eyes and goes on to add the claws, noses and teeth.
8. Making the veil and the roses
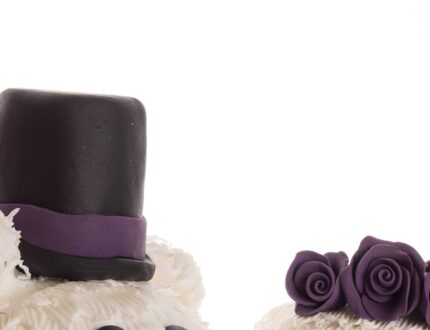
Emma now makes the veil for the monster bride as well as a lovely purple rose. You’ll love they way she makes the roses and in true Emma Ball style they are super quick!
9. Finishing touches
The best part of any cake, time to get on with those all important finishing touches.
10. Other ideas
Emma shares some other ideas you can try out during this project. We’re sure you’ll have some of your own, and we’d love to see what brilliant alterations you’ve made.
Share your pics with us on our Facebook page.
11. Pro lesson
Paul and Emma share some insider information about the cost to make this cake, as well as pricing, portions and other essential information for any professional cake designer.
We’d love to see your take on the Monster Bride and Groom cake tutorial – so make sure you share your photos with us on our Facebook page.


