Tutorial Preview
Highlights
Here, we’ve carefully selected the key parts from the entire tutorial and condensed it into a 5 min long video. More than enough to get you started without taking up too much of your time.
1. Cutting and carving
Paul shows us his inspiration for the design and shows us how he has measured everything out in true Paul style. He then gets straight to it and cuts the cake to size.
2. Ganaching the cake pt 1
Paul starts by ganaching the boiler section of the steam train and gives it filling in between each circle he cut out
3. Ganaching the cake pt 2
Paul now adds the final layer of ganache to the first part of the train and then gets ganaching the rest in preparation for covering them in sugarpaste.
4. Covering the cake
Now that the ganached cakes have had time to set it’s time to cover them and Paul is using black renshaw sugarpaste which is nice and soft.
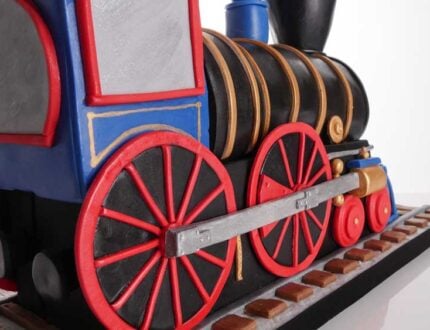
5. Adding the windows
Paul now starts to add details to the cake that will bring it to life using sugarpaste. Paul is using a picture to reference to and we suggest you do the same. Doing it all from memory could be pretty challenging.
6. Putting the train together pt 1
Paul starts to put the train together after finishing adding red borders around the windows and the reinforces the base of the train with dowels.
7. Putting the train together pt 2
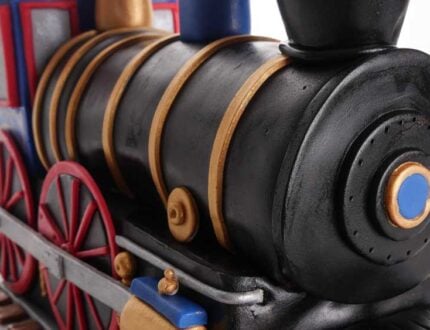
In this lesson Paul adds the roof to the cabin and then starts applying the strips to the boiler for the steam train.
8. Decorating the train
In this lesson, Paul adds chimneys to the boiler portion of the train. You might be tempted just make them up with sugarpaste and then just throw them on but it’s definitely a good idea to add supports.
9. Making the chimney
In this lesson, Paul makes use of rice Krispie treats and carves the chimney for the train making sure that every part of it is edible.
10. Lesson 10 - Finishing the chimney/ making the tracks
In this lesson, Paul starts off by finishing off the chimney with thin pieces of sugarpaste and then shows us how to make the tracks.
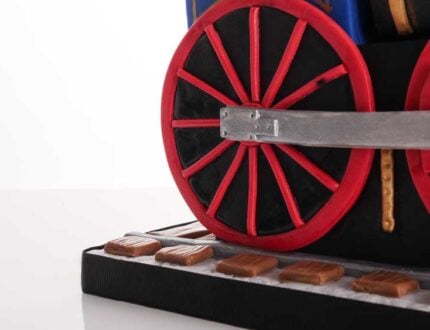
11. Making the wheels
Here, Paul shows us how to make the wheels which actually takes a little longer than you might expect but the results are well worth it. You can either cut out circles of black sugarpaste and leave them overnight to harden or follow Paul’s quick method.
12. Adding mechanical detail
In this lesson, Paul closely follows the image of a steam train he has in front of him as he begins to bring it to life with finer details.
13. Painting the train
In this lesson, Paul gets the dusts out brings the train to life. If you are not used to edible paintwork it’s always a good idea not to load the brush too much and as well you can dilute the paint down even more and build up the colours gradually.
14. Finishing touches
In this final lesson, Paul makes the snow plough and then does some final little touches.
15. Other Ideas
Paul shares some other ideas you can try out during this project. We’re sure you’ve some of your own, and we’d love to see what brilliant alterations you’ve made.
Share your pics with us on our Facebook page.
16. Pro lesson
Paul shares some insider information about the cost to make this cake. He also shares his advice on pricing, portions and other vital information necessary for any professional cake designer.
All aboard the Steam Train Cake!
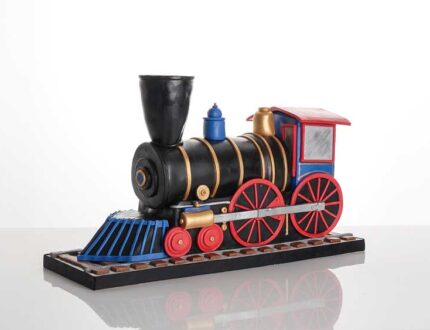
In this week’s tutorial, Paul shows you how to make an edible steam train cake.
This is a stunning cake with endless design possibilities. So let your imagination flow and watch our “other ideas” lesson to find out what else you could make with the skills learned.
In this tutorial you will learn:
- Cake carving
- Covering awkward shapes
- Intricate decorating with sugarpaste
- Edible paintwork
- Dowelling and supporting
- and much much more!
Don’t forget to share your interpretations of this wonderful cake with Paul and rest of the Sugarcraft community on our Facebook group.
Who knows? You may even end up featured in one of our monthly members’ cake blogs.


