Tutorial Preview
1. Preparing the stand
Always a key lesson in any cake design to ensure that the structure is secure. Paul uses a wooden dowel but if you don’t have one to hand then a strong bamboo skewer would probably do the same job.
2. Adding the cake
Best to use the most domed of your two cakes for the top which will help with shaping later. This is a straightforward adding of the cake through the dowel a little carving then covering in ganache.
3. Carving the styrofoam
Using the template outline then carve the zebra’s head. As you’ll see Paul doesn’t always get it right first time, but always has a solution.
4. Shaping the face
Note that Paul adds cheeks then later removes them as he swithers on how best to tackle getting the shape correct. It shows that designs can evolve and watching Paul’s thought process will help you understand what goes through his mind when he’s facing design decisions.
5. Covering the face and preparing the ears
It’s all starting to shape up with the covering and smoothing. Paul then prepares the ears, which could equally be for a bunny rabbit or donkey as he keeps referring to the Zebra as!
6. Adding the eyes
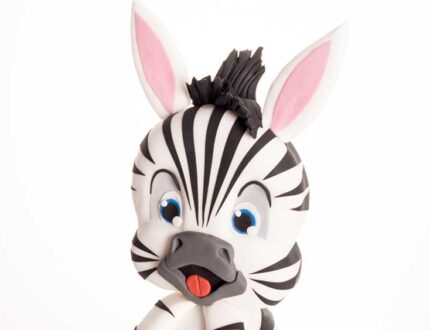
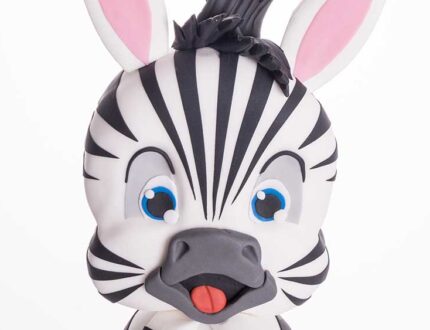
In this lesson, you’ll learn how to add the facial features to the cake. Facial features can make or ruin the cakes look as badly positioned eyes can change the look from happy and childlike to aggressive, likewise with the brows etc. Paul is looking for a fun, playful look.
7. Adding the muzzle
Using the template Paul cuts out and shapes the muzzle then adds to the cake.
8. Adding stripes to the head
With a mix of stripes and diamond shapes Paul gives the face that unmistakable Zebra look. You can tell he gets quite excited as it all comes to life.
9. Covering the cake and board
Fairly straightforward so you can skip this one if intermediate or advanced, but worth watching if you need some guidance covering the cake and board.
10. Adding the legs
NOTE: Before you start, Paul later adds stripes on the chest later and wishes he had done so before the legs went on.
Remembering that our Zebra is cartoon-like you don’t need to worry about the scale, but what you will worry about is the amount of sugarpaste you use, but that should be reflected in the price.
11. Adding stripes to the body
This is a great project to try out your free-hand cutting as the stripes come in various shapes and sizes. As Paul explains to get the effect every single one doesn’t need to be perfect.
12. Adding the mane and finishing touches
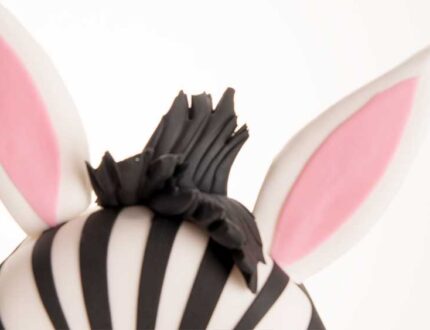
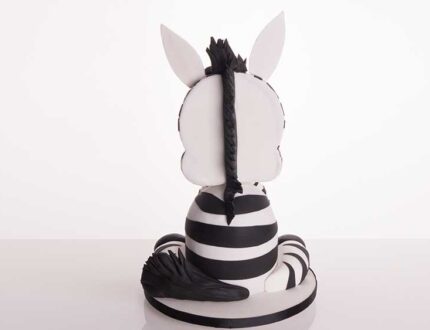
Time to finish this little guy off by adding the mane. Paul initially rolls out cone shapes then tapers, which work well for the mane on top, but for down the back he later decides to go for a texturised sausage which works really well.
13. Other ideas
Paul shares with us some other ideas for this tutorial.
14. Pro lesson
Paul shares with us everything a professional cake decorator needs to know for this design.
15. Highlights
Some of the highlights from our baby zebra cake course.
Learn how to make a baby zebra cake with Paul Bradford
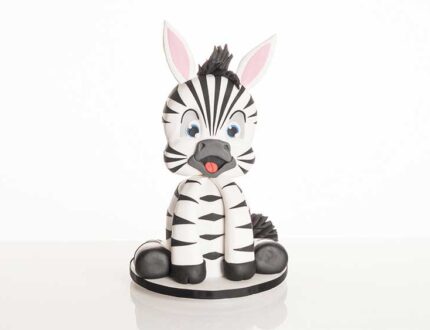
In this tutorial, Paul Bradford shows us how to make this absolutely adorable baby zebra cake.
Perfects for a whole host of events, including children’s birthdays this easy to follow cake tutorial is one you don’t want to miss.
In this fun-filled cake tutorial, you will learn how to…
- Cake carve
- Make realistic facial expressions
- Cover a cake and board
- Add aerodynamic stripes to your cakes
- and much, much more
Don’t forget to share your interpretations of this wonderful cake with Paul and rest of the Sugarcraft community on our Facebook group.
Who knows? You may even end up featured in one of our monthly members’ cake blogs.
