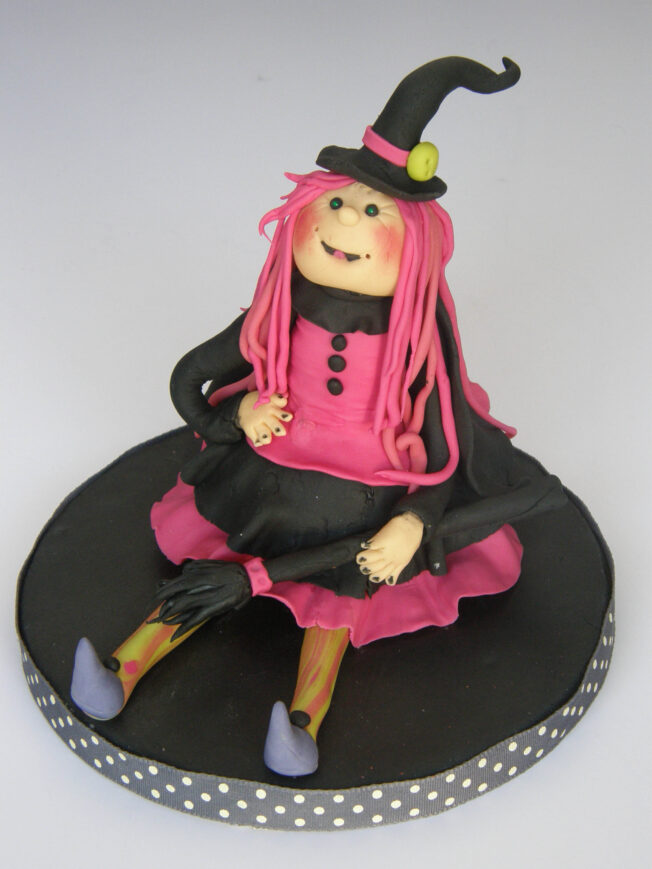
Hi fellow members,
Well, I guess summer is over. I hope you all had a wonderful time soaking up the sunshine, there’s nothing like a good drop of hot weather to set us up for winter. The months seem to have whizzed by! Already, Halloween is just around the corner and Christmas is approaching at a gallop.
Paul has given us so many festive tutorials to choose from, it’s great to jump straight into the online tutorial library and find something to please everyone. This year we have Paul and David’s new Christmas book as well, which is packed with quirky and traditional designs. I don’t know about anyone else but I feel spoiled for choice!
Earlier this year, Paul Doffman, the site’s Product Manager and occasional tutor made a tutorial on ‘Simple Photography‘ which I found particularly useful. My camera wielding skills are practically nil, I have no real concept of how a picture should be framed or how to manage shadows. Despite Paul’s helpful tutorial, I haven’t been entirely satisfied with my photographic results.
I have limited space in my tiny house which makes it difficult to display cakes for photographing. There is always some clutter or other getting in the way of the pictures. So I asked hubby to build a collapsible photo booth which I could use without having to worry about where to display my ‘creations’. After searching online for some clues, he came up with this very simple and inexpensive design set out below.
Now I can take pictures without having to worry about moving all my debris out of the line of fire and at the same time learn how to take pictures. Hopefully, my festive and other snaps will come out without any distracting background muscling in on the act!
That’s it from me guys, enjoy the cake show if you’re going. Take care, happy baking and decorating.
madeitwithlove x
To make the photo booth…
To make the photo booth (otherwise known as a box set) all you need is a cardboard display board. I bought one from Hobbycraft for £3.99 and a piece of A1 white foam board (£3.50 ), some batons or beading, PVA glue (or any other wood glue), gaffer tape and a dowel. When complete the whole thing folds flat for easy storage.
The height of the display board is 920mm (36”), the width of the back panel 620mm (24”) and the width of the side panels 305mm (12”) each.
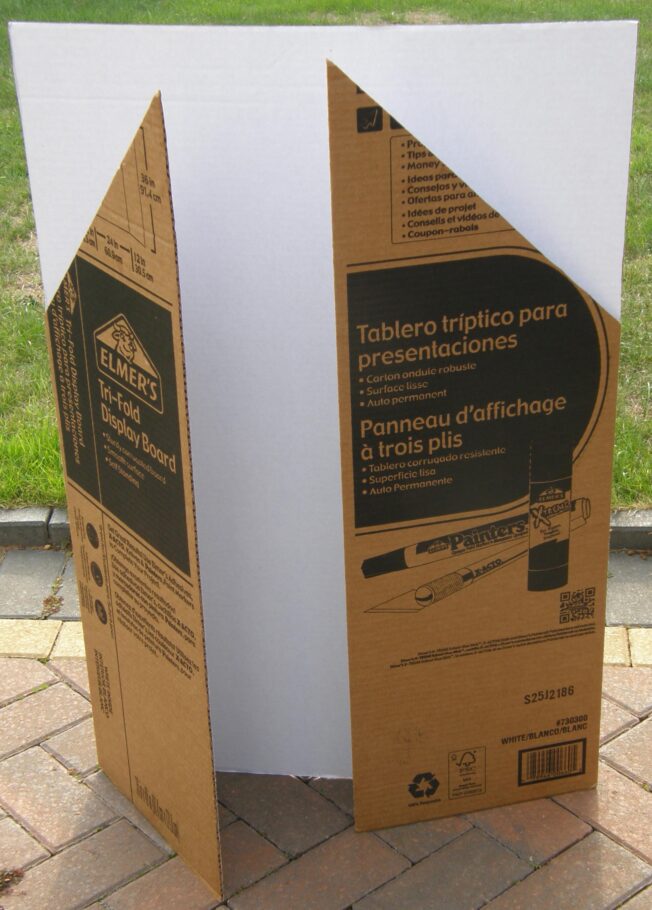
1/ Cut a triangular shape from each of the side panels. Cut from the top corner to 305mm (12 inches) down the crease as shown in diagram 1. Put the two pieces aside for later.
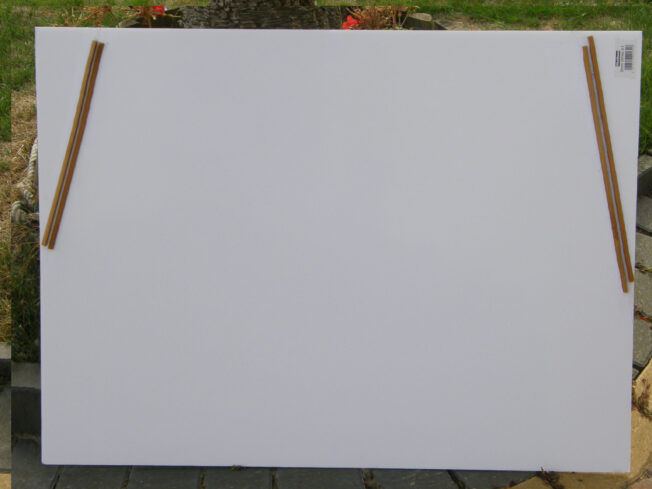
2/ Measure 115mm in from the edge of the foam board and 415mm down the side and draw a line joining these two points. Do this for both sides. The beading or baton should be about 5mm. wide. Cut four lengths of 370mm each. The point of the batons is to keep the side panels in the correct position. I used some 5mm window beading left over from when I built a new shed.
3/ To glue the batons in place, paint some PVA glue onto the batons and some along the drawn lines. Let the glue dry. Allow about a 5 or 6mm gap between each pair of batons, so that the top of the side panels fits snuggly. Reapply some more glue to the batons, then press into place, 3mm either side of the drawn line. The batons will stick hard instantly, so make sure before you do this that they are in the correct place by checking the final position of the foam board on the display panel. The idea of the foam board is to reflect extra light above your subject to reduce shadow.
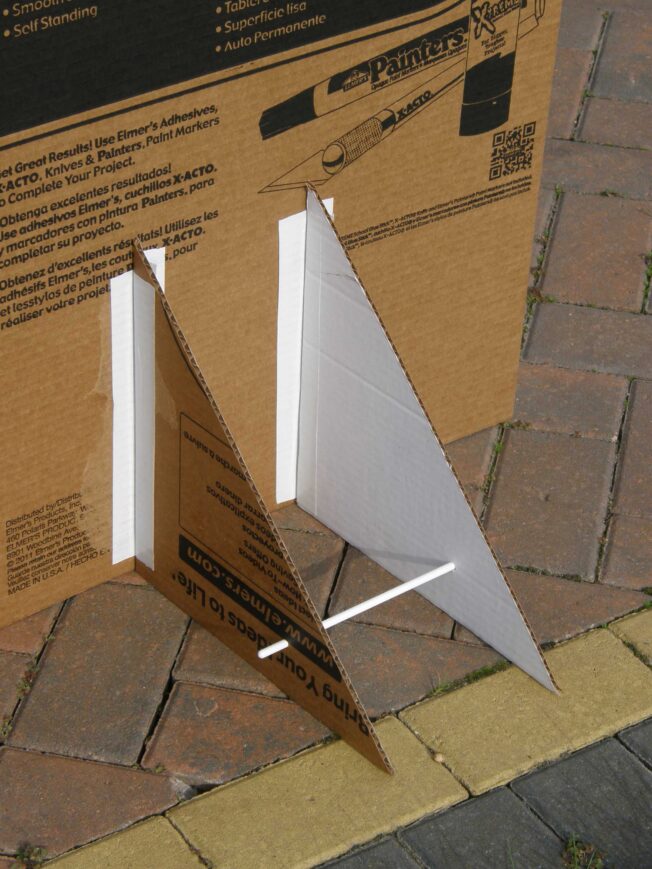
4/ For added support, take the cut out triangles, using gaffer tape, stick the triangles to the base of the back of the display board. But before you stick them in place, cut a small hole through the middle of triangle. With the triangular supports in place push a dowel through the two holes to keep the back supports in line.
5/ We have not done so in this blog, but if you want to photograph single tier cakes or small models you may need to move the reflector lower down. To do this you need a second piece of white foam board and cut two lines into the board 620mm apart and 370mm long, at an angle slightly greater than right angles. Glue a baton on the outside of each of the side panels at an angle of 45 degrees to the vertical between 300 and 400mm from the base. Take the top reflector off. Realign the side panels and slot the new reflector into position.
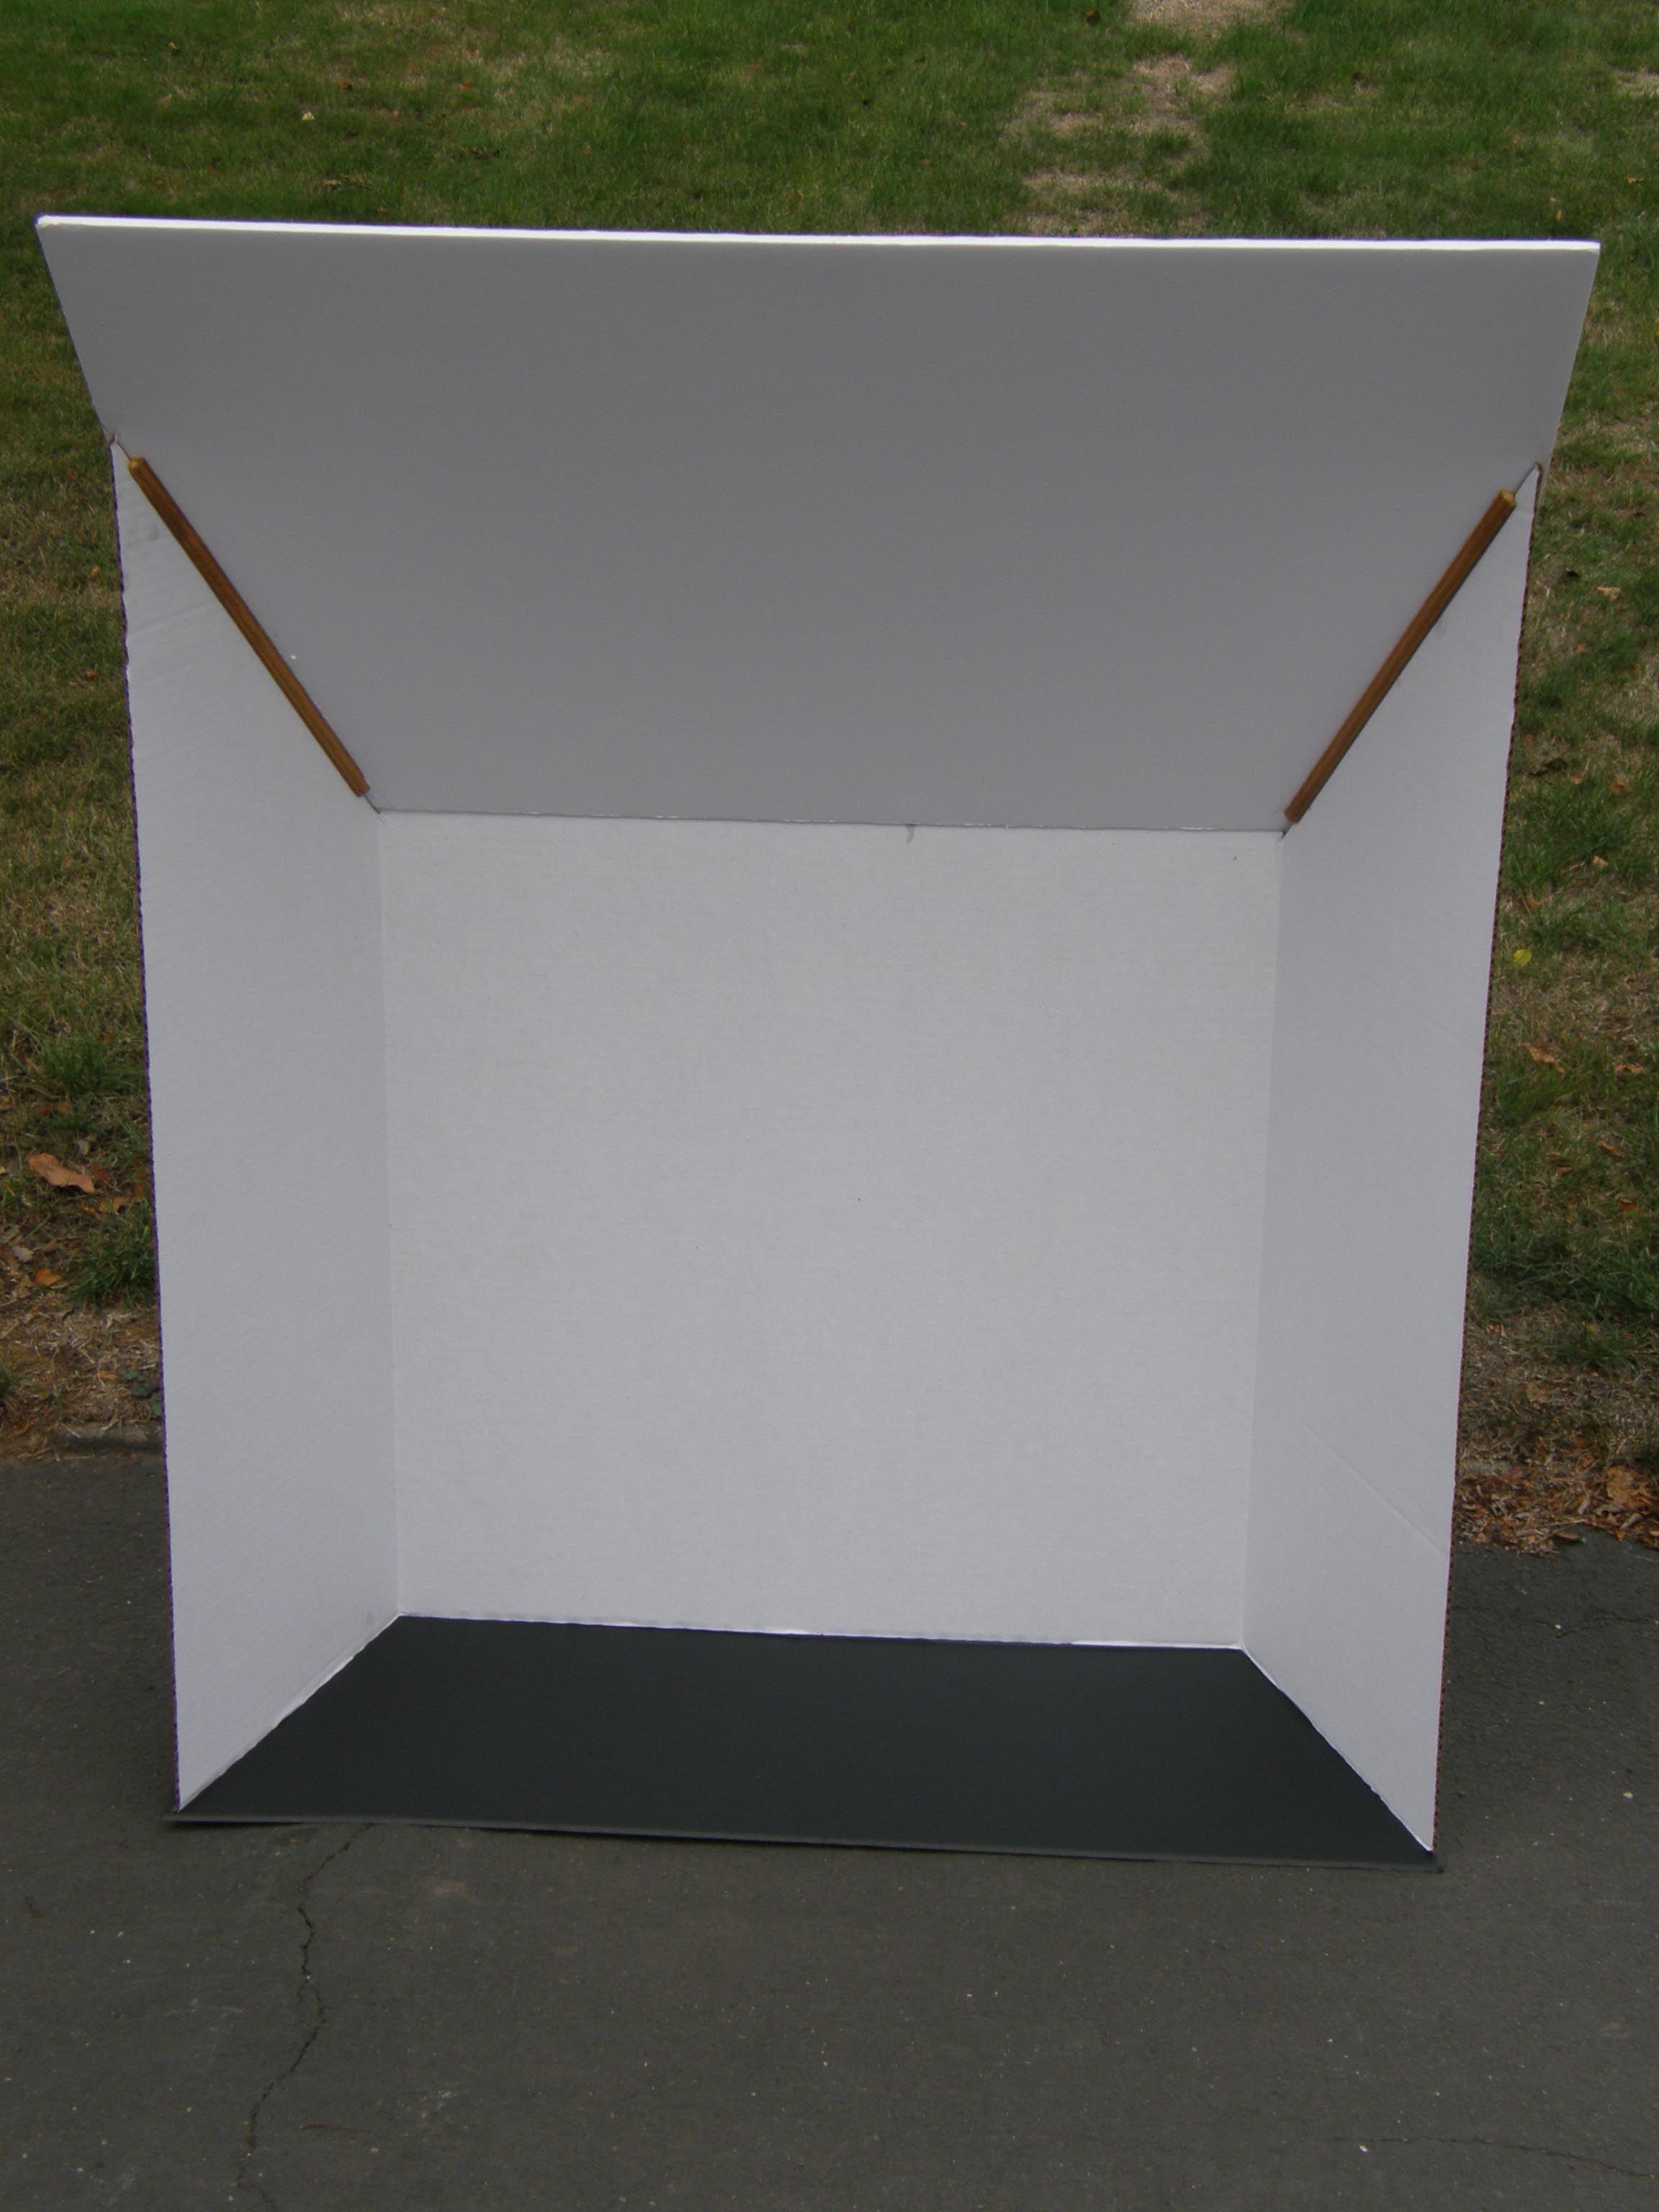
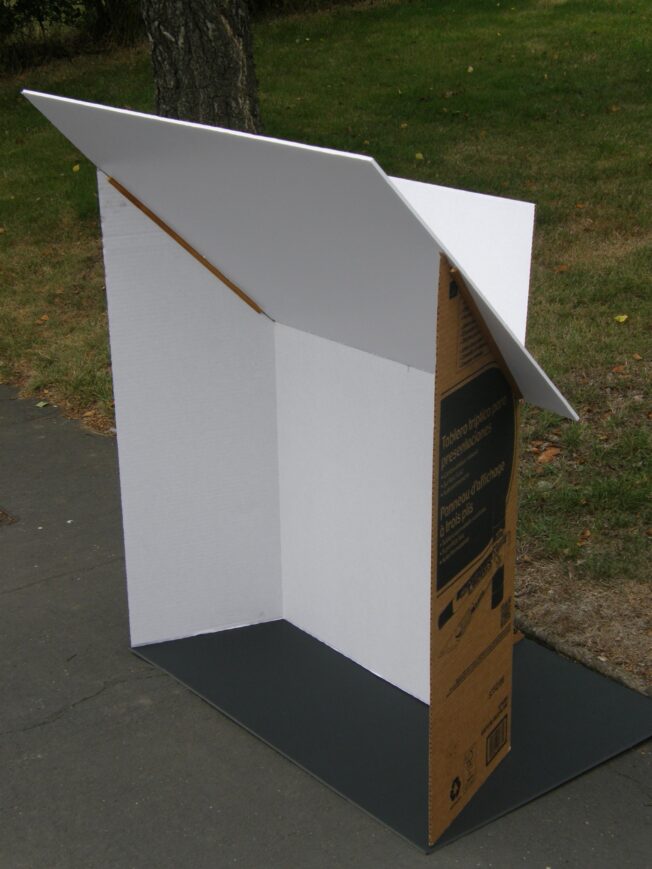
When taking photographs with a point and shoot camera and a small single flash, you get harsh shadows. By adding the foam board to the photo booth some of the light bounces down onto your subject. This has the effect of softening those shadows.
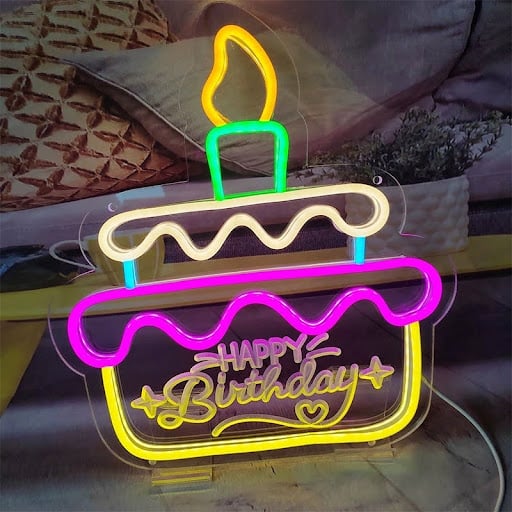
To create different backdrops to show off your cakes, you can drape material down the box set and under the cake or clip white or coloured paper onto the set. To make your background more unique, you can also try using Custom Neon Signs to add to the ambiance. Using some cake-shaped neon signs as background decoration can make your photos more beautiful. In addition to the shape, you can also choose the lighting effects you want to make your cake look more delicious. These custom neon signs can also be used as holiday decorations to add to the festive atmosphere.
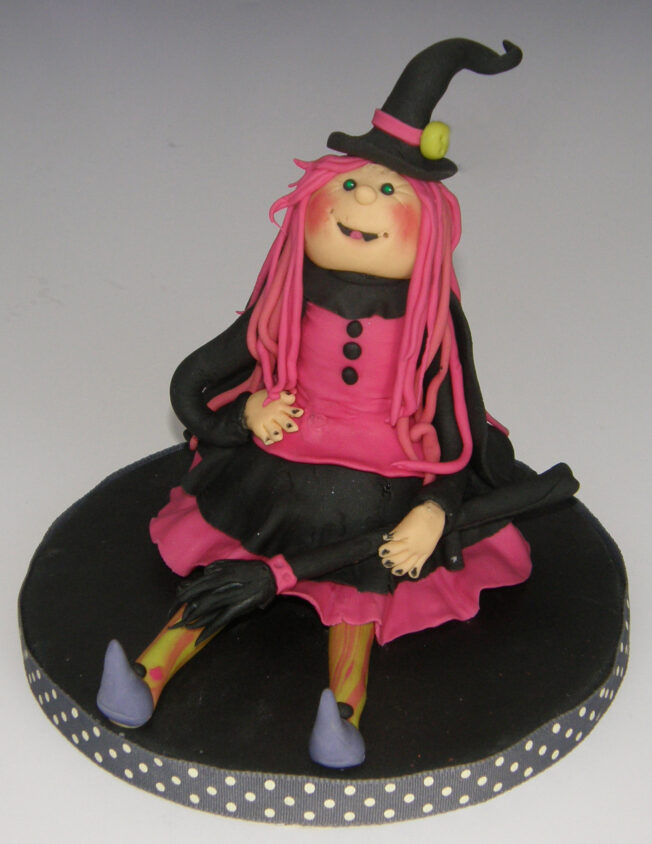
Here are three photographs of the sugarpaste witch: One with flash without using the reflector, one with flash and reflector and one using available light from a large window with the reflector in place,as shown below:
Model of Witch with flash and reflector
Witch photo with flash no reflector.
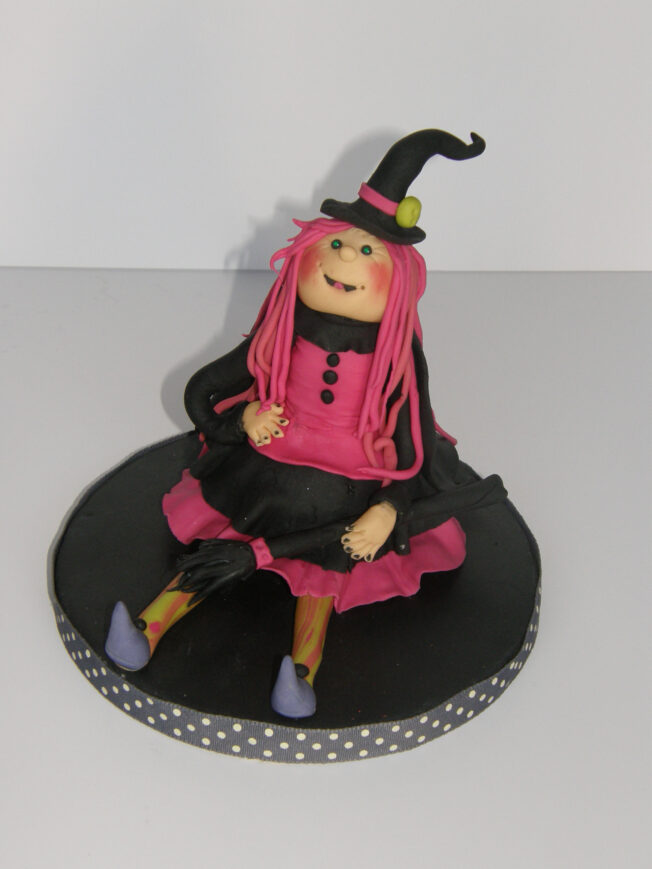
Witch photo daylight with reflector
