Tutorial Preview
Highlights
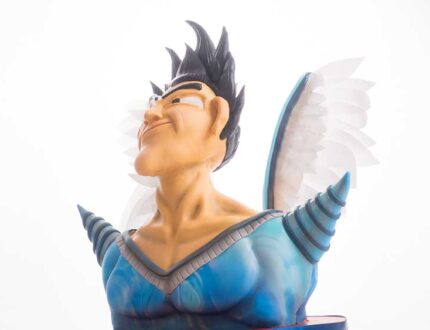
Our space angel superhero cake tutorial highlights
1. Making the stand
Getting the foundations right in any structured cake is always very important, so first of all Paul takes you through the design concept and starts to build the stand.
2. Sculpting the face
Using your paste, it’s now time to sculpt the face. There are many ways of doing this. However, Paul prefers Karen Keaney’s method of building the face in stages by moulding and applying small pieces one at a time.
Note: Paul starts using Massa modelling paste, but soon realised that a 50/50 mix with sugarpaste was easier to use as a result.
3. Finishing the head
After all that sculpting, Paul finishes moulding the head and adding the hair.
4. Adding and carving the body
After shaping the face, it’s time to get the cake added. Paul adds the cake before refining the shape and covering in ganache.
5. Adding the body shape
Our Space Angel’s body now needs some definition! The way to add the muscular lines and definitions is to google ‘anatomical body’. Paul then uses the diagram to build up the body shape.
6. Covering the body
Once you have started to add the sugarpaste this will really show off the definition you added in Lesson 5.
Most of this will later be hidden by the outfit. However, the body shape will still show through.
7. Adding the outfit
You might need your sunglasses for this one! Paul begins marbling three shades of blue to create the outfit. He then covers the cake and delicately cuts out a revealing chest line!
8. Finishing the outfit
Paul now adds the decorative shoulder pads and the collar. This really starts to give our Space Angel more of a finished look.
9. Adding the hair
The hair is a very distinctive feature of our Space Angel. Watch how Paul rolls, cuts and shapes the hair to get the funky finish.
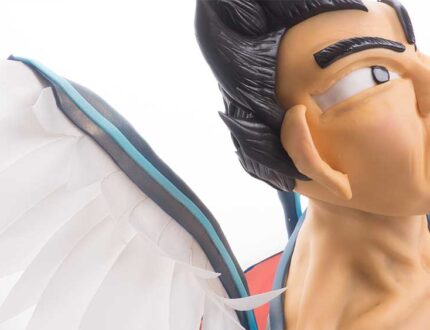
10. Making the wings
Having prepared one earlier, Paul then talks you through how to make the second wing. When covering the threaded rods make sure you roll out equal sizes of sugarpaste for each side and each covering strip.
11. Attaching the wings
You might need a hand with this part as you want to ensure that the holes for the wings are level. Always check from the front before tightening them up. He’s really beginning to take shape now!
12. Adding the facial features
We’re getting there! Now time to add our facial features. Remember, this is a cartoon style so you have plenty of scope to add your own styles and touch.
13. Adding the colour
Using a mix of dusts and airbrush colours, Paul really brings our sculpture to life thanks to some all-important colouring and shading.
Don’t have an airbrush? Not to worry! Dusts will also do a great job.
As you will notice, Paul repeats several times on this lesson ‘less is more’, so you need to know when to step away from the cake!
14. Finishing touches
Paul now covers the board, adds the ribbon and makes some final little tweaks.
15. Other ideas
Other ideas for the space angel cake tutorial
16. Pro lesson
Everything a professional needs to know about making and selling a cake like this.
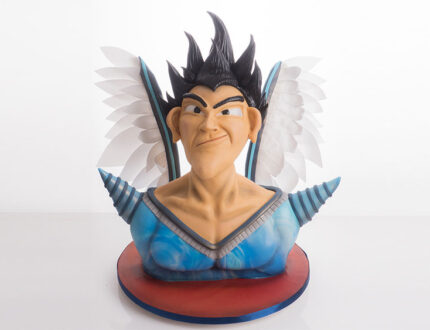
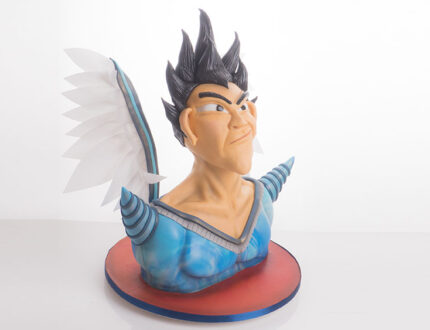
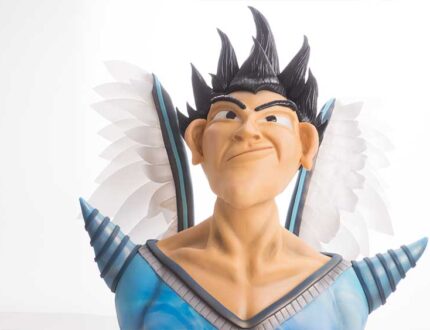
Space Angel Superhero Cake Tutorial with Paul Bradford
Join Paul for this super cool superhero cake tutorial! Featuring a wide range of cool techniques, this superhero cake can easily be interpreted into a whole contrast of different characters.
Whether you are looking for a batman, an anime character or are just looking to improve your sculpting. This cake tutorial has lots of important lessons to help you on your way!
what you will learn…
- Facial sculpting
- Internal structure
- Making a bust
- Airbrushing and painting
- and much, much more
Don’t forget to share your interpretations of this wonderful cake with Paul and the rest of the CakeFlix community on our Facebook group.
View hundreds of more world-class tutorials only at www.cakeflix.com.
