Tutorial Preview
Bite Sized
Watch Paul make this cake in just one minute!
Highlights
For this video, we have taken key points form the entire course and put them all into one 15 minute highlight reel for you to enjoy.
1. Making the bones
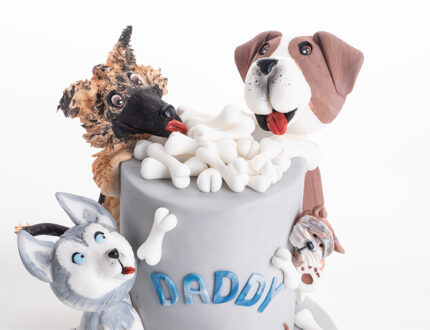
First, Paul explains the design for the cake using a simple drawing. Once the design is covered, he then moves on to making the bones. To make the bones, Paul rolls out the sugarpaste and cuts it into small pieces which are then shaped using the shell tool.
2. German Shepherds body and legs
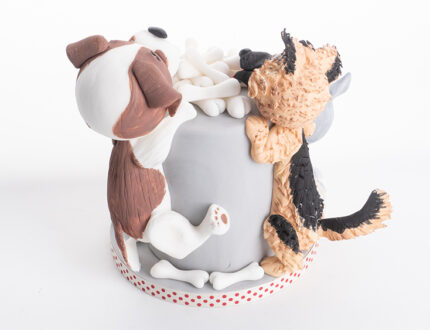
Now that the bones have been made, it’s time to move on to the first dog. In this lesson you will learn how to make the body, legs and tail of the German Shepherd and then how to add texture for the fur.
3. Making the front legs and head
After the front legs have been made and added to the cake. Paul moves on to making the head which is made from covering a polystyrene ball with fondant then adding the features on top. If you want to add a bit more flavour you can use cake pops instead of the polystyrene ball for the head.
4. Adding the head to the body
In this lesson, Paul adds the ears to the head then shows you how to attach the head to the body using bamboo skewers. Paul then adds a bit more texture to the head using scissors once the head is firm in place.
5. St. Bernard’s body and legs
Moving on to the next dog… the St. Bernard! In this lesson, you will learn how to shape the body, make the legs then add them to the cake.
6. Making and adding the head
In this lesson, Paul shows you how to sculpt the face of the St. Bernard using various tools and techniques.
7. Making the Yorkie
Much the same as before, Paul makes the Yorkie resting on the St. Bernard. Only this time a little more intricate in design.
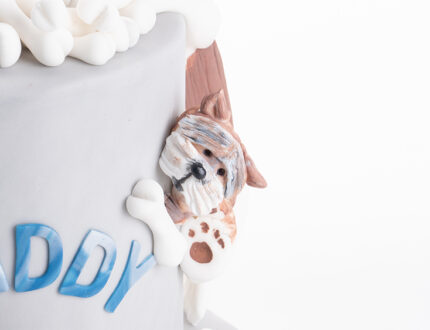
8. Making the Husky
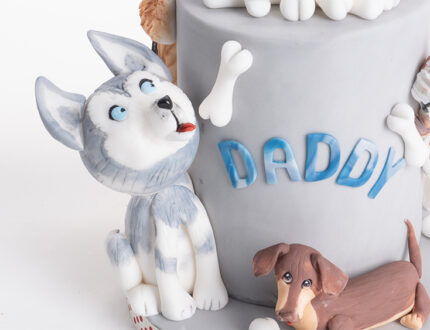
In this lesson, Paul uses some other techniques for making the Husky face and legs.
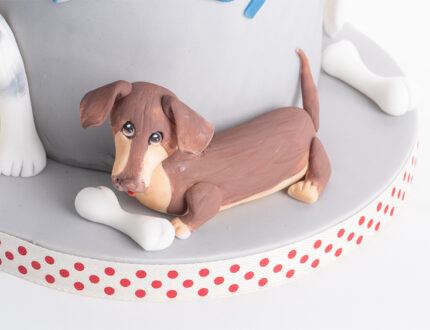
9. Making the Sausage Dog
For the final dog, Paul chooses to make the Sausage Dog! A cute little dog that sits at the bottom of the cake to help fill in the empty space.
10. Painting the German Shepherd
Now that the models have been made, it’s time to move on to the painting. In this lesson you will learn how to mix different colours together to get the desired outcome.
11. Painting the St. Bernard
In this lesson, Paul shows you how to paint the detail and pattern of the St. Bernard.
12. Painting the Husky
Paul shows you how to paint the Husky and add detail to the face and paws.
13. Painting the Yorkie and Sausage Dog
Phew! That was a lot of painting! Now it’s down to the final 2 dogs, the Yorkie and the Sausage Dog!
14. Finishing touches
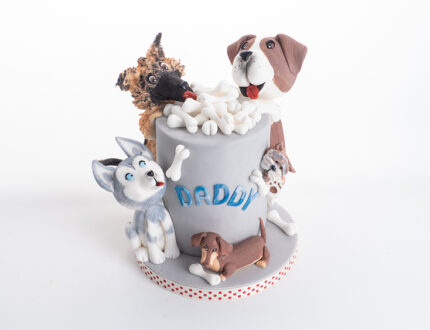
In this lesson you will learn how to create the lettering for the message displayed on the front of the cake, in this case Paul uses “daddy”; but you can have whatever message you want. Once the message is complete, Paul moves on to some final touches then finishes by adding the bones!
15. Other Ideas
In this lesson, Paul shares some other ideas for you to use on your own creations.
16. Pro Lesson
The Pro Lesson is where Paul goes over all the essential knowledge needed for pricing and selling your own cakes.
Daddy’s Best Friends Tutorial
In this tutorial, we learn how to make a collection of canine friends as Paul takes you step-by-step to making this wonderful Daddy’s Best Friends dog cake!
In the following tutorial, you will learn how to…
- Make little bones
- Make a selection of dog breeds using modelling paste
- Hand paint fur and features
- Cut simple lettering from fondant
- and much, much more
Don’t forget to share your interpretations of this wonderful cake with Paul and the rest of the CakeFlix community on our Facebook group.
View hundreds of more world-class tutorials only at www.cakeflix.com.
