Tutorial Preview
Bite Sized
Watch Rose make her spring deer cake in just one minute!
1. The structure
Creating a structure to support the cake, that has no risk of falling or collapsing. Perfect for travelling.
2. The body
Making the body with a curved underbelly so that it looks more natural.
3. The legs
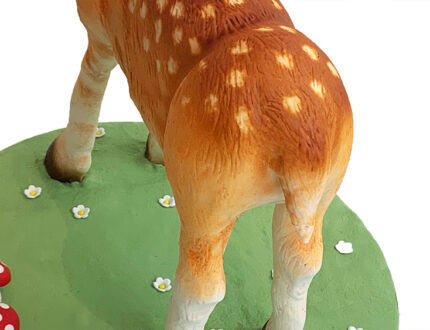
Creating the legs from modelling paste and achieve a natural looking shape. Create fur texture.
4. Covering the body
Learn how to cover the body to emphasize the shape and apply fur texture. Learn how to blend sections of sugarpaste together so that there are no visible joins.
5. Making the head and face
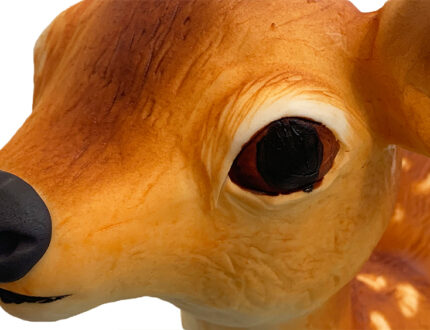
Adding the head and covering with sugarpaste. Createing the nose and mouth, eyes and ears.
6. Adding colour and finishing the board
Applying colour with air brushing. Painting further details and create the spots/patches on the deer’s back. Finishing the board with some simple modelling ideas.
7. Other Ideas
Rose shares some other ideas to use on your own cake.
8. PRO Lesson
Rose gives you some insider tips on pricing and selling the cake.
9. Highligths
Watch all the best bits from the course in this 1 minute video.
Spring Deer
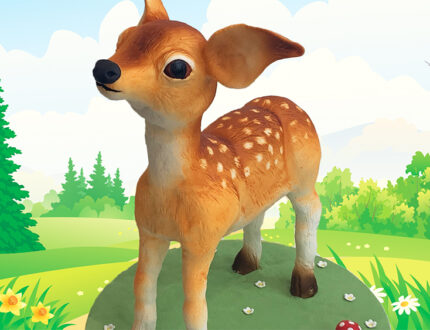
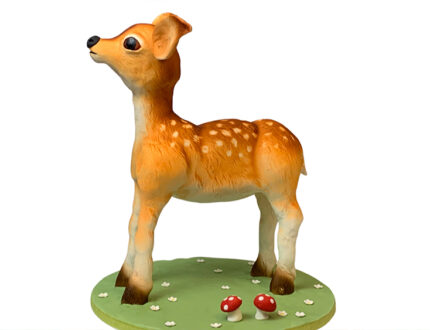
Join Rose Macefield as she makes a cute sculpted deer cake with a structured internal support in this weeks tutorial!
In the following tutorial, you will learn how to…
- Build a structure
- Carve a cake
- Colour with an airbrush to achieve a realistic effect
- Create fur texture and facial features
- and much, much more
Don’t forget to share your interpretations of this wonderful cake with Paul and the rest of the CakeFlix community on our Facebook group.
View hundreds of more world-class tutorials only at www.cakeflix.com.


