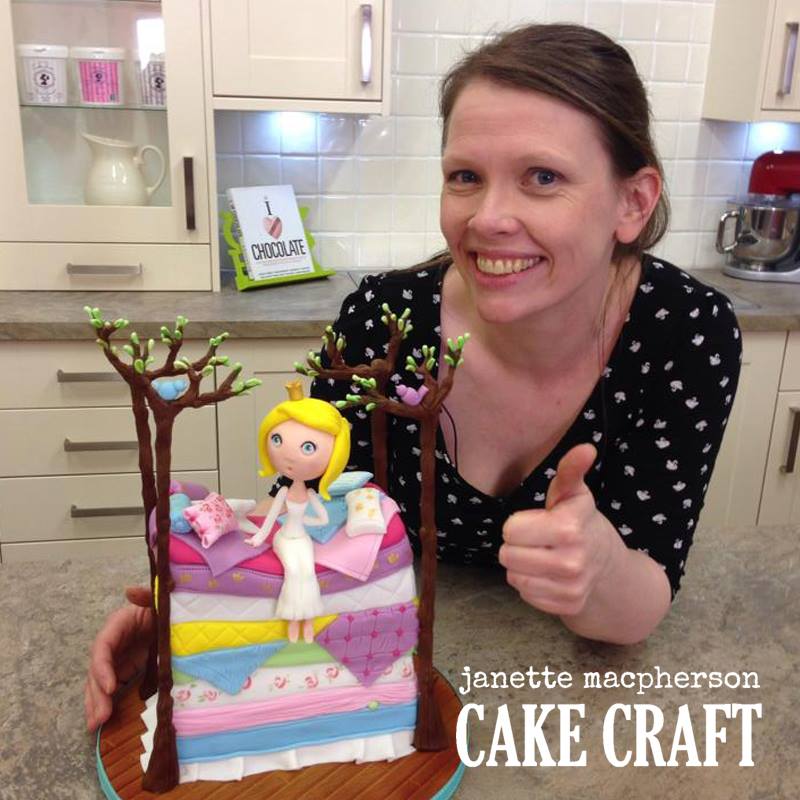
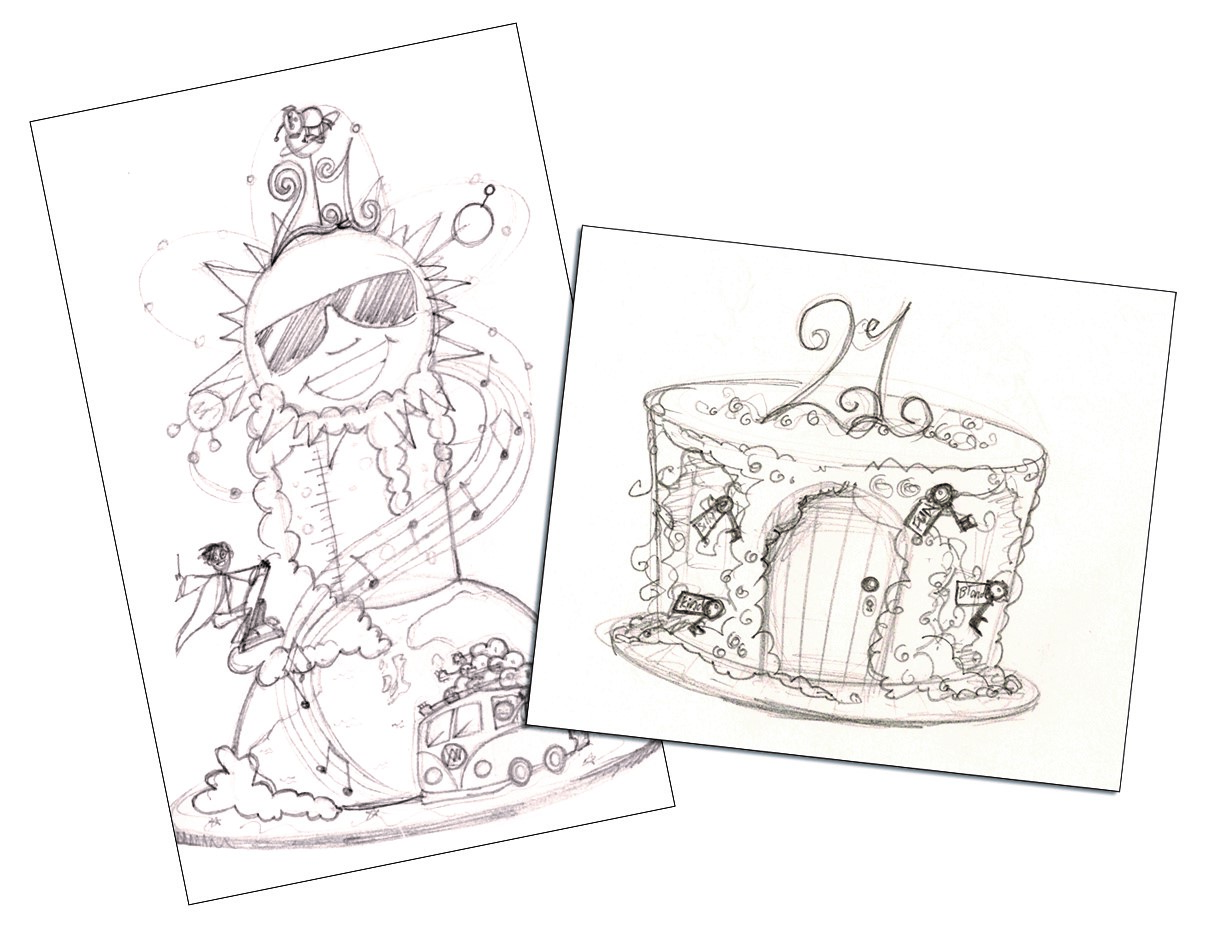
Properly planning your cake designs is crucial for any cake designer. Before our fellow Scottish, Guest Tutor Janette from Janette MacPherson Cake Craft came to film her tutorials with us, we had asked if she could show us a photograph or draw a sketch of her cake designs. When we seen Janette’s sketches, we were so impressed with the attention to detail, and not only did her cakes turn out exactly like her sketches, but they were even better than what we had imagined!!
If you missed Janette’s tutorials,you can see them here.
We thought Janette’s cake design sketches were fantastic, so we decided to ask her if she could share any tips on how to create helpful cake design sketches, which will ensure that your customers will always be 100% happy with their cake orders and here we are…..

So you’re taking a cake order. You ask all the usual information – how many portions, what is the event, where is it taking place, do you have a theme in mind… and you mentally begin building a picture of what that cake will look like. Then what? How do you accurately convey those ideas to your client?
Sometimes the cake design may be fairly straight forward and a simple written explanation is enough. However sometimes (more often than not, if you are creating bespoke cakes) the design is more complex. Not everyone is able to imagine the same flower from a description, or the right kind of ruffle, or the crazy 3D ensemble we’ve conjured up in our creative heads.
There are many ways of visually conveying your ideas to your client. Mood boards, Pinterest, photographs, examples of your previous work, computer mock-ups… personally, I reach for my sketchbook.
I’m not the best artist in the world, but here are some examples!
Sometimes I sketch in pencil, perhaps outline with a drawing pen, and that’s as far as it goes.

Other times I’ll sketch, then use colour pencils or watercolour on top.

And sometimes I’ll sketch, then scan the sketch into a program such as Macromedia Photoshop, where I’ll add in colour swatches and notes. I find the colour swatches useful for showing an overall colour scheme, in a detailed design where elements on the cake may not be exact to the sketch i.e. in the Princess and the Pea tutorial which I filmed with Paul, the mattresses depended on the way I carved the cake on the day. If you don’t have an editing program, colour swatches can be painted on to your sketch, or even coloured with pencils.

If sketching’s not usually your thing, you can use a template to help you out. Start with a basic outline of the cake tiers (find some simple templates on my Facebook page here*) then add a swirl for a rose, some squiggles for lace! It doesn’t have to be completely accurate, it’s the idea you’re trying to get across.

You can also trace, so if you’re replicating an object or an animal as a carved cake, find a photograph of it, print it out, and trace it. You can then add the cake board, message, and any other details. You can also use the tracing method to add modelled details to your tiered cakes – find a photograph of a rose for example, and trace it into place on your sketch.
IPads and tablets have readily available drawing apps which are basically the digital version of my method. These are great too, however I find it easier and more fluid to sketch with pencil and paper. I guess I’m old school, but that’s ok with me!
Whichever method you choose, it’s important your client has a good understanding of the design you are proposing, this prevents any misunderstandings or disappointments when it comes to collection/delivery time. We all want happy customers and this is one more step in the right direction!!
Happy cake designing!
Thanks Janette for the helpful tips! You can check out Janette’s wonderful cake designs by visiting her Facebook Page.
Have you tried any of these techniques before? What works well for you? Post your thoughts in the comment section below!
The PBSS Team x

