Tutorial Preview
Bite Sized
Watch the whole tutorial in just over a minute!
Highlights
See all the key learning points in this highlights lesson.
1. Explaining the different styles
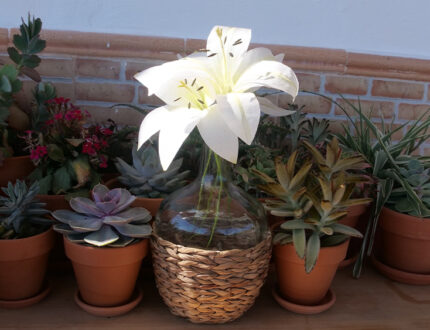
Paul starts by explaining the different styles of Wafer Paper Lilies that he will be creating.
2. Creating the different petals
Paul explores and explains the different petal shapes that you can use on the lilies.
3. Creating the stamens
Time now to show the different styles of stamens.
4. Creating Lily #1
From the templates you will require: Petal A x 6, Petal B x 6
Method – Double petals with wire sandwich.
This was a 9/10 for Paul as it looked the most realistic but does take longer to cut out the petals.
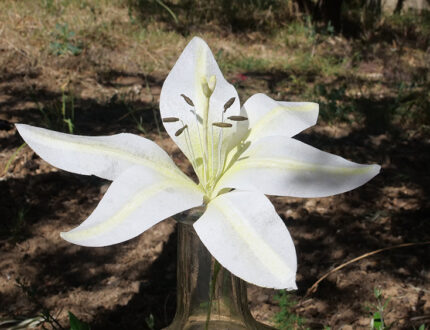
5. Creating Lily #2
From the template you will require: Petal A x 3 Petal B x 3
Method – Single petal with this strip of wafer paper to attach the wire to the petal.
This was 8/10. Not just a realistic, but still achieved a lovely lily with clean finish.
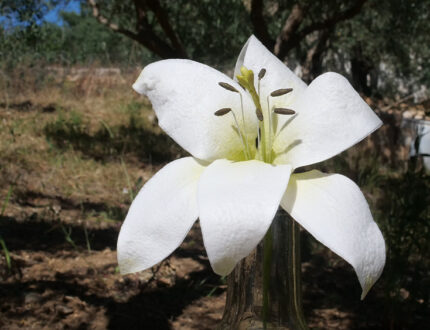
6. Creating Lily #3
From the template you will require: Petal A x3, Petal B x 3
Method- Simple petal cut out with the wire stuck directly on to the petal with no extra support
Paul gives this style 6/10 as it looks far more basic, but definitely the fastest way to achieve a lily.
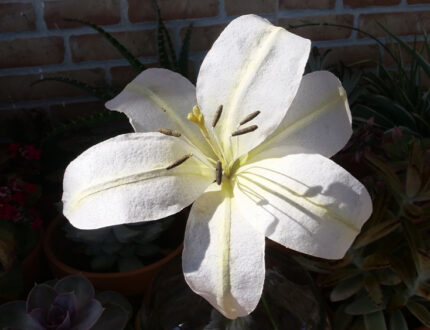
7. Creating Lily #4
From the template you will require: Petal C x 3, Petal D x 3
Method- Cut out a slightly wider style petal which you can then cut in half. You then glue the wire down the cut edge, over lap the other petal, giving a neat central ridge
Initially Paul gave this style 7/10. However, after filming he decided to lightly wet the edges of the petals which gave the over all look a more natural finish pushing this one up to an 8/10.
8. Paul's review and scoring the designs
Paul now assesses the different styles and designs giving each marks out of 10.
This has to also be taken in the content of time and the desired finish.
9. Other Ideas
Paul shares some extra hints and tips about the wafer paper lilies.
10. PRO Lesson
Paul offers some extra guidance with regards to the commercial aspects of wafer paper lilies.
4 Different types of Wafer Paper Lilies Tutorial by Paul Bradford
There are so many different ways to make the same sugar flower. In this tutorial Paul creates 4 Different types of Wafer Paper Lilies explaining the benefits and concerns of each as he goes.
Its very interesting making the comparison, balancing time against the results. Paul offers his marks out of ten for each style, but you should give each style a go and find out which works out best for you. Experimenting is all part of the fun and learning experience of a rounded cake artist.
In the following tutorial, you will learn how to…
- Create your own wafer paper petal temple
- Cut out and shape 4 different styles of lily petals
- Attach and stick the wires to the petal
- Dust and wire up the lilies
Benefits of Wafer Paper Flower Decorations:
-
Lightweight and Delicate Appearance:
Wafer paper flowers are incredibly lightweight, giving them a delicate and ethereal look that is perfect for adding a touch of elegance to any event.
-
Durability:
Despite their delicate appearance, wafer paper flowers are surprisingly durable. They can withstand humidity and temperature changes, making them ideal for both indoor and outdoor use.
-
Customizable:
Wafer paper flowers can be easily customized to match any color scheme or theme. They can be dyed, painted, or embellished with glitter, beads, or other decorative elements.
-
Eco-Friendly:
Wafer paper flowers are made from natural materials, such as potato starch and water, making them an eco-friendly alternative to traditional plastic or fabric flowers.
Affordable: Wafer paper flowers are relatively inexpensive to make, making them a cost-effective option for decorating on a budget.
Don’t forget to share your interpretations of this wonderful cake with Paul and the rest of the CakeFlix Family on our Facebook group.
View hundreds of more world-class tutorials only at www.cakeflix.com.


