Tutorial Preview
Highlights
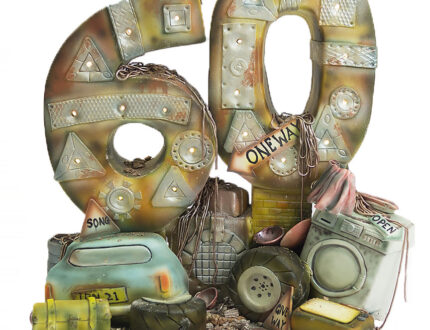
Here we have carefully selected the key parts from the entire tutorial and condensed it into an 13 min long video. More than enough to get you started without taking too much time.
1. Lesson 1 – Building the framework
In this lesson, Paul goes over the various equipment necessary to build the base and talks about how the cake will be structured.
2. Lesson 2 – Mapping the lights
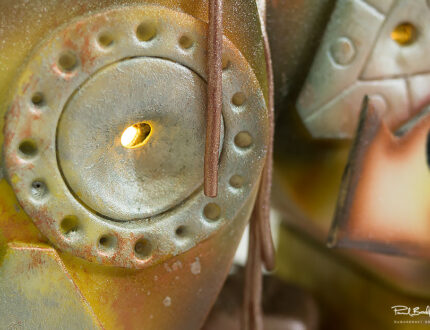
Paul now shows us how to map out where to put the fairy lights on the number cut-outs.
3. Lesson 3 – Attaching the cradle
Here, Paul builds and attaches the cradle that the cake will sit in.
4. Lesson 4 – Attaching to the base
In this lesson, Paul shows us how he will eventually screw the numbers onto the base board.
5. Lesson 5 – Making it food safe
Paul now makes the numbers food safe by wrapping them in tin foil.
6. Lesson 6 – Covering the back
Paul quickly covers the back in tin foil, just to make it everything look a little neater.
7. Lesson 7 – Carving the cake
Here, Paul cuts the cake to shape and fits it into the cradle.
8. Lesson 8 – Ganaching the cake pt 1
In this lesson, Paul starts to ganache the cake.
9. Lesson 9 – Ganaching the cake pt 2
Paul continues to ganache the cake.
10. Lesson 10 – Ganaching the cake pt 3
Paul finishes up ganaching the cake, trimming off the excess and smoothing it out.
11. Lesson 11 – Icing the cake
In this lesson, Paul applies the sugar icing to the cake.
12. Lesson 12 – Fixing the gap
Paul continues to fix the small gap in the corner of the upper part of the number 6.
13. Lesson 13 – Making the bits & bobs
Paul now starts to make the small bits and bobs that will clutter the front of the cake.
14. Lesson 14 – Icing the bits & attaching the numbers
In this lesson, Paul explains how he applied the icing to all the little bits and bobs, before finally attaching the numbers to the base board.
15. Lesson 15 – Making the junk pt 1
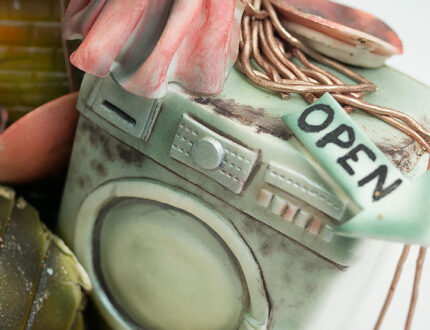
Here, Paul builds the small washing machine that will sit on the board in front of the numbers.
16. Lesson 16 – Making the junk pt 2
Paul moves on to creating more clutter to place on the front of the board. This time he goes for a waste disposal unit and an old tyre.
17. Lesson 17 – Making the junk pt 3
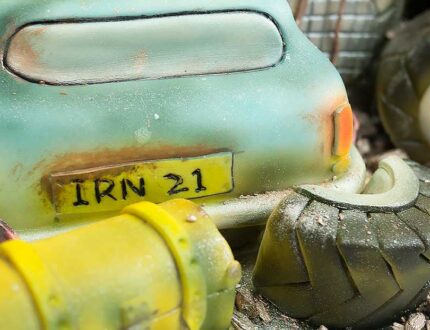
Paul continues making junk for the front of the board. In this lesson, he creates an old car and a small treasure chest.
18. Lesson 18 – Making the junk pt 4
In this lesson, Paul finishes off creating the junk by making an old TV set, a box, a present, an oil drum and an old lamp shade.
19. Lesson 19 – Icing the back
Paul now tidies up the back of the numbers by applying a layer of sugar icing to them. He also adds a subtle brick effect to the stands.
20. Lesson 20 – Rigging the lights pt 1
In this lesson, Paul starts to show us how to rig up the fairy lights.
21. Lesson 21 – Rigging the lights pt 2 & adding the decoration
Paul finishes rigging up the fairy lights, followed by adding small bits of decoration to the numbers.
22. Lesson 22 – Adding the junk
Here, Paul takes all the little bits of junk and arranges them on the base board in front of the numbers.
23. Lesson 23 – Airbrushing pt 1
In this lesson, Paul starts to airbrush the cake.
24. Lesson 24 – Airbrushing pt 2
Paul continues airbrushing the cake, adding in a bit more detail to the numbers.
25. Lesson 25 – Airbrushing pt 3 & metallic painting
Paul carries on airbrushing the cake by adding small details to the junk along with giving it a metallic look.
26. Lesson 26 – Painting & spraying
Paul keeps on decorating by painting (brush and spraying) all the little additional bits and pieces.
27. Lesson 27 – Finishing the air brush & adding debris
In this lesson, Paul finishes air brushing the cake along with adding a few loose cables and little extra bits of metal debris.
28. Lesson 28 – Finishing touches
Lastly, Paul puts the finishing touches on the cake, by giving the junk a bit more detail and freshening up the rust effect.
29. Other ideas
Here Paul shares some other ideas you can try your hand at when making this cake. We’re sure you have some of your own great ideas and we’d love to see what you come up with.
Share your lovely pics with us on our Facebook page.
30. Pro lesson
In this lesson, Paul shares some insider information about the cost to make this cake, as well as pricing, portions and other vital information for any professional cake designe
We’d love to see your take on the 60th Anniversary Cake – so make sure you share your snaps with us on our Facebook page.
