Tutorial Preview
Highlights
Here, we’ve carefully selected the key parts from the entire tutorial and condensed it into an 8 min long video. More than enough to get you started without taking up too much of your time.
1. Preparing the structure
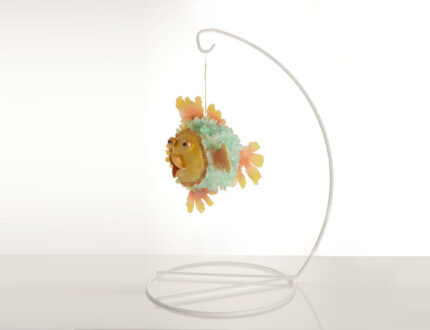
Here Paul starts to put together the structure for the floating fish cake using the Cake Frame. He also uses a bit off the cuff famous DIY to make sure our fish will hang.
2. Carving and ganaching the cake
Paul begins to ganache his base and carve his cake. He also discovers that a 6”round cake would have been better to use so carves the rest of the cake down to size.
3. Covering the cake
Paul now rolls out a large piece of sugarpaste to around 3mm. He then shows us how to cover a relatively awkward shape.
Acetate smoothers will definitely serve you well at this stage.
4. Making the fins
Paul has created some templates for us to use. You can find these in the templates section below. Now all you have to do is simply roll out some modelling paste and cut around them.
5. Making the scales
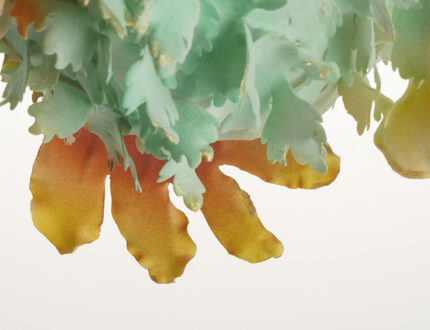
Paul now makes the scales using flower paste. He rolls the paste out very thinly using a pasta roller before slicing them with a flower cutter. He then adds the flowers to the cake using edible glue.
6. Working on the face
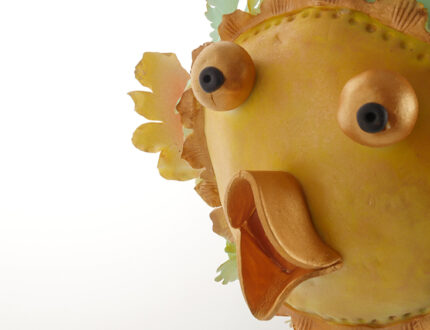
Paul has marked out where he is going to place the trim. He then begins to make the mouth and eyes using some white flower paste.
7. Attaching the fins
Paul now attaches the dried fins to the cake. He uses a little royal icing to help secure them on to the body. Paul then shows us how he would transport the cake without causing any damage.
8. Airbrushing
Here, Paul gets his old faithful airbrush out and begins to build up all the wonderful colours. Adding only a little bit of colour at a time.
9. Finishing touches
Paul continues to add colour to the fish using a small paintbrush. This allows him to apply a different texture and allows for better accuracy.
10. Other ideas
Paul shares some other ideas you can try out during this project. We’re sure you’ve some of your own, and we’d love to see what brilliant alterations you’ve made.
Share your pics with us on our Facebook page.
11. Pro lesson
Paul shares some insider information about the cost to make this cake. He also shares his advice on pricing, portions and other vital information necessary for any professional cake designer.
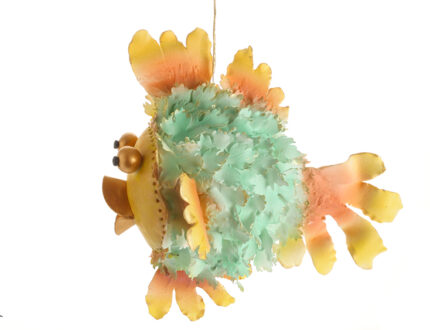
In this tutorial, Paul has made great use of Dawn Butler’s Cake Frame to create for us a fantastic floating puffer fish cake. Yes, he has literally made a fish cake!!
On top of learning how you can make a floating structure for your cakes. This lesson will also be fantastic practice in learning how to cover complicated shapes.
This cake is perfect for large celebrations and for lovers of sea creatures. It is brilliant for events, and of course, with the techniques and skills learn you can create and interpret all sorts of gravity defying designs. The techniques learned in this tutorial could also be of particular use to you if you have a big fan of fishing or a little fan of Finding Nemo fan in your life?
Follow this cake tutorial with Paul to pick up some new skills and techniques which include:
- Creating a floating structure
- Making a sphere cake
- Covering difficult shapes
- Creating delicate decorations
- Airbrush work and edible paintwork
This tutorial is perfect for an intermediate cake designer looking for their next challenge.
We’d love to see your take on A Fish Out of Water – so make sure you share your photos with us on our Facebook page.
You can also use our recently updated cake calculator to work out portions, ganache, sugarpaste and more.


