Tutorial Preview
Highlights
Here we have carefully selected the key parts of the tutorial and condensed it into a short video that should provide more than enough to get you started.
1. Covering a square cake
Covering a cubed cake is most definitely a challenge and one that many cake designers avoid. Paul uses Anna Marie inspired technique for covering the cake which works a treat. Still tricky but with a little patience you will get a great sharp finish.
2. Stacking the cakes
Now that the board and all the cakes are iced, it’s time to stack them. This task is a little easier for Paul as these cakes are dummies but if they were cake obviously there would be a fair bit more weight. You may want a second pair of hands at this stage.
3. Adding decorations to the bottom
Paul gets a couple of nice moulds and cutters out and using some flower paste and icing sugar to create a lovely design for the bottom of the cake.
4. Creating more decorations for the bottom tier
Similar to the previous lesson but with different mould. Initially Paul tries using 50/50 with flour paste and sugarpaste but finds it works better just using flour paste.
5. Adding more decorations for the bottom
Paul gets out the ribbon cutter to make a border around the middle tier.
6. Decorating the middle tier
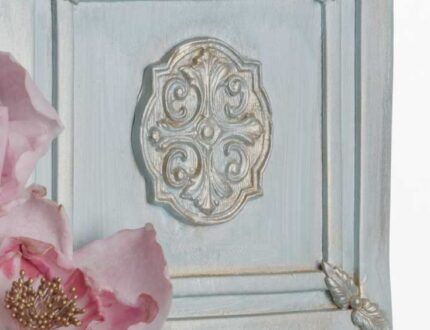
Here, Paul creates a double frame effect by making another border/ box within the one already created. With a flour paste brooch in the middle, it really does have a lovely artistic look.
7. Decorating the middle tier continued
Now it’s time for Stephen Benison cutters although you could always use one’s you already have or create your own hand cut decorations.
8. Decorating the top tier
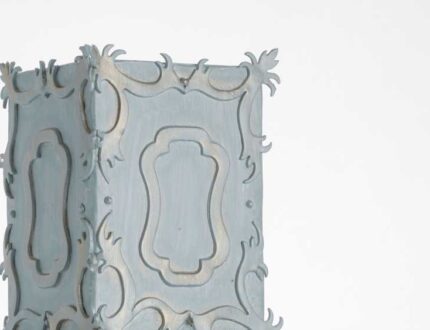
This is the scary part so be sure to start at the back of the cake. Ideally Paul would have left the cake overnight before painting but time is of the essence.
9. Painting the cake
Now it’s time to add the lovely brushed gold look to all the decorations. Paul uses a smaller brush here and puts the dust on dry.
10. Painting continued making the petals
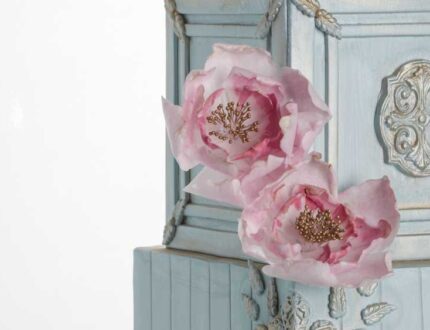
Paul has decided to go for a nice simple flower design so as to not take away from the cake. Paul uses wafer paper and 26 gauge wire to create lovely petals.
11. Dusting and putting the flowers together
Here, Paul dusts petals with lovely pinks to bring them to life.
12. Finishing touches
Now we see Paul add the flowers to the cake which adds a wonderful touch of vibrant colour and really finishes the design off.
13. Other ideas
In this lesson, Paul shares some other ideas to inspire you when making this cake to make it unique to you. We’re sure by now that you’ll have some of your own ideas and we would love to see them.
Please share your snaps with us on our Facebook page
14. Pro lesson
Here Paul goes into detail covering things like portions, ingredients costs and pricing and lots more. It’s vital information for any professional cake designer!
Don’t forget you can also work out your portion and serving sizes by using our cake calculators.
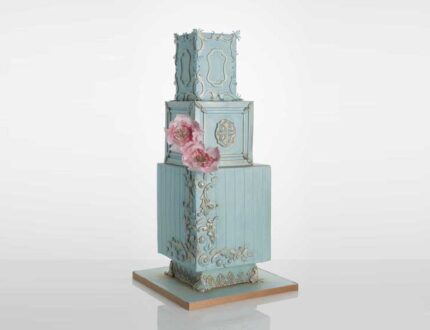
Join Paul Bradford as he teaches you how to make this elegant Antique French Wedding Cake!
In this week’s tutorial, Paul shows you how to make a beautiful French-inspired wedding cake.
This is a stunning cake that has endless design possibilities so let your imagination flow and watch our “other ideas” lesson to find out what else you could make with the skills learned.
In this lesson you will learn:
- How to cover a square cake
- Cake stacking
- Working with ganache
- Working with molds
- Edible paint-work
- Making edible flowers
- and much much more!
Don’t forget to share your interpretations of this wonderful cake with Paul and the rest of the Sugarcraft community on our Facebook group.
Who knows? You may even end up featured in one of our monthly members’ cake blogs.


