Tutorial Preview
Highlights
Highlights of the Black Widow spider course.
1. Explaining the stand
The stand is perhaps the most important part of this design so it’s essential that we get it right. Watch how Dot explains how to place the feet taking special note that the middle two legs are from one piece of bing wire and the outer two are another piece.
NOTE: You’ll need the templates from the tab below. The spiders legs are bent from the body out at 7,11,10,5 and 7cm.
2. Carving the cake
Using the side template as a guide Dot and Paul get to work carving away the distinctive spider shape. Watch how Dot takes little shavings a bit at a time until she is happy with the cake, using the sketches as her reference points.
3. Adding the cake
With eight legs to content with, Dot manages to get the cake onto the board, which is the first time the stand gets put under some weight pressure and thankfully it stays floating on the wires. They then add a layer of ganache in preparation for the covering.
4. Covering the cake
This is a very awkward shape and takes quite a bit of cutting, massaging and manipulating into shape. As this is a live feed there are no second chances, but they manage to pull it off leaving a smooth finish.
5. Covering the legs
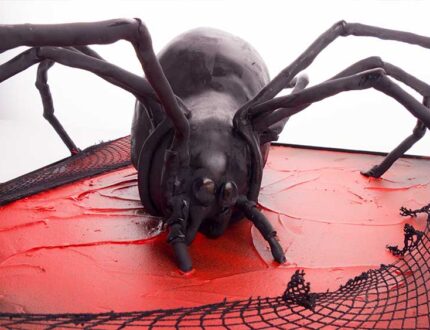
This is where the spider really starts to look realistic as the legs get covered. Each piece is added separately to give the legs their realistic joins.
NOTE: Dot adds the sugarpaste over the wire. If this is for a customer then you must make the wire food safe.
6. Adding the extra features
The spider now needs an antenna and other distinctive features so always referring back to the reference images they add bit by bit, which is worth it for the overall shape and look.
7. Finishing touches
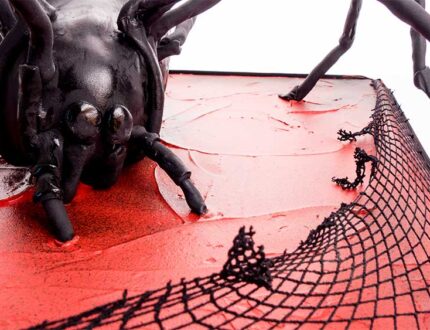
Just a case of covering the board, adding the ribbon and some extra decoration and finishing with a spray of colour from the airbrush.
Black Widow Spider Cake Tutorial with Paul Bradford & Dorothy Klerck
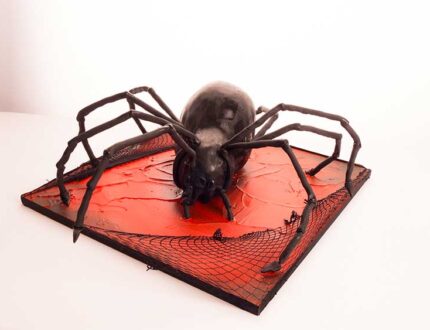
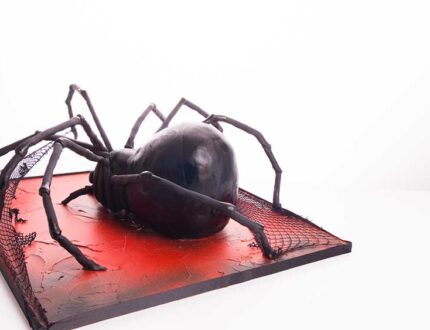
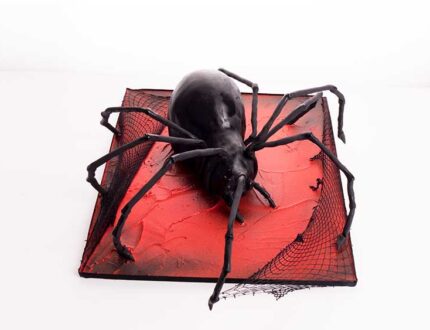
Learn how to make an incredible black widow spider cake with the talented Dorothy Klerck (accompanied by Paul Bradford) Filmed live in the CakeFlix studio, this raw, unedited live show teaches you how to make this wonderful design from scratch.
In the following tutorial you will learn how to:
- Create a stand suitable for creating cakey creatures on
- Carve awkward shapes out of cake
- Cover awkward shapes
- Paint to give a gloss finish
- and much, much more
Don’t forget to share your interpretations of this wonderful cake with Paul and the rest of the CakeFlix community on our Facebook group.
View hundreds of more world-class tutorials only at www.cakeflix.com.
