Tutorial Preview
Highlights
Here, we’ve carefully selected the key parts from the entire tutorial and condensed it into an 10 min long video. More than enough to get you started without taking too much time.
1. Covering the bottom tier
Emma starts by rolling out a big piece of sugarpaste to cover the large fruit cake, which has already been covered in roughly 1 cm thick marzipan.
2. Covering the hexagonal cake
In this lesson, Emma shows us how to cover an awkward shape using very thick ganache and shows us her favourite tool for getting a neat cut when cutting away the excess sugarpaste.
3. Stacking the cakes
Emma stacks the cakes supporting them with various cake cards and dowels.
4. Covering the board
In this lesson, Emma shows us how to cover the board and add some detail that’ll stand out when it comes to airbrushing later on.
5. Adding sausages
In this lesson, Emma rolls out some sausages that wrap around each tier.
6. Adding the front door
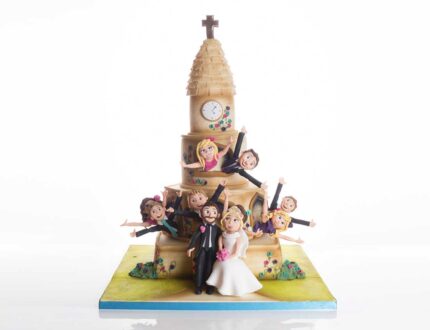
Here Emma uses rice krispie treats to start adding extra detail to the cake including a roof and a front door for the church.
7. Adding the tiles
In this lesson, Emma covers the roof in a thin layer of sugarpaste and then cuts out little squares to create tiles which she then applies with some edible glue.
8. Adding the windows
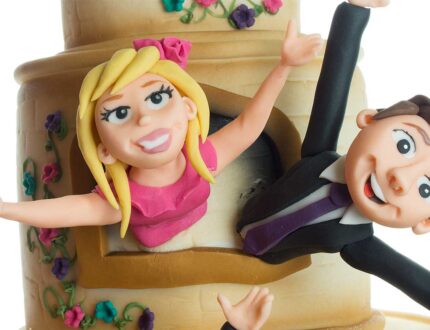
Emma uses handmade templates – which are available in the templates section below – and cuts out doors and windows from brown sugarpaste.
9. Airbrushing
Emma gets the airbrush out and starts with a lovely pistachio colour for the grass. She then uses brown to build up the colour of the church, as well as black for shading the windows.
10. Adding the clock and the vines
In this lesson, Emma adds a clock which she will paint once the sugarpaste dries. She then pipes some vines going up the church.
11. Adding the bushes, flowers and cross
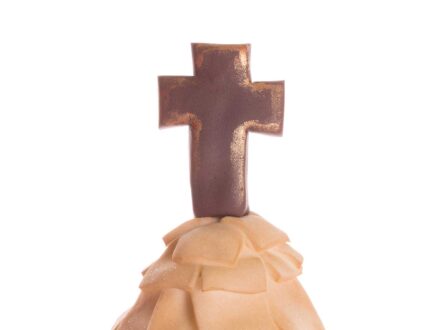
Emma uses a lovely blossom plunger to adds some colour to the bushes and the vines. She then cuts out a thick cross from brown sugarpaste, which is added to the top of the cake.
12. Making the armature bride and groom
Now we move on to the modelling, and Emma shows us how to create the skeleton for the models, using florist wire and and tape.
13. Making the armature guests
Emma shows us how to form the bodies of the guests, using similar techniques to making the bride and groom, but a little simpler.
14. Making the female heads
In this lesson, Emma shows us her super quick and brilliant method of making novelty style female heads.
15. Making the male heads
Emma shows us her super quick and brilliant method of making novelty style male heads.
16. Adding the hair
In this lesson, Emma shows us how to make the hair for the male and female models showing two different styles for the women.
17. Making the bride and groom
Emma forms the bodies of the bride and groom, using the wire to hold sausages of sugarpaste, and then begins to make the clothes.
18. Making the groom’s head
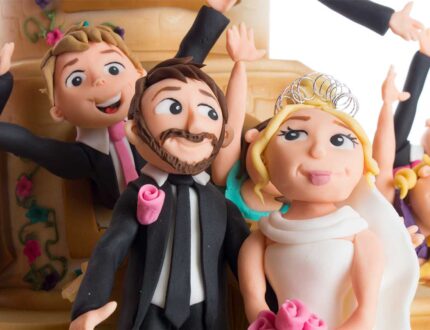
Emma changes things a little here, and adds some lovely facial hair in a very quick yet effective way.
19. Finishing touches
In this lesson, not only will you see how to make a beautiful face, but you’ll learn a brilliant way to make a super quick tiara. Now for the last touches, such as painting the clock face and adding a beautiful sparkle.
20. Other ideas
Emma shares some other ideas you can try out during this project. We’re sure you’ve some of your own, and we’d love to see what brilliant alterations you’ve made.
Share your pics with us on our Facebook page.
21. Pro lesson
In this lesson, Paul shares some insider information about the cost to make this cake, as well as pricing, portions and other vital information for any professional cake designer.


