Tutorial Preview
Bite Sized
Watch Paul make this cake in just one minute!
Highlights
Watch some hand-picked highlights from the full tutorial.
1. Carving the cake
In this lesson, you will learn how to carve and shape the cake to create a smooth and even surface for decorating.
2. Ganaching
In this lesson, you will learn how to ganache your cake. Paul will teach you how to layer the cake and fill it will yummy white chocolate ganache!
3. Covering the cake
Now, you will learn how to cover your ganached cake with fondant. Paul will guide you through the process of rolling out the fondant, draping it over the cake, and smoothing it out to create a clean and professional finish.
4. Painting the board
In Lesson 4 of this tutorial, you will learn how to paint the board that your teddy bear cake will sit on.
5. Adding the head
Lesson 5 is all about adding the cake to the board then head to your teddy bear cake! Get ready to see your teddy bear take shape!
6. Making the arms and face
This lesson is all about giving your teddy bear cake some personality! You’ll learn how to make the arms and face using fondant and by the end of this lesson, your teddy bear cake will be ready to charm everyone who sees it!
7. Royal icing
In this lesson, Paul shows you the technique to adding some texture to you cake before we begin to paint.
8. Painting the cake
This lesson is all about adding the base paint to your cake. You’ll learn how to apply a coat of paint to the fondant, creating a perfect canvas for further decoration
9. Adding depth
In this lesson, you’ll learn how to paint your teddy bear cake to add depth and dimension to your design. Paul will teach you how to mix and blend edible paints to create shadows, highlights, and other effects that will make your cake truly stand out!In ti
10. Making the crown
In this lesson, Paul shows you how to make the crown base using rice krispy treats.
11. Making the crown part 2
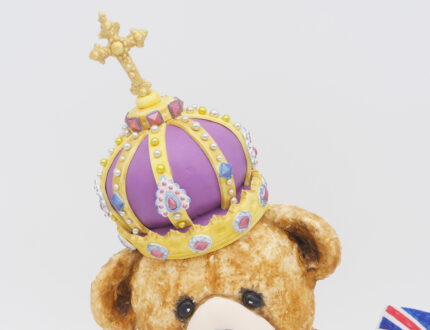
In this lesson, you’ll learn how to make a crown fit for a king!
12. Making the decorations
Now, Paul will teach you how to create stunning edible decorations, adding the perfect finishing touch to your teddy bear cake.
13. Adding the decorations
In this lesson, you’ll learn how to add the decorations to the crown you made in Lesson 11.
14. Painting the crown
In this lesson, Paul adds a base layer of paint to the crown.
15. Painting the crown part 2
Paul shows you how to use edible paint to add intricate details and colors to your crown, creating a stunning and realistic finish.
16. Making the Union Jack
Paul shows you how to make your own DIY Union Jack flag!
17. Finishing touches
Now it’s all about the finishing touches. Paul will teach you how to add the final details and decorations to your teddy bear cake, bringing it all together for a beautiful and impressive finished product.
18. Other Ideas
Paul shares some other ideas to use on your own designs.
19. PRO Lesson
In this lesson, Paul goes talks all about pricing and selling a cake like this.
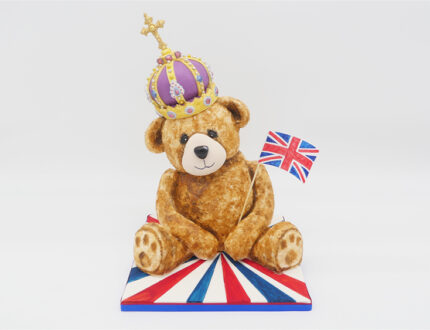
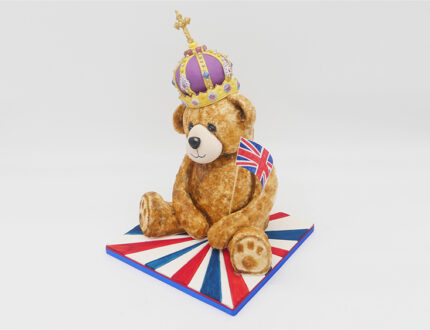
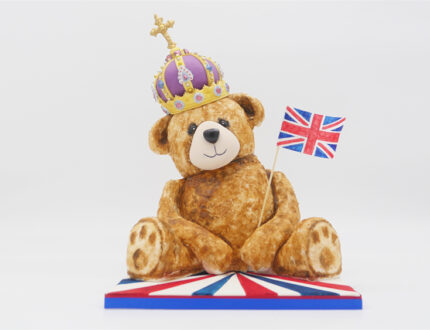
Charlie Bear Cake Tutorial by Paul Bradford
Having previously made cakes for the late Queen, King Charles and Prince Albert of Monaco, Paul couldn’t let King Charles’ coronation pass without a cake.
Paul has made many teddy bears before, but you’ll notice the texture and painting of the bear’s fur on this one are particularly unusual. To learn how to make the cake and hear lots of royal stories in his commentary, this one is certainly worth watching!
In the following tutorial, you will learn how to…
- Carving & ganaching an unusual shaped cake
- How to achieve a textured coat for the bear
- Painting directly on to the cake to achieve a texted fur
- How to make an edible crown and flag
- and much, much more


