Tutorial Preview
Highlights
Here, we’ve carefully selected the key parts from the entire tutorial and condensed it into a 5 min long video. More than enough to get you started without taking up too much of your time.
1. Making Santa's legs
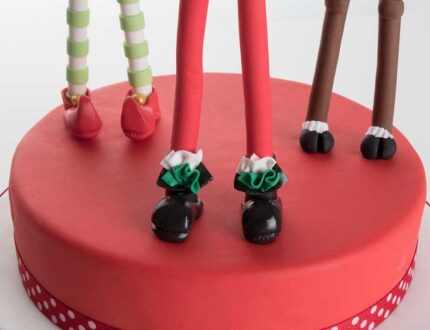
Paul makes Santa’s legs using a very contemporary and quick technique and then makes his lovely shiny boots!
2. Making Santa's body
Here, Paul makes Santa’s torso by making a cone of sugarpaste. He then adds little details with white sugarpaste with the help of PME modelling tools.
3. Making Santa's arms
Paul starts but adding a belt to his body and then shows us how to make arms to sit by Santa’s side. You could easily have them in a more upright position by placing something under them as they dry. Alternatively, you can insert wires but Paul opts for a cuter look.
4. Making Santa's head
In this lesson, Paul makes Santa’s head by adding cheeks to a ball of sugarpaste and then covers it with a thinner piece. He then uses modelling tools to bring them out and create the facial features.
5. Finishing Santa
Paul finishes off his Santa by adding a little bit of colour to Santa’s face as well as adding his famous facial hair. To finish it all off, he adds a red Santa hat and some holly.
6. Making the elf legs and shoes
Paul has already started the legs using the same technique as before and so we now learn how to add the stripes. He then shows us how to make the elf’s cute little clog-like shoes complete with bobbles….how cute!
7. Making the elf body
In this lesson, Paul shows us how to make the elf’s torso using a cone of green sugarpaste. He then shows us how to create shapes using everyday household items to finish it off.
8. Finishing the elf body
Paul starts by making the arms using the same technique as before and then adds the little extras to his outfit.
9. Making the elf head
In this lesson, Paul makes the elf’s head using an even simpler technique than before! (since he doesn’t have big rosey Santa cheeks to make this time)
10. Finishing the elf
In this lesson, Paul gives our little elf a little hairdo and a cute little hat.
11. Making rudolph’s legs and body
Paul makes rudolph’s legs which have been the quickest yet and then makes his torso complete with a cute snowflake jumper.
12. Making rudolph’s head
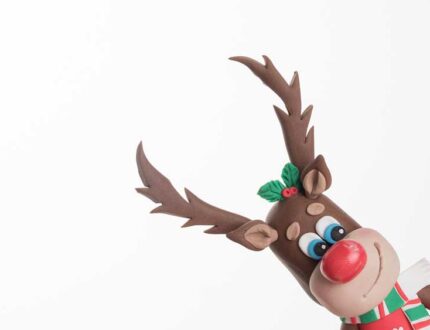
Here, we see a brilliant and simple way to make a cute Rudolph’s head with his big red shiny nose.
13. Finishing rudolph
In this lesson, Paul makes Rudolph’s antlers using sugarpaste but ideally thinks it would be better to use modelling chocolate. He then adds some ears and a scarf to keep him warm.
14. Other ideas
Paul shares some other ideas you can try out during this project. We’re sure you’ve some of your own, and we’d love to see what brilliant alterations you’ve made.
Share your pics with us on our Facebook page.
15. Pro lesson
Paul shares some insider information about the cost to make this cake. He also shares his advice on pricing, portions and other vital information necessary for any professional cake designer.
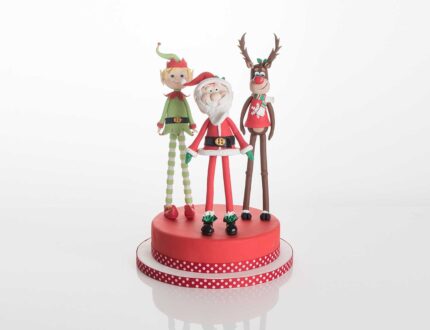
Christmas cake toppers with Santa, Rudolph and Elf…
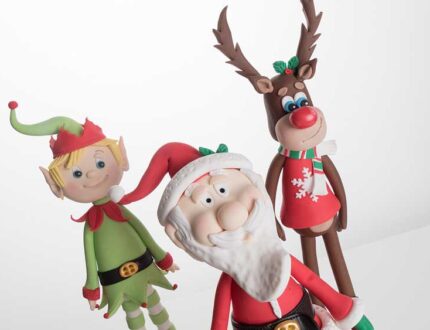
In this weeks tutorial, it’s time to get in the festive spirit with these Christmas cake toppers! Paul shows us how to make this Santa along with his little helpers Rudolph and Elfie the Elf (imaginative I know!).
In this tutorial you will learn:
- Modelling work
- Standing Models
- Simple edible clothes
- Making adorable characters
- Edible dusting
- and much much more!
Don’t forget to share your interpretations of this wonderful cake with Paul and rest of the Sugarcraft community on our Facebook group.
Who knows? You may even end up featured in one of our monthly members’ cake blogs.


