Tutorial Preview
Highlights
Here we’ve carefully selected the key parts from the entire tutorial and condensed it into a 6 minute long video. More than enough to get you started, without taking too much time.
1. The design
Paul talks us through the concept and design, and explains how he plans on putting it all together.
2. Assembling the base
Paul begins to assemble the base, which will then be covered in all sorts of loveliness to create a mountain feel.
3. Making the rocks
Paul shows us how to make the rocks for the rock face, using dried sugarpaste and lovely edible dusts. As this part of the cake is not for consumption, you could really use anything you like… within reason of course!
4. Adding the rocks
Paul adds the rocks to the polystyrene using medium peak royal icing.
5. Preparing the cake
In this lesson, Paul cuts the cakes to shape and then adds dowels for support.
6. Ganaching the cake
Paul adds a thin layer of ganache to the cake and then smooths it off with some warm water and a palette knife.
7. Covering the cake
Paul rolls out a large piece of sugarpaste to around 3mm, and then wraps it around the cake and cuts away the excess.
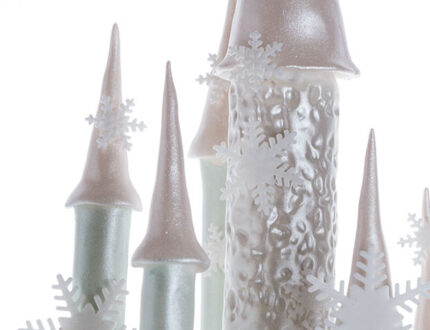
8. Adding the turrets
Paul uses large hollow cake dowels covered in sugarpaste to create the long turrets going up the side of the cake.
9. Adding the turret tops
In this lesson, Paul creates cones of sugarpaste which he places on top of the turrets to finish their structure. Using a little CMC here may be advisable.
10. Decorating the turrets
It’s time to start making the turrets look pretty, and Paul gets out some moulds to help.
11. Painting the cake
Paul gets out some more dusts and paints the cake to create lovely glue, green tones on the turrets and lovely silvers on the cake.
12. Finishing the rocks
Paul finishes adding the rocks to hide all the joins – tying it all together.
13. Lesson - 13 - Covering the base
Paul now covers the base of the stand in white sugarpaste and you’ll see what happens when you use cheap sugarpaste… lesson learned!
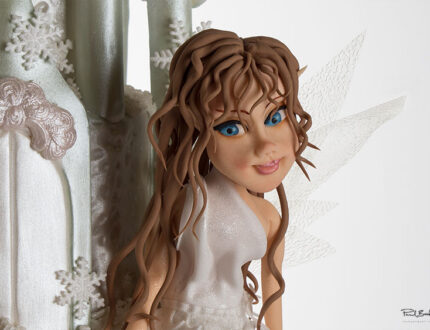
14. Making the fairy head
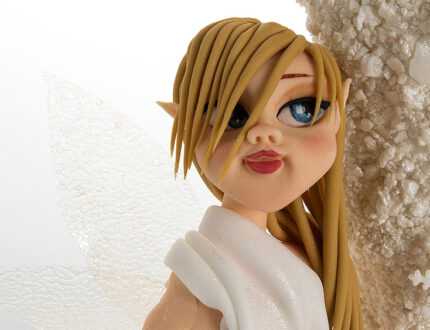
Paul starts on making the fairy’s head, using a lovely modelling paste, which you’ll find links for on the ingredients list below. Paul shows us some great techniques using various modelling tools to create delicate facial features.
15. Making the eyes pt 1
Paul starts on the eyes using the sugar shaping tools.
16. Making the eyes pt 2
Paul finishes the eyes using different coloured sugarpastes, as well as various edible dusts mixed with vodka.
17. Making the legs
Paul demonstrates a nice way we can make the eyes pop out a little more. Then he makes the legs, reinforcing them with wire to help keep their shape.
18. Making the body
Paul now forms the body and uses a wooden skewer to keep it upright and straight.
19. Making the dress
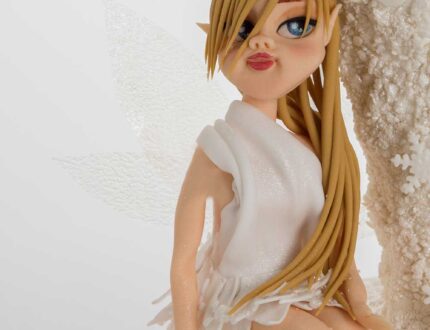
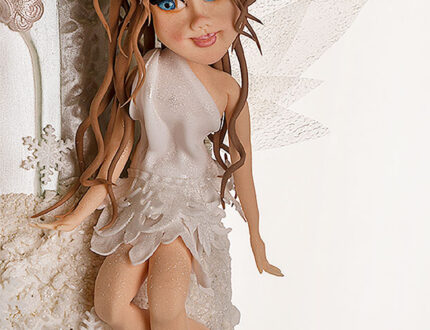
Paul now shows us how to dress the fairies in pretty white dresses, using flower paste.
20. Making the arms
Using similar techniques to making the legs, other than placing wire in them, Paul shows us how to make lovely feminine arms.
21. Adding the arms
Paul adds the arms using a little edible glue and then blends them into the body using modelling tools.
22. Adding the hair
Paul makes up lots of thin strands of hair and uses various things like paint brushes and toothpicks to wrap them around – creating lovely curly hair.
23. Finishing the hair
Paul finishes the hair for the younger sister, and goes for a more straight haired look with it sweeping across her forehead and right eye.
24. Adding the snowflakes
Paul adds some snowflakes to the cake to add more prettiness to the overall design, as well as blending the two halves together.
25. Preparing the wings
Paul experiments with Dr Oetker gelatine powder to make the wings for the fairies.
26. Finishing touches
Paul finishes the cake by adding the dried wings along with some final little touches.
27. Other-ideas
Here Paul shares some other ideas you can try your hand at when making this cake. We’re sure you have some of your own great ideas and we’d love to see what you come up with.
Please share your pics with us on our Facebook page
28. Pro lesson
In this lesson, Paul shares some insider information about the cost to make this cake, as well as pricing, portions and other vital information for any professional cake designer.
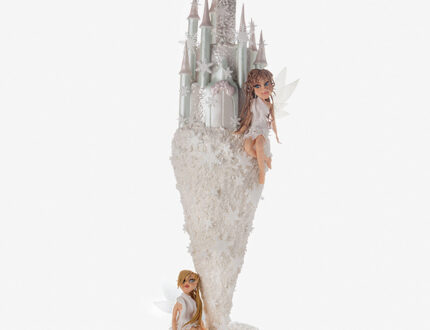
Learn how to defy gravity, with Paul’s magical Christmas creation.
This fairy tale castle is perfect for an elaborate festive celebration and can be easily adapted to work as a wedding cake. You’ll definitely have heads turning, with this cake in the middle of the room.
This tutorial is full of brilliant techniques, including advanced modelling, creating edible clothes, dust work, working with impression, making a gravity defying structure, creating lovely textures and more. By simply changing the models, the colour scheme or the finish of the bottom of the cake you can create a memorable design to suit all occasions. This tutorial is suitable for intermediate or advanced cake designers.
We’d love to see your take on the Christmas Fairy Castle – share your photos with us on our Facebook page.
