Tutorial Preview
1. Making the Trees and the Reindeers
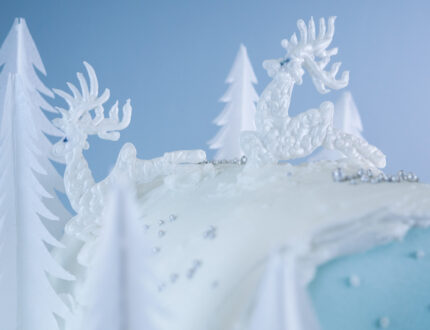
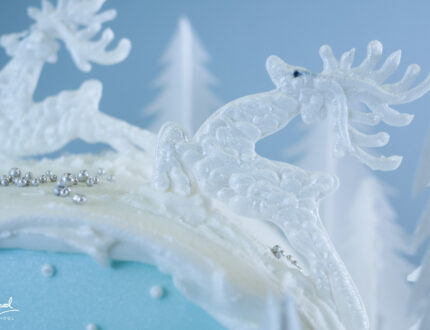
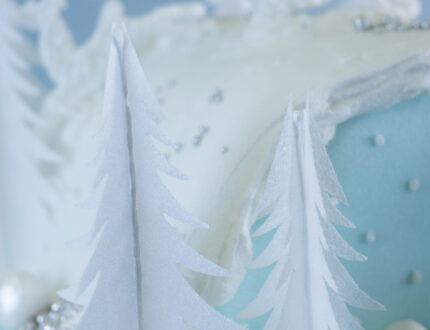
In this first lesson Paul shows us how to make beautiful christmas trees using a pair of scissors, some rice paper and a little bit of royal icing…and that’s all! Simple but effective. So quick and easy to make and could be used time and time again. Paul then goes on to demonstrate making piped reindeer. Templates for the reindeer can be found in the tools section. Paul uses stiff peak royal icing with a sprinkles of water added to get the right consistency. It’s advisable to make these in advance allowing them to dry overnight.
2. Cutting and Covering the Cake
Paul is using buttercream! I repeat…Paul is using buttercream! No he hasn’t gone mad but feels that it has been neglected a little and as many people prefer to use it he thought he would use it for this cake. He is using a recipe on the site used by Mish from ___but has added a little white chocolate ganache to give it a smoother finish and because he loves chocolate.
3. Icing the Cake
Paul uses a little blue gel colouring mixed in with white sugarpaste to get a lovely ice blue colour. Once he’s mixed it through he simply rolls it out and then covers the cake and uses a cake smoother to get a nice finish. For those of you used to working with ganache bare in mind that you can’t be as heavy handed here as it will lose it’s shape.
4. Adding the Snow and the Trees
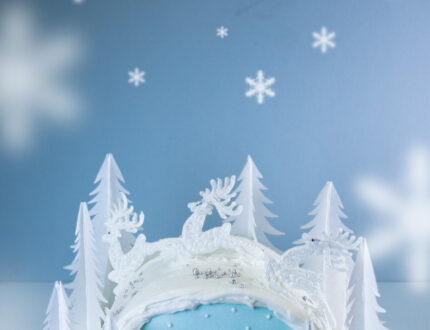
In this lesson Paul uses royal icing to create lovely thick snow covering the cake making the whole thing feel like a snow covered hill. Now to add the trees and Paul cuts certain bits away making sure they fit nicely in the corners and so on and builds the scene up tree by tree.
5. Adding Decorations to the Cake
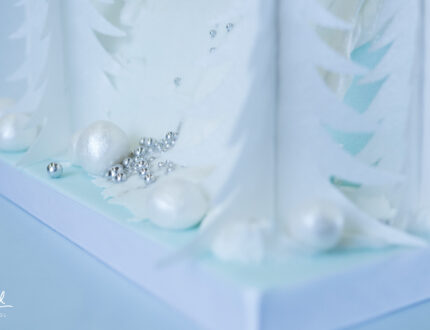
Here Paul shows us how to “bling up” the cake with tasteful decorations using lovely dusts and balls of sugarpaste. I won’t spoil it for you so click “play”.
6. Finishing the Reindeer
In this lesson Paul was planning on adding the reindeer to the cake but unfortunately they are not dry yet. Paul gives a nice little tip to make sure they dry well which you can use if you find yourself in a similar predicament.
7. Finishing Touches
Now it’s time to add the reindeer and all the lovely little extra decorations. Paul makes some cute edible snowballs but rolling up balls of sugarpaste and then shaking them in a bag full of edible dust. Very quick to make and look great on the cake. Paul has a good trick up his sleeve to make sure the reindeer stay on securely. Watch to find out.
8. Other Ideas
In this lesson Paul shares some other ideas you can implement when making this cake to make it unique to you. We are sure you have some of your own and we would love to see them! Please share your pictures with us on Facebook Page.
9. Pro Lesson
Paul gives some insider information detailing the cost to make this cake as well as what she would charge if commissioned to make it – vital information for any professional cake designer!
10. Highlights
This is the place to be if you are struggling for time. You can watch the whole tutorial in approximately 8 minutes, showing you all the key points – more than enough to get you started.
Paul introduces us to his wonderfully festive Christmas Reindeer Cake. This design is aimed at beginners and has some great ideas that can be incorporated in to more complex designs…just look at those beautiful edible reindeer! In this tutorial, you will learn how to use buttercream for rounded edges, create edible trees using wafer paper and edible piped reindeers, as well as the all important finishing touches to make the perfect winter wonderland. This cake is surprisingly easy to create and ideal for upcoming Christmas celebrations.
We would love to see your take on the Christmas Reindeer Cake – Please share your picture with us on our Facebook Page!

