Tutorial Preview
Highlights
We take a look at some of the highlights from this cake tutorial.
1. Preparing the stand
Paul prepares the stand getting all the hardware jobs out the road before adding the cake.
2. Adding and carving the cake
Time to add the cake over metal rod then starts carving. As always, it’s worth taking your time carving to big top shape.
But don’t worry, as Paul reminds us if you make a mistake just stick it back on with ganache.
3. Ganaching the cake
You’ll want to give this cake additional structure. Dark chocolate ganache helps with the structure so watch how Paul layers on the ganache. It takes a little longer than usual for this one.
4. Covering the cake
With the big top roof to get on this one is worth watching as Paul figures out how to cover the cake. He then mixes up his special red in preparation for cutting the stripes.
5. Decorating the roof and sides
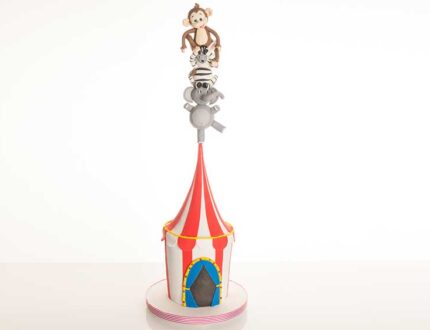
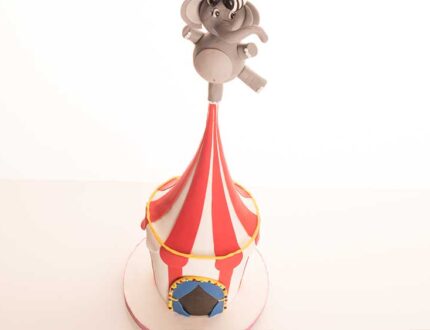
Adding the red stripes makes the big top very distinctive and finishing with the decorative gold band gives it that all important circus look.
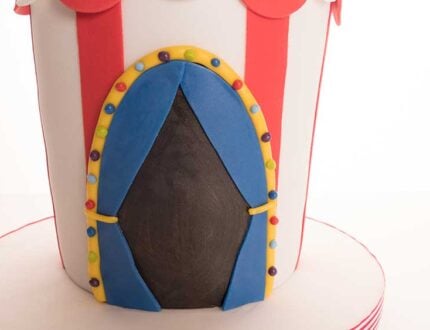
6. Adding the door
There are a number of ways you can do this, but Paul’s preference is to cut out the area using the template then add the door.
7. Adding the curtains
Now to make the door look like something out of the circus in this lesson Paul creates the curtains and door frame lined with a colourful selection of lights.
8. Making the elephant
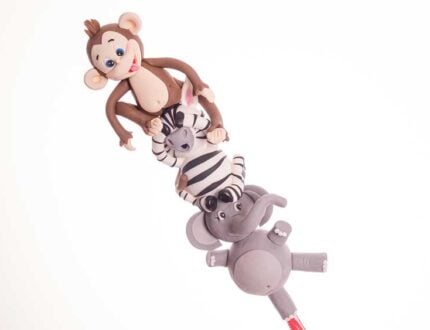
We’re getting there, but now comes the fun part where we add the animals to the cake. In this lesson, Paul adds the elephant’s body and legs, which gives a flavour of how the finished design will look.
9. Finishing the elephant
Time to bring our elephant to life and give him character along the way by adding his head, trunk, tail and those very distinctive ears.
10. Zebra time
In this lesson, Paul positions the body and legs of the zebra before starting to add the stripes.
11. Adding the zebra’s head and front legs
He’s starting to take shape, so time for the head and a very important facial expression! His character builds as the front legs are placed over his eyes to keep the frightened look going.
12. Finishing the zebra
This is where the zebra gets his stripes and ears and the wee character comes to life.
13. Adding the monkey
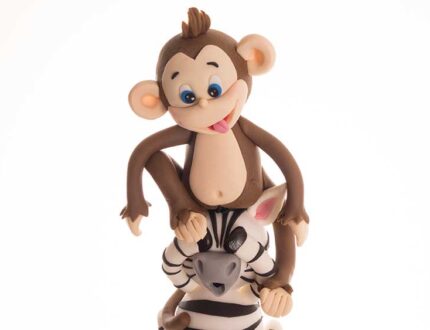
In this lesson Paul positions the monkey sitting on the zebra’s head with his legs dangling down.
It’s your choice where you put the legs, but you will want to consider the overall look of the cake.
Every cheeky monkey needs a cheeky smile so here you add the head and facial expressions.
14. Finishing the monkey
In this lesson, Paul adds the ears, eyes, nose, arms and of course his tail to finish things off.
Paul has a debate about the positioning of the arms, which again gives you some options.
15. Finishing touches
Paul just adds some detail to each of the animals to finish this cake off. It’s been great fun to make this one!
16. Other Ideas
Paul shares with you some other ideas you could do for a design like this.
17. Pro Lesson
Paul shares with you everything a professional cake decorator should know for producing a cake like this.
Learn how to make a circus cake with Paul Bradford…
In this tutorial, you will learn how to make a circus cake stacked (literally) with some of your favourite animals from the show.
Want to learn how to make an elephant cake? a monkey cake? a zebra cake? why not learn them all at once with this easy to follow tutorial.
Don’t forget to share your interpretations of this wonderful cake with Paul and rest of the Sugarcraft community on our Facebook group.
Who knows? You may even end up featured in one of our monthly members’ cake blogs.
