Tutorial Preview
1. Structure and ganaching
This is a big cake so you’ll need to know how to create the structure to avoid any mishaps when delivering. Paul gives a couple of options and then goes onto start ganaching, which took a bit of time. Paul uses all dummy cakes so if you need some guidance on stacking cakes try our Free Stacking Lesson.
2. Finishing the ganache layer
After applying the ganache to the sides Paul then adds the ganache to the top of the cake and smoothes off the sides with his pastry brush.
3. Covering the cake
This is one of the biggest cakes Paul has ever covered so watch him take you through each step and his thinking behind his methodology. Worth watching as even the experienced ones need to take two!
4. Making the acrylic paint
Paul mixes three different mediums together to come up with the structure that will be suitable to paint onto the cake whilst retaining some structure. NOTE – Paul is experimenting here so for the quantities he recommends see the Ingredients tab in the content below.
5. Applying the acrylic paint
This is where you get artistic and create your own design or pattern on your cake, alternatively, you can follow Paul’s lead.
6. Adding the colour
This is where you start to bring the cake to life by adding some colour. In this lesson, Paul starts to add the first base colour. Of course, you can choose whichever colours you like, but Paul goes for a pale grey to start with then builds up the shades and shadows.
7. Adding pearls and dusting
This is optional depending on how you would like the finish to look, but here you’ll see Paul’s random approach to adding the pearls. He looks like he’s having a lot of fun here until he realises the vacuum cleaner needs to come out.
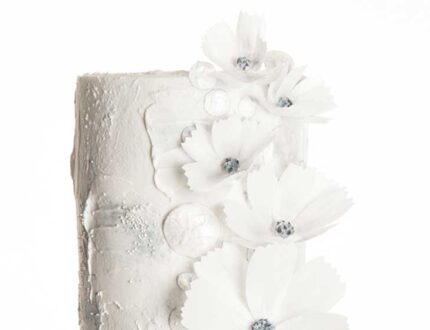
8. Creating templates for the Cosmos flower
As always Paul free hands is templates (which are available via the Templates tab below) before tracing onto wafer paper. He then carefully cuts out the flowers.
9. Starting the flowers
There’s a lot of repetition here so get yourself a coffee or something stronger and watch Paul take you through the process step by step.
10. Making the centre and wiring the flowers
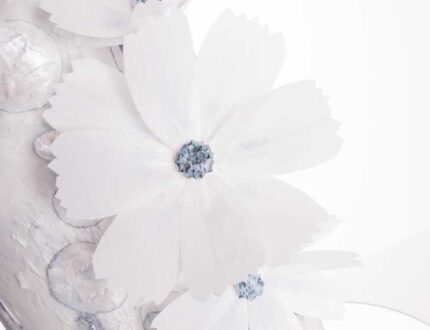
In this lesson, Paul teaches a great technique for creating stable and pretty floral centres, which will work for almost any large flowers then adds the petals to create the amazing Cosmos flower. Then comes the fun part….bringing the flower together by wiring the petals.
11. Colouring the centres and placing the flowers
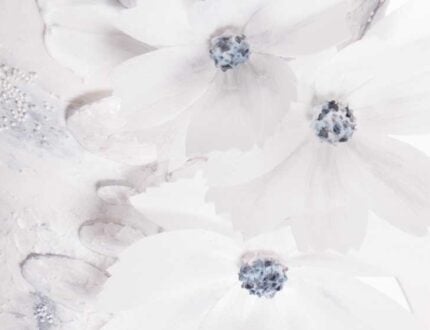
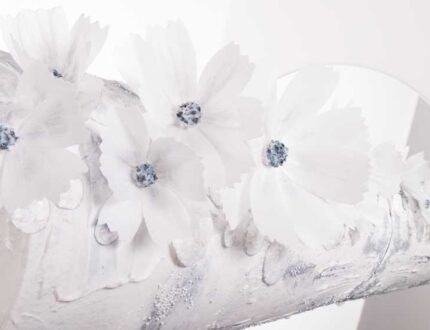
Using a subtle mix of colours Paul brings the centres to life, but you can choose whichever colours suit your design. Now it’s time to position the flowers, again, a great opportunity to put your own mark on the design or you can just follow Paul.
12. Creating the discs and finishing
Paul feels the cake needs some extra decoration so opts for coloured discs. In this lesson Paul cuts out, colours then places the discs onto the cake to finish it off.
13. Other Ideas
Paul shares with you some other ideas that can be made using his Cosmos Wedding Cake tutorial.
14. Pro Lesson
Paul calculates the cost, time and selling price for a design such as this.
15. Highlights
We take a look at some of the highlights from this lesson.
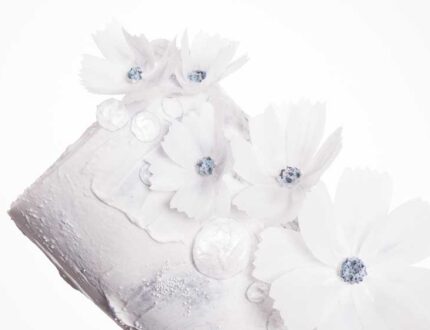
Learn how to make a Cosmos Wedding Cake with Paul Bradford…
Learn how to make this cosmos wedding cake complete with an edible floral arrangement. This is a big cake for a big event!
Full of fantastic techniques and designs. This is one cake which will really help wow guests on the big day!
In this lesson, you will learn how to:
- Creating a tall, thick structure
- Layering with ganache
- Cake covering
- Applying acrylic paint
- Creating and wiring flowers
- and much, much more
Don’t forget to share your interpretations of this wonderful cake with Paul and rest of the Sugarcraft community on our Facebook group.
Who knows? You may even end up featured in one of our monthly members’ cake blogs.
