Tutorial Preview
Highlights
We take a look back at some of thee highlights from this course.
1. Making the board/ structure
In this lesson, we learn how to put the board together for our cake.
2. Sculpting and adding the first leg
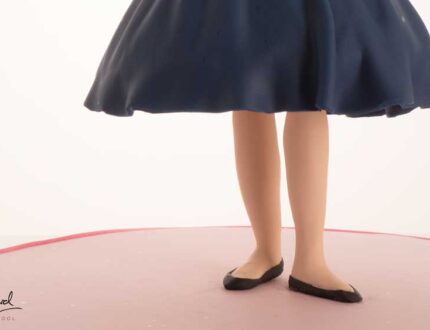
Here we see the legs being made and then the first leg then attached to the rod.
3. Adding the support and second leg
This is where we learn Danielle’s gravity defying trick and it’s a lot simpler than you might think!
4. Carving the cake
We see a lot of cake potentially go to waste here but you could always make some yummy cake pops or save the scraps for another project. A long serrated knife would be good to use at this stage.
5. Ganaching the cake
Danielle now covers the cake in a nice thick layer of dark chocolate ganache and shows us a clever way to start the shape of the dress.
6. Covering the cake
Danielle now shows us how to cover the cake.
7. Making the arms
Danielle has made a lovely sugarpaste tone using food colouring gels that are noted in the ingredients list. To save changing the colour with icing sugar with rolling out, she decides to roll on a cake board using vegetable fat to prevent it from sticking.
8. Making the arms
In this lesson we learn how to create the arms and hands. It’s important to make sure you use the same amount of sugarpaste for each arm noting the length and thickness of the first one.
9. Making the top of the dress
Danielle makes the torso from one piece of sugarpaste and uses her hands as well as a veiner and ball tool to bring out all the shapes.
10. Making the arms
Here we see the dress being finished with the top half added to the torso.
11. Finishing-the-dress
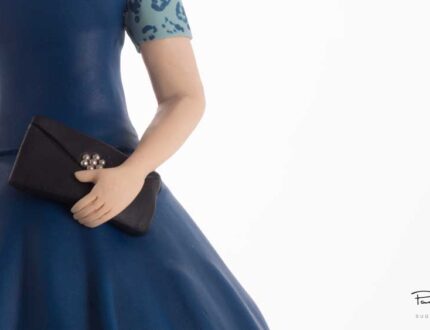
Danielle first of all makes a cute little purse that takes almost seconds to make. Then it’s onto attaching the arms using cocktail sticks and edible glue.
12. Adding a pattern to the dress
In this lesson, Danielle attaches the sleeves and collar to finish the dress off.
13. Making the head
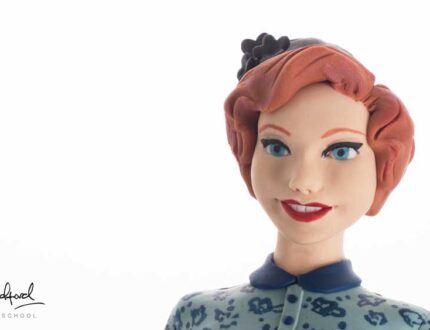
Here we see Danielle turn a piece of oval shaped sugarpaste into a lovely feminine shaped head using the most simple tools but with great technique. The key is to make little adjustments at a time otherwise you can make mistakes too big to correct.
14. Making the eyes
Danielle now starts to bring the face to life by adding the eyes using different colours of sugarpaste.
15. Painting the face
Danielle now paints our models face.
16. Making the hair
Finally, Danielle shows us how to make the hair for our swinging sugarpaste model.
17. Other Ideas
Paul Bradford joins us to discuss some other potential ideas you could create with the techniques learned in this tutorial.
18. Pro Lesson
Paul discusses the potential costs, sale price and margins for this cake.
Dreamboats and Petticoats…
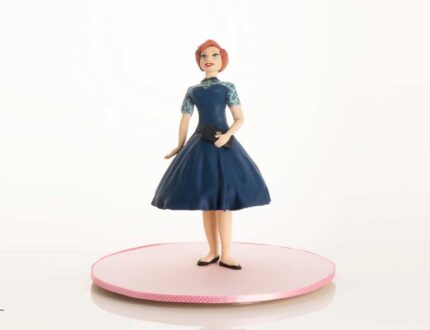
In this tutorial, the incredible Danielle Lechuga shows us how to make this dreamboats and petticoats styled cake.
In this lesson, you will learn how to…
- cake carve
- create realistic facial features
- work with ganache
- make edible clothing
- and much, much more
Time to give your sugarpaste some swing!!!!
Don’t forget to share your interpretations of this wonderful cake with Paul and rest of the Sugarcraft community on our Facebook group.
Who knows? You may even end up featured in one of our monthly members’ cake blogs.


