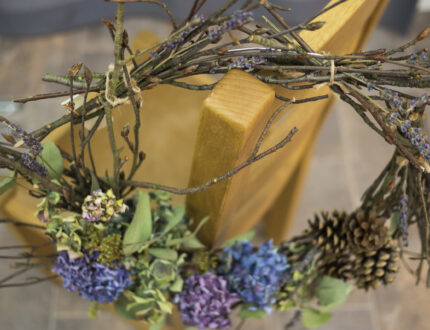
Tutorial Preview
1. Making the Base of the Wreath Part 1
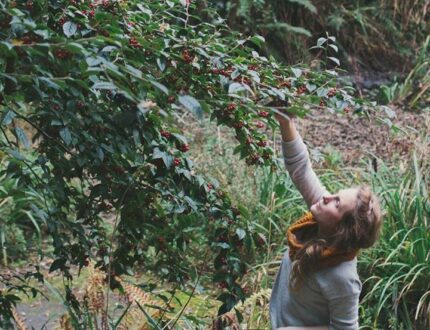
So to start of we of course have to get the foundations correct if we want that pretty yet sturdy wreath. Natasha (Tupelo Tree) shows just how to do that. If you feel up to the challenge throw those scissors aside or if you fancy keeping your hand pretty maybe best keeping the scissors close by.
2. Making the Base of the Wreath Part 2
Now that you have all your bundles made up it’s time to attach them to your coat hanger unless again you feel like a challenge in which case you wont be using that coat hanger. Watch and fine out. By the end of this lesson you will have the base complete and ready to put on those lovely decorations!
3. Adding the Hydrangeas
Now the creative part begins! Let’s attach those lovely flowers/ decorations you have picked out. Natasha chooses to start with hydrangeas but maybe you would prefer to go with something completely different. Get creative!
4. Adding the Dried Lavender
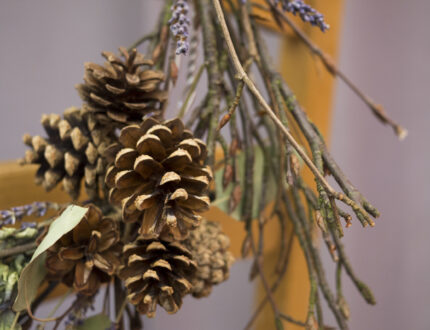
You can really start to see it coming together now can’t you? Just imagine it when it’s finished! Now it’s on to the Eucalyptus and Acorns. This lesson will show you clever ways to secure these lovely additions to your wreath without fear of them falling off or not showing through properly.
5. Adding the Eucalyptus and Acorns
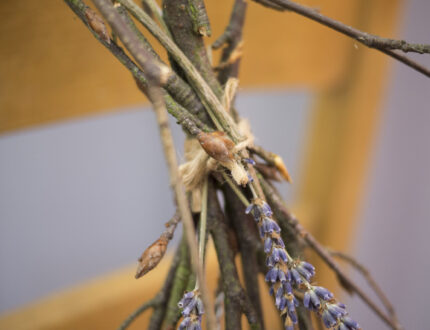
We’re almost there but perhaps you’re not! Maybe you have a hundred other things you want to attach? Just don’t get too carried away. You want it to have a bit of class and as well you want to be able to physically lift it without a forklift. In this Lesson Natasha show us how to to add the lavender in a way that enhances the overall look without being intrusive.
6. Finishing Touches
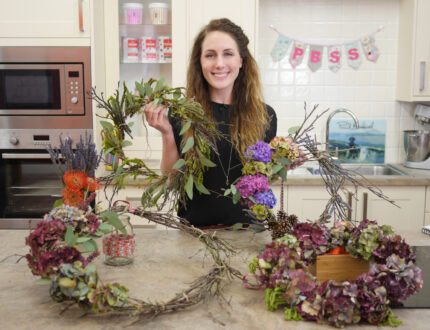
Join Natasha from Tupelo Tree as she shares her floristry skills and shows us how to make a beautiful dried woodland wreath. Anyone of any skill level or experience can have a go at this and we promise that by the end of this tutorial you will have something wonderful to show off and we are sure Natasha would love to see your work.
