Tutorial Preview
Bite-Sized
Watch Paul make the magical Frozen Wonderland cake in just one minute!
Highlights
Hand-picked best bits from the whole course!
1. Explaining the design
Paul goes through the design process for the cake then goes over how to make the gravity-defying structure before we begin the next lesson!
2. Building the gravity-defying structure
In this lesson Paul shows you how to attach the threaded rod to cake boards using washers and nuts. Make sure they are really really tight then for extra security use the hot glue gun to secure the stand.
3. Ganaching
Paul is using a much firmer cake so he uses a 50/50 caster sugar and water mix to make a cake syrup, he brings the mix to boiling point then lets it cool down before applying to the cake. Paul cuts the cake into two parts and layers one part with jam and one part with ganache to prevent sliding.
4. Covering the cake
In this lesson, Paul shows you how to easily cover tall cakes using a wrap technique.
5. Making the ice shards
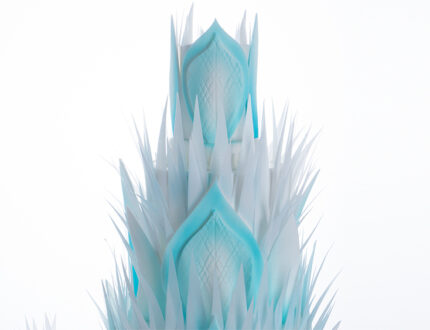
Now we’re moving on to the fun part as we begin to make some of the decorations, starting with the ice shards for the sides of our castle!
6. Stacking the cakes
In this lesson Paul talks about the counterbalance and how to solve any problems if the cake is too heavy for the stand. At this stage you have the choice to build the cake separate from the stand or take the risk and build the cake before delivery, which is what Pal is doing… fingers crossed!
7. Wafer paper ice shards
Paul uses a sharp blade to cut narrow wafer paper triangles, he then uses royal icing to stick them onto the cake to give an ice palace effect.
8. Adding the doors
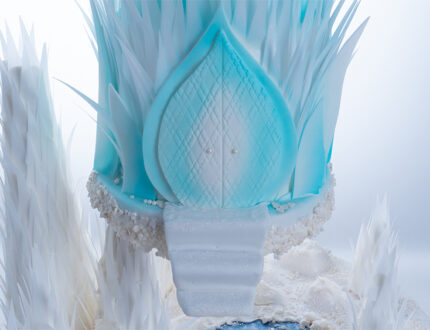
In order to add the doors, we first have to cut back the wafer paper then stick them on using royal icing.
9. Airbrushing & adding the shards
Next up, Paul airbrushes the shards, door and cake using a lovely turquoise and sky blue from Spectrum Flow.
10. Decorating the board
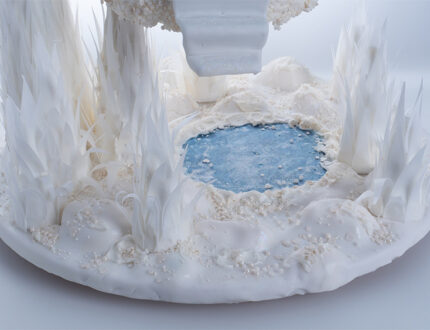
In his lesson Paul experiments with some glacier mints to make a lake. (Paul adds way too much food colouring so just add a tiny pin head of sky blue.) Paul advises that you use clear or blue isomalt instead for a better result. Once the lake is down, Paul then covers the board and creates a snowy hill effect.
11. Decorating the board
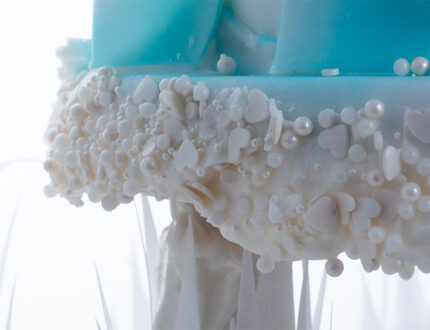
In this lesson, Paul fixes up the lake using paint to add more colour giving it a more frozen over feel. The ice stalagmites are then added and to finish off some sprinkles!
12. Adding the stairs/ finishing touches
All that’s left to do now is make some stairs. For this, Paul uses a thin cake card which he folds over multiple times. For finishing touches, glitter!
13. Other Ideas
Paul gives some other ideas for you to think about.
14. Pro Lesson
Everything a pro needs to know about pricing and distribution.
Frozen Wonderland Cake Tutorial
In this week’s tutorial, Paul shows you step-by-step how to make this magnificent Frozen Wonderland cake!
In the following tutorial, you will learn how to…
- Build a gravity-defying structure,
- Make wafer paper ice shards,
- Airbrush,
- Add hidden fairy lights
- and much, much more
Don’t forget to share your interpretations of this wonderful cake with Paul and the rest of the CakeFlix community on our Facebook group.
View hundreds of more world-class tutorials only at www.cakeflix.com.


