Tutorial Preview
Highlights
Here we have carefully selected the key parts from the entire tutorial and condensed it into an 10 min long video. More than enough to get you started without taking too much time.
1. Carving the cake
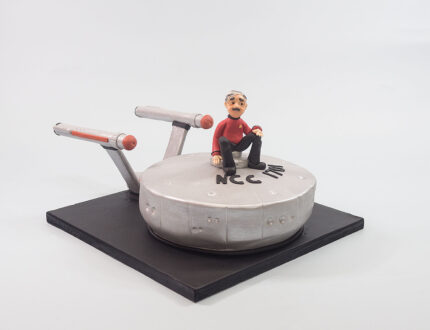
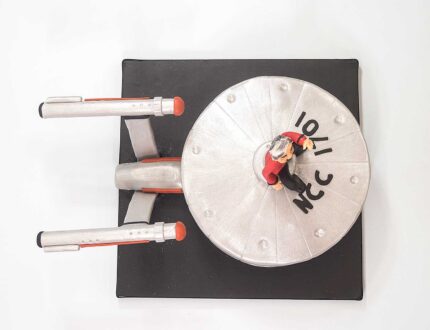
Here Paul gets straight to it and carves the cake into the rough shape of the Starship Enterprise. Paul has opted to use buttercream instead of ganache, for reasons that’ll soon become clear…
2. Covering the cake
First of all, Paul smooths the cake with a palette knife and some warm water. Paul has a new sugarpaste to try out – all the way from Ireland. Links can be found in the tools and ingredients section below.
3. Adding detail
Paul caves into temptation and uses an image of the spaceship as a reference, and begins to add some simple detail to the cake, using circle cutters and modelling tools.
4. Adding the rocket boosters
Now it’s time to prepare and attach the rocket boosters and Paul has some smart ideas for making sure they don’t collapse.
5. Finishing the rocket boosters
Paul finishes the rocket boosters by covering them with grey sugarpaste, and adding some mechanical detail to them for added interest.
6. Adding more detail to the ship
Paul brings the grey sugarpaste to life, with some nice silver dusts and once painted on buffs it with a large soft brush. Then it’s on to adding flashes of red, to make the overall design pop a little more.
7. Finishing the ship and starting on Scotty
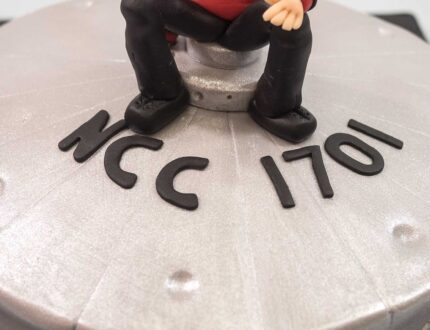
Paul cuts out the numbers and letters for this ship to finish it off. Then he makes Scotty’s body with the help of some thin wire.
8. Making Scotty’s head
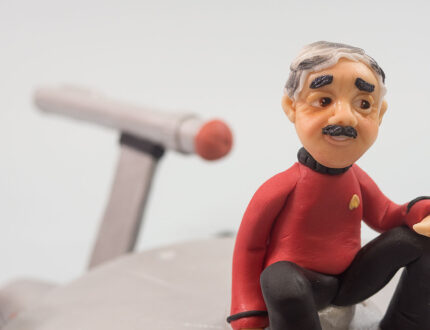
In this lesson, Paul focuses purely on Scotty’s head, and uses a technique where he only uses one piece of sugarpaste the create the entire face, with the help of some modelling tools.
9. Finishing Scotty
Paul now adds Scotty’s ears, eyebrows and hair, and – in the next lesson – just a little it of dust to bring him to life.
10. Finishing touches
Adding a little bit of dust for Scotty’s face and then some silver paint for his hair, and it’s all finished. Join Paul in the next lesson, where he gives us some other ideas.
11. Other ideas
Paul shares some inspirational ideas you can give a bash during this project. We’re sure you’ve some of your own and we’d love to see what you come up with.
Share your photos with us on our Facebook page.
12. Pro lesson
In this lesson, Paul shares some insider information about the cost to make this cake, as well as pricing, portions and other vital information for any professional cake designer.
We’d love to see your take on the Galaxy Explorer Cake – so make sure you share your photos with us on our Facebook page.


