Tutorial Preview
Highlights
Here, we’ve carefully selected the key parts from the entire tutorial and condensed it into a 5 min long video. More than enough to get you started without taking up too much of your time.
1. Stacking and Painting the cakes
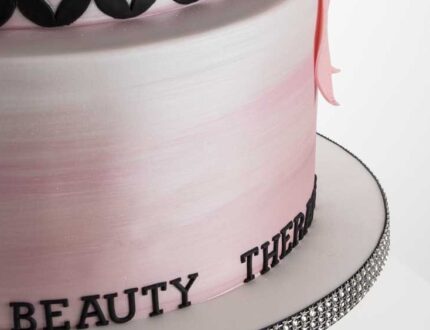
Paul has already covered the cakes to get a lovely sharp edge and as there won’t be too many people actually eating this cake, he has opted to use some dummy cakes. Paul then paints the cakes in lovely pink tones and we learn a valuable lesson when picking your paints as ingredients are everything!
2. Adding the onlay
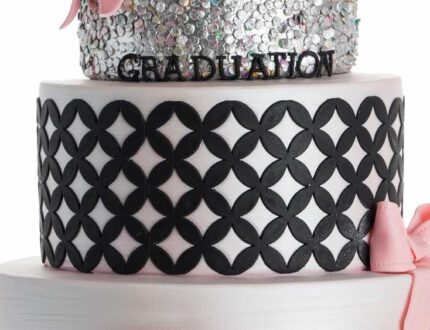
Paul now prepares and applies the onlay on to the cake which looks brilliant. Paul suggests icing the cakes the night before to save denting the cakes when applying the onlay. Patience is key here so definitely take your time at this stage.
3. Making the Mortar/ Finishing the third tier
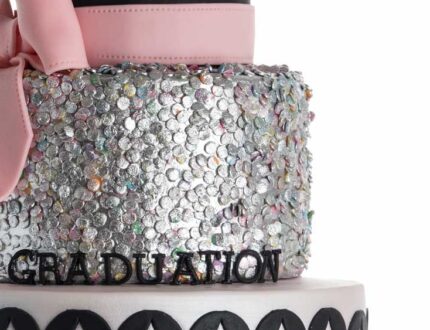
Paul uses some lovely and tasty multicoloured sugar confetti attached on with some piping gel to bring some more fun to the cake. He then gets out silver dust and dabs it carefully on to give it a classy feel. You may want to use an airbrush at the stage which would actually be a lot quicker.
4. Adding the letters
Paul rolls out some black sugarpaste and lets it sit for a few minutes to get a slight skin on it before using the tappits. This takes a little while and needs careful hands as you can easily damage them.
5. Finishing touches
Paul now makes the tassels and bows from sugarpaste to finish the cake off.
6. Other ideas
Paul shares some other ideas you can try out during this project. We’re sure you’ve some of your own, and we’d love to see what brilliant alterations you’ve made.
Share your pics with us on our Facebook page.
7. Pro lesson
Paul shares some insider information about the cost to make this cake. He also shares his advice on pricing, portions and other vital information necessary for any professional cake designer.
Graduation Cake: An education in cake decorating…
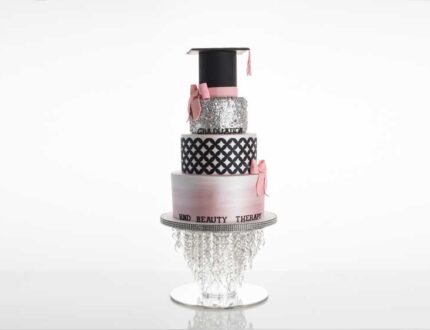
In this tutorial, Paul Bradford shows you how to make this graduation cake that he made for his sister when she… you guessed it, graduated.
Perfect for a whole list of occasions, this four-tier design can easily be altered to suit your needs.
In this tutorial you will learn:
- Stacking a tall cake
- Creating unique textures
- Working with onlay
- Creating a mortar hat
- Edible painting
- and much much more!
Don’t forget to share your interpretations of this wonderful cake with Paul and rest of the Sugarcraft community on our Facebook group.
Who knows? You may even end up featured in one of our monthly members’ cake blogs.


