Tutorial Preview
1. The design
In this lesson, Paul talks us through his design and how he’s going to put it all together.
2. Making the stand pt 1
Paul now gets started on the stand – and even gets some power tools out, to demonstrate what to do with them. Just remember to wear all the necessary protective items such as glasses and gloves etc. Or you could just ask your local DIY shop to do it.
3. Making the Stand pt 2
Paul gets the central pole ready, using plastic pipe which he cuts using a hacksaw. You’ll want to do this in a no food zone and wear the appropriate safety items, or get someone skilled to do it for you.
4. Making the stand pt 3
Paul now puts the styrofoam balls on the stand. He’s prepared the wing templates already, and explains how he decided on the sizes.
5. Making the stand pt 4
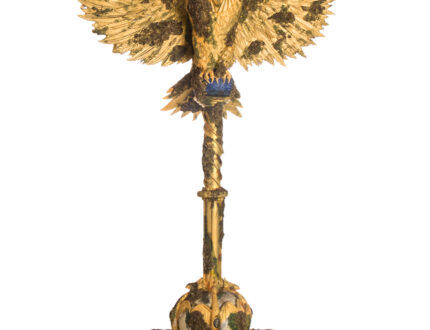
Note that the Owl seen in-shot is shown in Part 2 of the Owl Course.
Now it’s time to put the owl on top of the stand. You’ll definitely want a second pair of hands for this part, and be well prepared with your hot glue gun and L brackets.
6. Covering the stand pt 1
Paul covers the top styrofoam ball, then uses the same technique for the lower ball.
7. Covering the stand pt 2
In this lesson, Paul covers the large plastic pole with sugarpaste in preparation for decorating it.
8. Decorating the stand pt 1
Paul begins to decorate the long central pole. He makes long spirals using sausages of sugarpaste, attached with some edible glue.
9. Decorating the stand pt 2
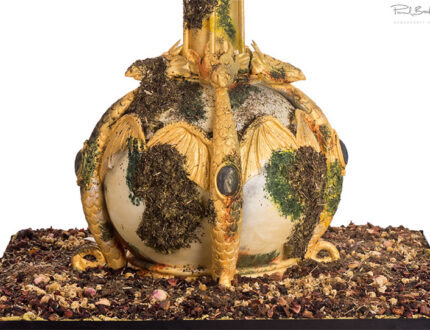
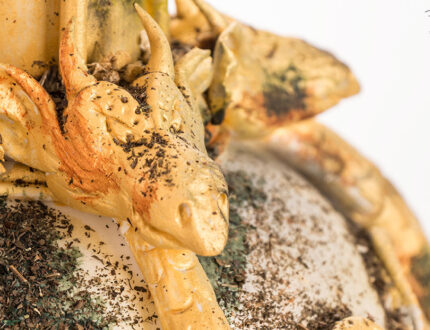
Paul has added some more sausages around the balls, and has made some fantastic dragons. In this lesson, he makes the body of the dragons at the bottom of the board.
10. Decorating the stand pt 3
In this lesson, Paul finishes the dragons and adds some lovely textured detail, that will really pop when it’s painted later on.
11. Decorating the stand pt 4
Paul focuses on the middle of the stand, to see if he can get rid of that ugly join with some creative design work.
12. Finishing Touches
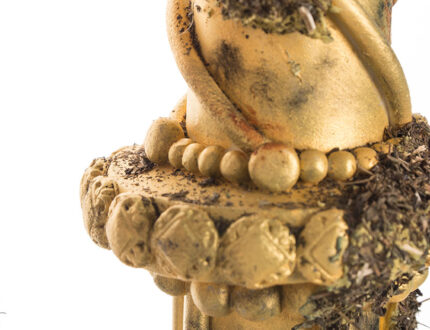
To finish it all off, Paul gets out another lovely Karen Davies mould, to help add another decorative layer to the overall design.
We’d love to see your take on the Potter’s Owl cake – so make sure you share your snaps with us on our Facebook page.
