Tutorial Preview
Bite Sized
Watch Paul create this cake in just 1 minute!
Highlights
Watch some hand-picked highlights from the full tutorial!
1. Carving and ganaching
Paul begins transforming a humble cake into a scrumptious hedgehog by skillfully carving its adorable shape and coating it with a smooth, chocolatey ganache.
2. Covering the cake
Now it’s time to wrap your hedgehog cake in a cozy fondant blanket, giving it a stylish and seamless finish!
3. Shaping the face
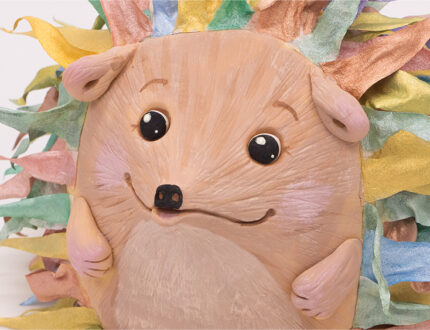
In this lesson, we’ll shape the face of our hedgehog cake, bringing its charming personality to life!
4. Making the spikes
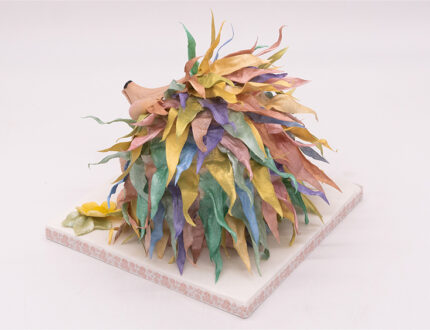
In this prickly lesson, you’ll learn how to create the signature spikes that give your hedgehog cake its spunky character.
5. Adding the spikes
Now, we’ll take our hedgehog cake to the next level by adding the irresistibly spiky spikes.
6. Adding the feet, ears and eyes
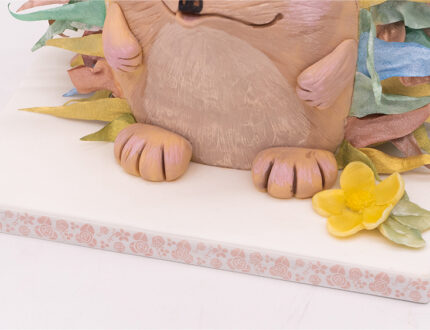
In this delightful lesson, we’ll perk up our hedgehog cake by adding its cute little feet, adorable ears, and captivating eyes,
7. Painting
In this artistic lesson, we’ll embark on a painting adventure, using food-safe colors to add vibrant life and character to our hedgehog cake.
8. Other Ideas
In this lesson, Paul shares some other ideas to use on your own designs.
9. PRO Lesosn
In this lesson, Paul talks all about pricing and selling a cake like this.
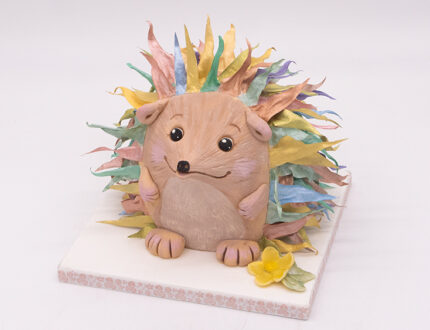
Wafer Paper hedgehog tutorial by Paul Bradford
Join Paul in this week’s tutorial as he guides you through the creation of a multicoloured wafer paper hedgehog. This is perfect for beginners or those looking to create a simple and effective design, but its the colours that really make this design stand out.
In this tutorial you will learn how to:
- Shape wafer paper
- Colour wafer paper with a shimmering glow
- Carve a shaped cake
- Create cute animal facial features
- and much, much more!


