Tutorial Preview
Highlights
Here we have carefully selected the key parts from the entire tutorial and condensed it into an 13 min long video. More than enough to get you started without taking too much time.
1. The design
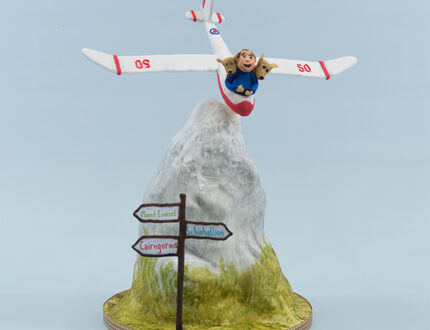
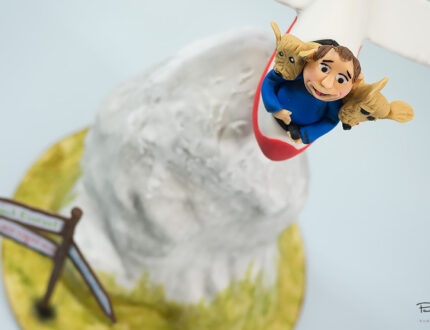
Paul gives us the lowdown on his design and then dives straight into cutting and preparing the cake, ready for ganaching.
2. Ganaching the cake
Paul stacks the cake, adding cards and dowels and begins to build up the shape with cut offs. For the ganache, he decides not to use hot water to smooth it down, and goes for the rugged ganache look.
3. Covering the cake
Paul tries out a new sugarpaste by couture and finds that it blends beautifully. But you needn’t worry too much about the neatness of the covering – it’s a rugged mountain after all!
4. Painting the cake
Paul adds lovely detail using his favourite fan brush and some pro gels, mixed with vodka to get a relatively quick drying edible paint. A little bit of royal icing for the top… and hey presto – we’ve got a mountain!
5. Making the glider
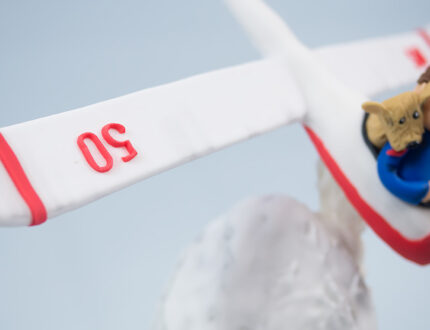
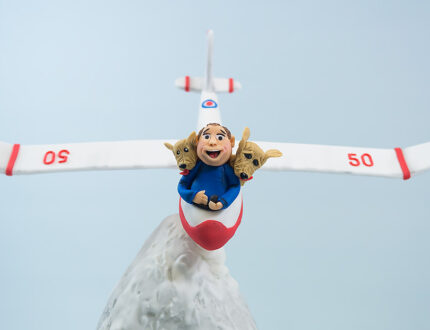
Paul now shows us how to make a glider (not a functioning one, sadly) using foam core and some glue.
6. Covering the glider
In this lesson, Paul shows us how to build up the shape of the glider using a mixture of flower paste and sugarpaste.
7. Adding the detail pt 1
Paul now starts to add the detail onto the glider.
8. Adding the detail pt 2
In this lesson, Paul finishes off adding the detail onto the glider.
9. Making the pilot pt 1
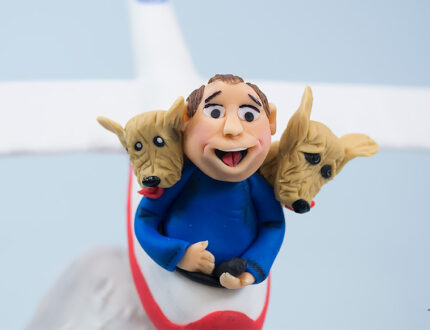
Paul brings the glider to life, by starting work on the pilot.
10. Making the pilot pt 2
Paul continues making the pilot by sculpting the head.
11. Making the pilot pt 3
In this lesson, Paul finishes off making the pilot by giving him a quick hair cut.
12. Making the dogs pt 1
Paul moves on from creating the pilot to making his cute little dogs.
13. Making the dogs pt 2
Paul adds the finishing touches to the little dogs.
14. Attaching the glider
In the lesson, Paul attaches the glider to the cake.
15. Finishing touches
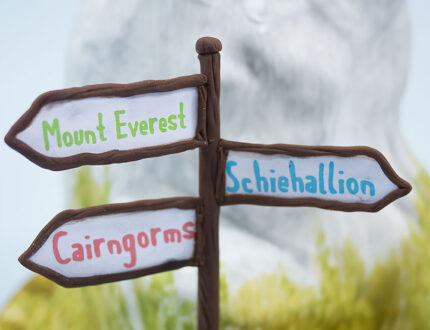
Paul puts the finishing touches on the cake. First he adds a signpost to the base of the mountain, and then he gives the cake a light dusting. He tops it off with the all-important ribbon.
16. Other ideas
Here Paul shares some other ideas you can give a bash during this project. We’re sure you’ve some of your own great ideas and we’d love to see what you come up with.
Share your lovely snaps with us on our Facebook page.
17. Pro lesson
In this lesson, Paul shares some insider information about the cost to make this cake, as well as pricing, portions and other vital information for any professional cake designer.
We’d love to see your take on the High Flying Friend – so make sure you share your snaps with us on our Facebook page.
