Tutorial Preview
Highlights
Here, we’ve carefully selected the key parts from the entire tutorial and condensed it into a 6 min long video. More than enough to get you started without taking too much time.
1. Making the leaves
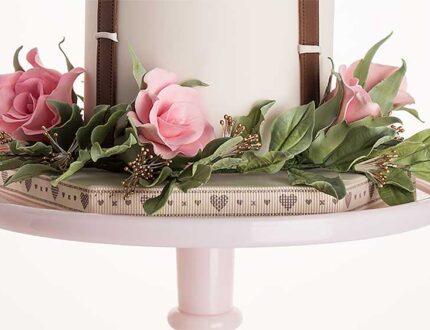
In this lesson, Paul makes the leaves using green flower paste and a nice leaf mould. To get a realistic look he uses a ball tool while resting them on a foam mat.
2. Making the roses
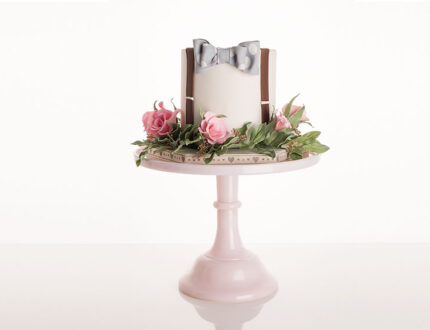
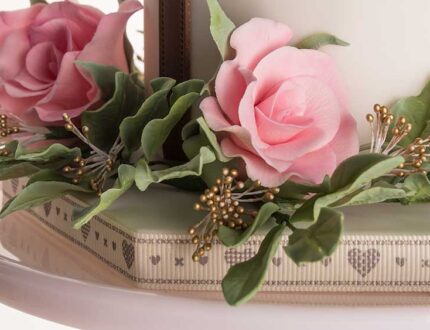
Paul shows us how to make cute little roses from flower paste that will sit around the bottom of the cake.
3. Wiring the leaves
Here Paul shows us how to wire and arrange the leaves to have a lovely natural feel.
4. Dusting the leaves and flowers
Paul now adds the calyx to the flowers to finish them off to then move onto dusting. Make sure to roll out the paste very thinly and perhaps use a ball tool to add some movement.
5. Finishing the flowers
Just a small paintbrush and a couple of nice dusts are all you need to really bring them all to life. A good tip is to have some tin foil underneath you as you work so that you can reclaim any dust that falls off as you go.
6. Making the braces and flower spray
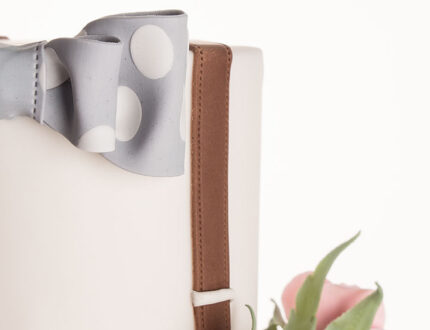
Paul shows us how to bring the colour to life a little more and then arranges the sprays which would actually make very cute button holes for a wedding.
7. Finishing touches
Paul now makes the final decoration and adds it to the cake along with some final tweaks to finish it all off.
8. Other ideas
Paul shares some other ideas you can try out during this project. We’re sure you’ve some of your own, and we’d love to see what brilliant alterations you’ve made.
Share your pics with us on our Facebook page.
9. Pro lesson
In this lesson, Paul shares some insider information about the cost to make this cake, as well as pricing, portions and other vital information for any professional cake designer.
We’d love to see your take on the Hipster Wedding Cake – so make sure you share your photos with us on our Facebook page.


