Tutorial Preview
Highlights
Here we have carefully selected the key parts from the entire tutorial and condensed it into an 10 min long video. More than enough to get you started without taking too much time.
1. Working on the head
In the first lesson, Barbie shows us how to create a beautifully shaped female head, using just the slightest of movements. You’ll be amazed how much you can achieve with your hands.
The approximate amount of sugarpaste for each body part is…
2. Working on the eyes
Barbie demonstrates how to bring out the eyes, using a sugar shaper as well as a dresden and a ball tool.
3. Working on the body
The size of the body is key – so make sure the length of the body is twice the size of the head. Barbie shows us simple hand movements to form the shape of the body.
4. Working on the legs
Barbie uses two balls of sugarpaste each weighing 40g each which should give the perfect starting amount for the legs.
5. Working on the arms
Barbie uses to balls of sugarpaste,weighing 18g each this time, and gradually cuts little bits away as she forms the hands.
6. Painting the eyes
This may sound simple enough, but if you know modelling you will know that the eyes are perhaps the most vital part to get right. Watch and learn how to really bring your model to life with attention to detail.
7. Finishing the eyes and the ears
In this lesson, Barbie shows us a few other things we can do to add even further realism to the eyes. She also offers tips on an incredibly quick way to make the ears.
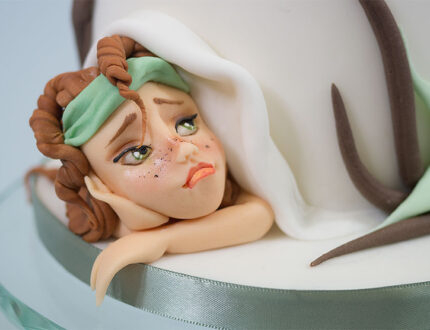
8. Additional facial expressions
Barbie shows us how to create adorable sad or upset faces… just in case you wanted to melt people’s hearts with your models!
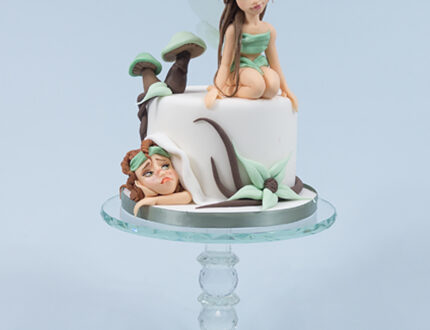
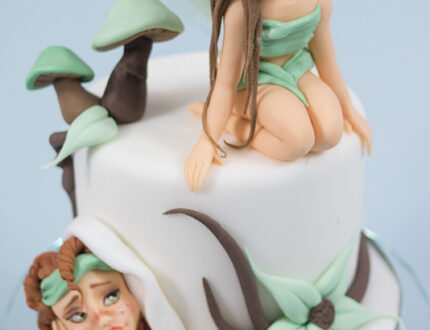
9. Adding the first fairy to the cake
Barbie now assembles the first fairy on the cake using edible glue, as well as a large bamboo skewer to keep it all in place.
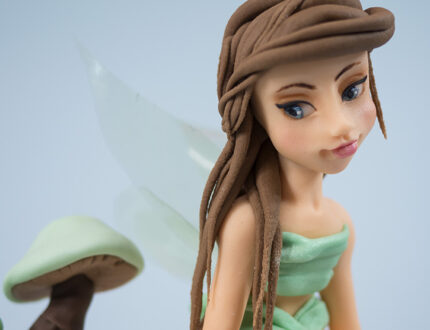
10. Adding the dress and hair
Learn how to create realistic movement with shapers through simple but delicate work.
11. Adding the second fairy
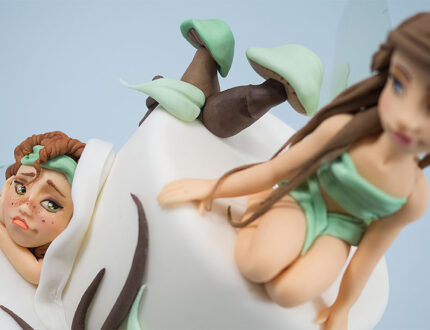
Barbie adds the second fairy using only the head, one arm and one hand. She uses the fairy’s hair to give the illusion of her having a body which works well.
12. Finishing touches
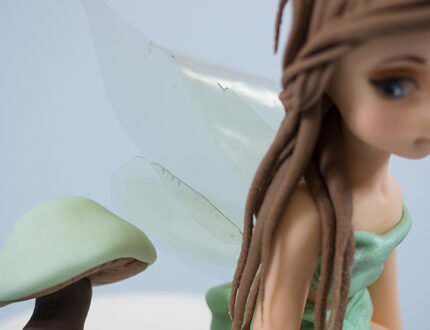
Finally Barbie adds some lovely little decorations to the cake making fantasy mushrooms and flowers. She then shows us how to make edible and realistic wings.
13. Other ideas
Barbara and Paul shares some other ideas you can try out when making this cake. We’re sure you have some of your own great ideas and we’d love to see what you come up with.
Share your wonderful snaps with us on our Facebook page.
14. Pro lesson
In this lesson, Paul shares some insider information about the cost to make this cake, as well as pricing, portions and other vital information for any professional cake designer.
We’d love to see your take on the Italian Fairies – so make sure you share your snaps with us on our Facebook page.
