Tutorial Preview
Highlights
Here we have carefully selected the key parts from the entire tutorial and condensed it into on 9 min long video. More than enough to get you started without taking too much time.
1. The design
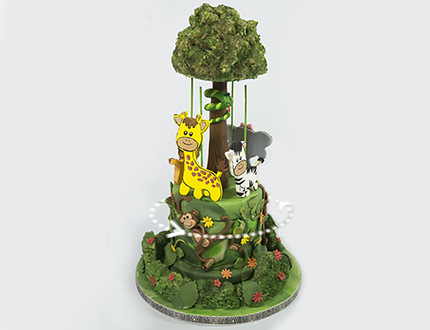
Paul has tried as hard as he can to come up with a simpler and more economical design that’s similar to the original carousel cake for this tutorial.
2. Assembling the stand
Here Paul shows us how to put the spinning base together using an old cake turntable. It’s very easy to put together and really the only tricky part is cutting the wood which of course you can avoid by simply ordering from your local DIY store.
3. Preparing the cake
Paul gets the cake ready layering and covering it with yummy dark chocolate ganache in preparation for it being covered with sugarpaste.
4. Covering the cake and board
Here Paul shows us how to get a brilliant marbled jungle feel for the cake and the board. Don’t worry too much about the neatness of the spinning part of the board as that will be hidden with edible decorations, as you can see from the picture of the finished cake.
5. Assembling the cake topper
In this lesson Paul shows us how to assemble the top part of the cake using a wooden dowels, cake card and a hot glue gun. All very simple to put together and very cheap as well.
6. Making the tree canopy
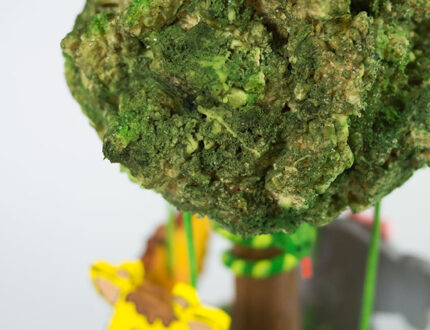
Here Paul shows us how to get the tree canopy ready using Rice Krispie treats which you can either buy pre made or make following this recipe. Paul sticks them all together with some melted white chocolate and then lets them set in the fridge. He then uses a small pair of scissors to create the bushy jagged effect.
7. Finishing the tree
Paul begins to dust the rice krispie tree canopy using various shades of green dust and then shows us how to attach it to the cake topper. Paul sorts out the issue of seeing the cake card under the canopy, and then adds the tree trunk using brown sugarpaste, with a little edible glue. He then gives it some texture using a shell tool.
8. Making the animals
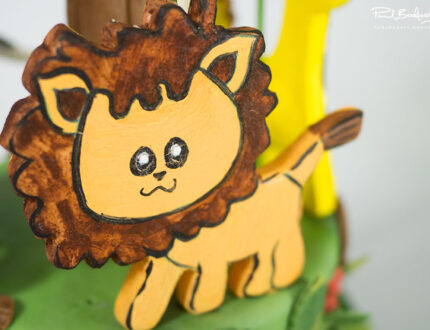
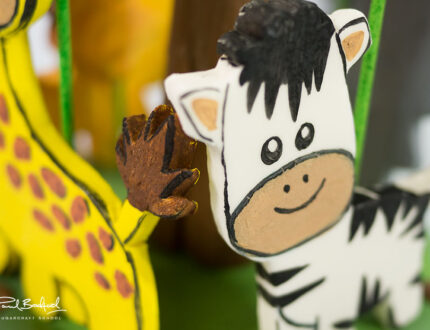
Paul has created some cute little animals for us to use when cutting them out of flowerpaste. They are available for download and once printed simply cut them out and place them over flower paste that is rolled out to approx 9mm thick and cut around them.
9. Stacking the cake and adding the snake
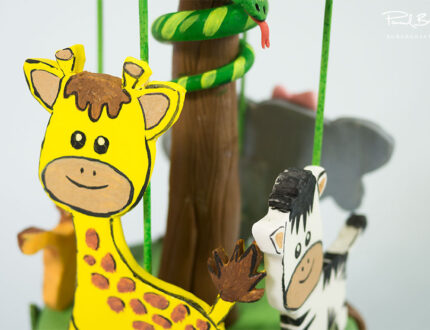
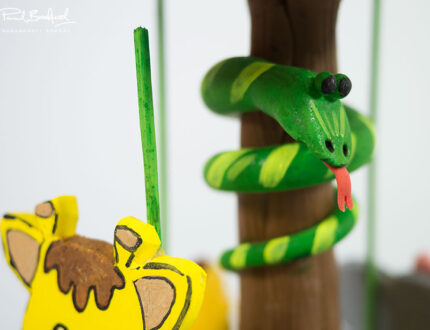
Here Paul makes a snake with some flower paste and wraps it around the tree trunk securing the head with a cocktail stick to dry in position overnight He then releases the cake and adds it to the stand with some melted white chocolate and then applies the cake topper on top of the cake again with melted white chocolate.
10. Making the monkeys
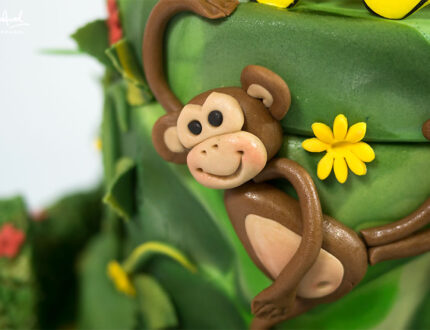
Paul starts off by telling us that he has decided to repeat the process for the tree on the bottom of the cake too to add foliage to the scene and give it more of a wild feel. Paul shows us how to make cute little monkeys that are very easy to make, and assemble on the cake with just a little edible glue to hold them in place. You could go a stage further and give them little party hats or some clothes.
11. Adding the vines
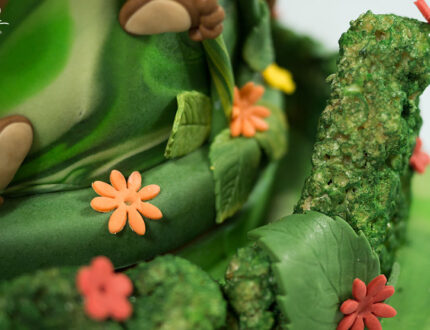
For the vines Paul mixes some orange and yellow sugarpaste with dark green with marbled effect and then rolls it into sausages to create the vine climbing up the cake. He then uses the same paste to cut out leaves.
12. Painting the animals
Here Paul begins to paint the animals having decided that using sugarpaste to decorate them is verging on cheating. Of course it isn’t actually but maybe detracts from the cuteness a little.
13. Painting the animals Pt 2
In this lesson Paul finishes off painting the animals and then sets them aside to dry.
14. Finishing the animals
Paul paints the snake whilst sharing a couple of of fun stories about his own encounters with wild snakes in Spain. It’s now time to add the animals to the cake and of course that means inserting the bamboo skewers. Paul intended on creating the holes for them to go into much earlier on but got carried away. Just a nail and a hammer and we’re all good… scary stuff. Paul uses a little edible glue and sugarpaste to secure the animals to the skewers and then paints the skewers green to make to blend them into the design.
15. Finishing touches
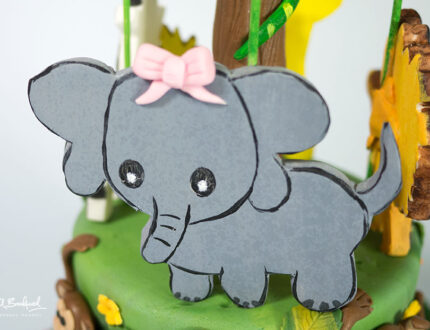
Paul adds some blossoms and Daisy to add a bit more colour to the cake and then finishes it all off with a little pink bow for the elephant and then of course… a glaze spray. Finished!
16. Other ideas
Here Paul shares some other ideas you can try your hand at when making this cake. We’re sure you have some of your own great ideas and we’d love to see what you come up with.
Please share your pics with us on our Facebook page.
17. Pro lesson
In this lesson, Paul shares some insider information about the cost to make this cake, as well as pricing, portions and other vital information for any professional cake designer.
We’d love to see your take on the Jungle Carousel Cake – so share your snaps with us on our Facebook page!
