Tutorial Preview
Bite sized
Watch Paul make the Kangaroo Fire Fighter cake in just one minute!
Highlights
Hand picked highlights from the tutorial for those in a rush!
1. Explaining the design
In the first lesson, Paul explains the reasoning behind making this cake and how to draw the kangaroo design and map out the internal structure.
2. Making the internal structure
Paul shows you how to build a solid internal structure using threaded rods, nuts and washers.
3. Stacking and carving
In this lesson Paul shows you how to make the stand food safe using tinfoil the goes on to use a slab cake to cut various round cakes for stacking. He then carves out the shape for the body and legs of the kangaroo.
4. Carving the head
Paul uses the downloadable template to cut out the shapes for the head then ganaches them onto the wooden plate and carves them into the shape of a kangaroo head.
5. Covering the cake
When rolling your sugarpaste out keep in mind to not roll it out too thick and to wet the ganache beforehand so the sugarpaste sticks. To make life easier, Paul adds covers the cake in sections.
6. Sculpting the face
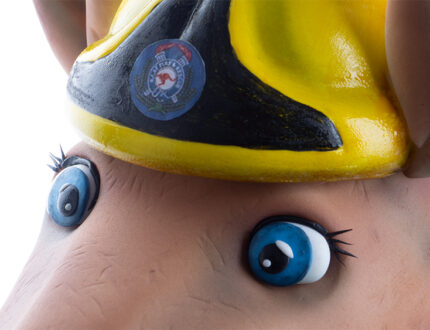
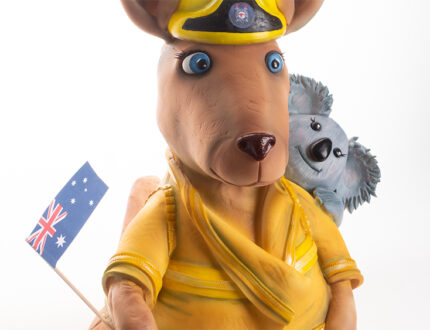
Paul sculpts the muzzle, nose and eyes of the kangaroo.
7. Feet and fireman helmet
Paul uses 250g of sugarpaste made into a cone to create the feet. He then uses the smoothers and dresden tool for the details. For the helmet, Paul covers a 3inch polystyrene ball cut in half then adds more sugarpaste to get the desired shape.
8. Adding the ears
Very simply, Paul rolls out the ears and he is happy with the shape and size he uses wooden dowels in the helmet to keep them in place.
9. Sculpting the arms
To make the arms Paul rolls out sugarpaste into a bone shape then tapers it at one end before attaching one to the threaded rod and the other to the body.
10. Making the tail
There are many ways to make the tail, such as with rice krispie squares or from sugarpaste. Paul goes for a polystyrene tail because it is more secure and takes less time to make.
11. Making the jacket
When making the jacket use panels and don’t worry about the joins as you can make seams to hide them.
12. Koala and Joey
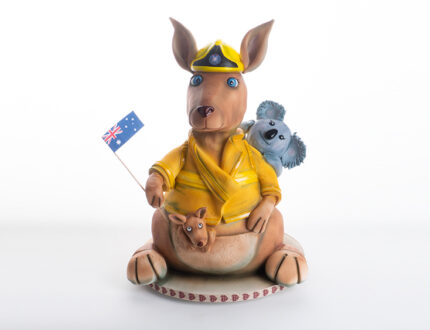
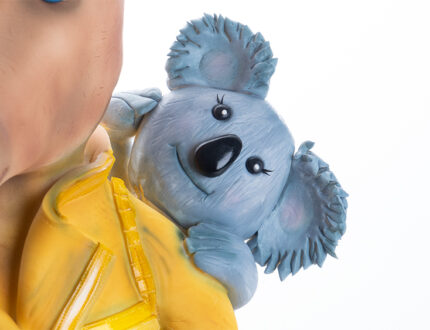
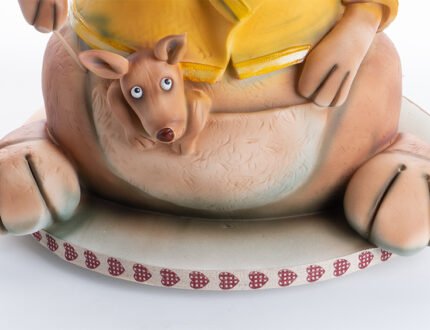
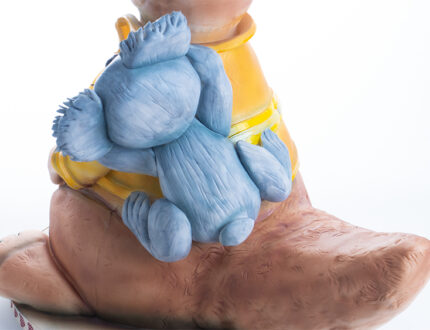
In this lesson, Paul shows you how to make and add the cutest little koala bear and joey to the kangaroo!
13. Airbrushing the kangaroo
The main thing about airbrushing is to not be scared to use it, less is more and remember to use a mask to prevent over spraying.
14. Airbrushing the jacket
In this lesson, Paul goes over the jacket using the airbrush and remembering to mask the rest of the kangaroo. Paul adds a first coat of yellow then goes over again with light brown to give it a more sandy feel. Once the jacket is finished he then paints the luminous yellow parts using Neon Yellow from Magic Colours.
15. Painting the koala
To switch things up Paul paints the koala using a grey dust.
16. Finishing touches
For finishing touches Paul adds a little extra shadowing around the cake, a little bit of glaze before ending by adding the flag.
For any donations please go to www.CakeFlix.com/helpoz
17. Other ideas
Some other ideas for your own cake.
18. Pro lesson
Everything a pro needs to know about pricing and distribution however for this cake there is no profit, 100% of the donations will go to charity.
Kangaroo Fire Fighter Cake Tutorial
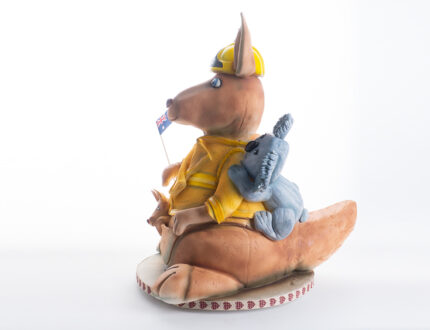
Join Paul in making this lovely Kangaroo Fire Fighter cake in support of those affected by the devastating wildfires in Australia.
In the following tutorial, you will learn how to…
- Design an internal structure
- Airbrush
- carve
- model using sugarpaste
- And much, much more…
We are hoping to raise money in support of the amazing relief charities working flat out to support those affected. We would be very grateful if you would consider donating via either of the links below:
ANIMALS AUSTRALIA or RED CROSS DISASTER RELIEF
Don’t forget to share your interpretations of this wonderful cake with Paul and the rest of the CakeFlix community on our Facebook group.
View hundreds of more world-class tutorials only at www.cakeflix.com.
