Tutorial Preview
Highlights
Here, we’ve carefully selected the key parts from the entire tutorial and condensed it into a 7 min long video. More than enough to get you started without taking up too much of your time.
1. Carving the throne
Paul creates the throne only using cake and then adds the first layer of ganache before putting it in the fridge to chill for ten minutes. After the throne has chilled, Paul then goes back to work on his design with the wet palette knife and brush, neatening it all up in preparation for covering it in sugarpaste.
2. Covering the throne
Paul now rolls out a large piece of sugarpaste to around 3mm in thickness and carefully covers the throne to bring out it’s shape with the help of some acetate smoothers.
3. Preparing the board and airbrushing
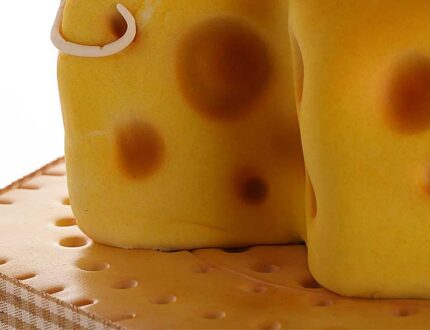
Paul is trying to use up his hexagonal cake drums and has rolled out some cream sugarpaste over it. He then shows us how to give it a cheese biscuit feel using a ball tool.
4. Airbrushing the cake and board
Paul gets out his airbrush and starts to bring his design to life with a lovely yellow and brown colour. He starts off by adding yellow and gradually builds up the colour little by little and then moves onto the darker colours. We even get to see Paul fix his airbrush when it starts spitting!
5. Making the mouse pt 1
Paul starts off by creating a very simple shape for the body of our mouse king before adding little shapes and pieces to create its limbs and clothes. In the next lesson, we will see Paul work on the head.
6. Making the mouse pt 2
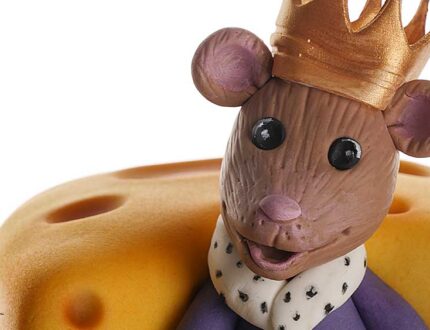
Paul begins to add facial features to the mouse as well as texturing the body.
7. Making the mouse pt 3
Here Paul gives this king his crown and gets the dusts out to bring our furry friend to life.
8. Making the mice guards
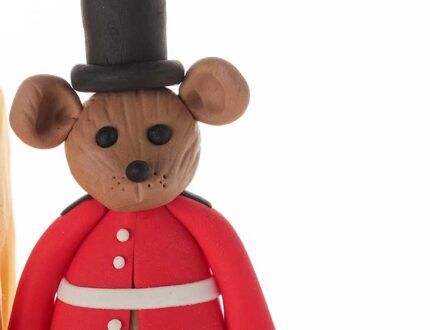
Paul shows us how to make the cute little guards. The king’s guards are a little different as they are standing to attention instead of slouched in their throne so this requires a slightly different approach. Paul then creates cute little uniforms for the guards which come together nice and quickly.
9. Finishing touches
In this lesson Paul finishes the cake off by bringing the mice to life with some texturing, painting and dusting.
10. Other ideas
Paul shares some other ideas you can try out during this project. We’re sure you’ve some of your own, and we’d love to see what brilliant alterations you’ve made. So why not share your pics with us on our Facebook page. ?
11. Pro lesson
In this lesson, Paul shares some insider information about the cost to make this cake, as well as pricing, portions and other vital information for any professional cake designer.
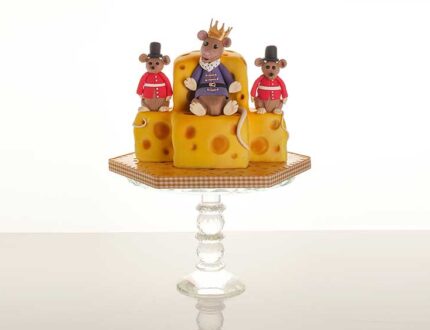
Paul had an interesting dream which inspired this rather fairy tale like creation which is fully completely edible as well as entirely entertaining.
This design is perfect as a birthday cake both for humans and mice alike. Any animal, cartoon or fairy tale lover is sure to enjoy this and of course, the skills learned throughout this tutorial can be adapted in numerous ways to suit almost any occasion.
Some of the skills and tools learned in this cake decorating tutorial include making edible clothes, Working with ganache, modelling work, airbrush work, creating lovely textures, edible painting and much more. Perfect for an intermediate cake designer or a beginner looking to move into modelling and basic carving.
We’d love to see your take on the King of Cheese – so make sure you share your photos with us on our Facebook page.


