Tutorial Preview
Highlights
Here we have carefully selected all the key moments from this tutorial and condensed it into a short video that should be more than enough to get you started.
1. Airbrushing the Cake
In this lesson, Paul has already covered and stacked the two tier cake. If you’re not sure how to do this, have a peek at this earlier lesson.
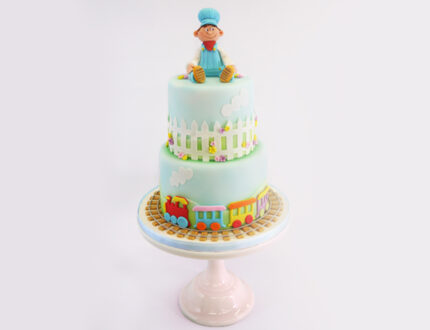
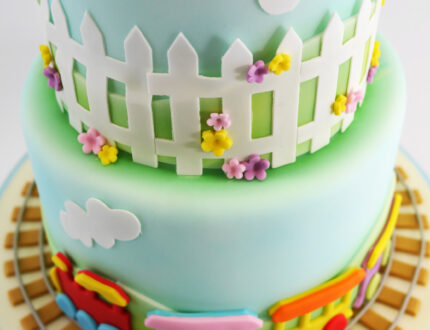
First up, Paul shares his design idea in a rough sketch. Then he goes on to airbrush the entire cake in a lovely light blue colour. The idea is to create a realistic looking sky-effect.
2. Adding the Hills
In this section, Paul shows us how to add the lovely rolling hills around the bottom of each tier. These will then be airbrushed green to create a realistic texture ,as opposed to using green sugarpaste which could look quite flat.
3. Airbrushing the Hills
Paul starts off by airbrushing the hills in cheerful yellow and green tones, and then covers the board and prepares the tracks for around the bottom of the cake.
4. Finishing the Track / Adding the Picket Fence
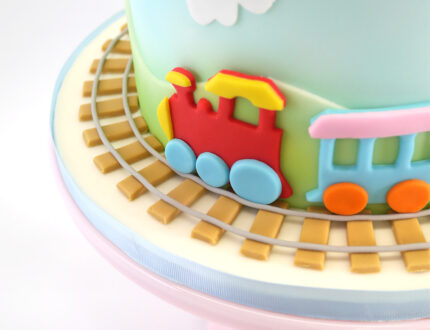
Paul finishes off the track with the help of an extruder to make a very long thin piece of grey sugarpaste. Once he has attached it he moves on to creating the picket fence. Paul keeps this nice and easy by using some edible paper and a little fence cutter. Paul shows us an extremely quick and easy way to cut the pieces out – watch and find out how!
5. Adding the Trains
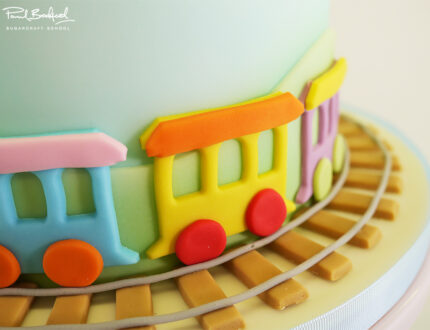
In this part Paul makes and adds the cute, colourful trains to the cake above the tracks. He mixes up the colours and cuts sections here and there, to give the impression of lots of little choo choos!
6. Adding the Clouds and the Little Boy
Next up are the cloud. Paul uses edible paper to make them. You can either draw the clouds with an edible pen and then cut around them or just free hand them, which tends to be quicker.
Then it’s on to making the little boy. You may want to add some tylo powder or cmc to the sugarpaste to help strengthen it.
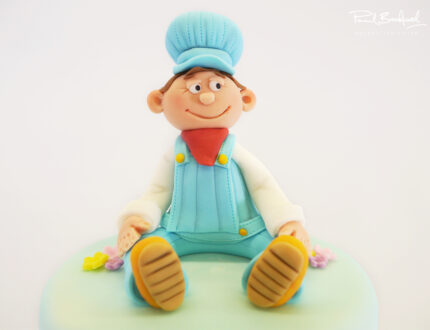
7. Making the Little Conductor
In this lesson, Paul continues making the little boy conductor by adding clothing details, plus arms and legs. In the next lesson we will be making and adding the head.
8. Finishing the Little Conductor
Here Paul finishes the little boy conductor, by adding some more stitching detail and making the head. Paul sticks to a simple head with little balls of sugarpaste for the nose, eyes and ears, and uses an edible black pen for the pupils. For the hair Paul makes little sausages of sugarpaste, which he then flattens at the ends and marks with a veining tool.
9. Finishing Touches
A nice quick lesson here, where Paul adds a little dust to bring the boy to life. Then he adds a few little flowers around our little train conductor for added cute factor. In the next lesson Paul discusses other things we can do to mix it up a little.
10. Other Ideas
Here Paul shares some other ideas you can implement when making this cake to make it unique to you.
We’d love to see your take on the Little Train Conductor Cake – come on over and share your snaps with us on our Facebook page.
11. Pro Lesson
In this lesson Paul shares some insider information – including pricing, costs, portions and other useful ideas. It’s vital information for any professional cake designer.
We’d love to see your take on the Little Train Conductor – please share your snaps with us on our Facebook Page!
