Tutorial Preview





Bite Sized
Watch Jannette make her Logger Beaver cake in just one minute!
Highlights
Hand picked highlights from the entire course.
1. Creating the stand
Janette starts by putting the stand together. She used a 16”x 14” oval mdf base, but you can equally use a square or rectangle. It’s a simple, sturdy, foodsafe structure ready for the cake to be added.
2. Adding the log and body
Janette shapes, stacks and carves the log and the beaver’s body to get an outline shape. There’s a lot of cake so a lot of carving, but remember that if you take too much off you can always just ganache it back on.
3. Adding the head and carving
Time to get the beaver’s head added. Janette doesn’t finish shaping the body until the head’s been added to ensure that she gets the overall shape and proportionally correct.
4. Covering the log
Using simple techniques Janettet covers the log, but then starts to add some very characteristic knots and bark lines using the Cake Duchess tools.
5. Covering the body
Time to cover the body and Janette recommends using an elastic paste such as Cake Duchess covering paste. She then texturises the body with some simple, but effective techniques then adds the beaver’s feet.
6. Adding the facial features
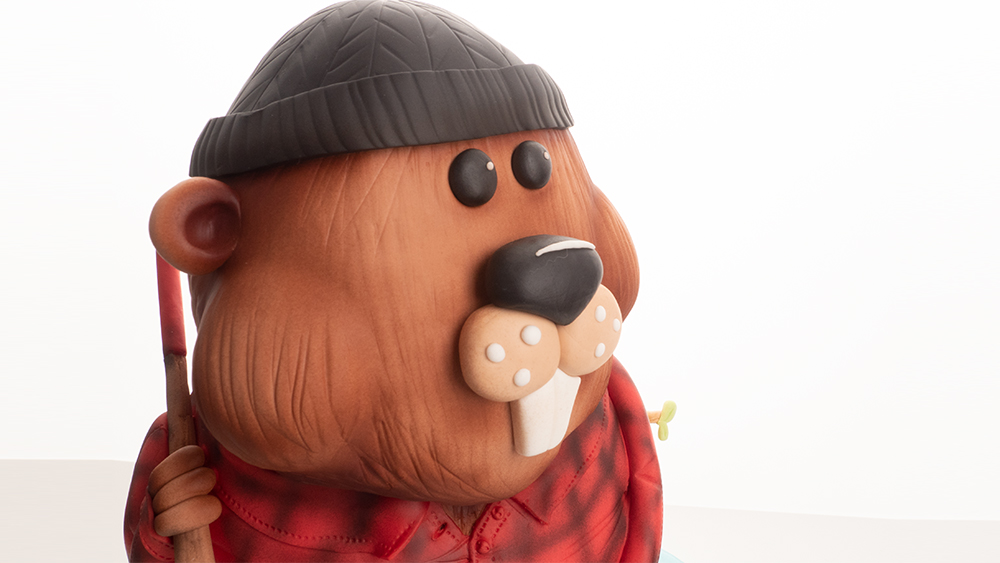
Our little character comes to life by adding the distinctive beaver features most notably teeth and eyes.
7. Adding the hat
Janette goes for a beanie style hat for our little beaver. Just using simple techniques it all comes together and really adds to the overall look.
8. Adding the shirt
Time to add a little shirt to add yet more personality. Janette goes for red, but of course you can choose whichever colour or design you prefer or if you’re in a rush you don’t even need to add the shirt.
9. Adding the arms and shirt detail
He’s really coming to life now as the arms are added and his shirt gets some extra detail. The shirt has still to have the airbrush checked pattern added, but you could equally paint it at this stage or just leave it red.
10. Making the axe
Janette talks through all the steps needed to make the axe, including a great tip to ensure the centre of gravity will keep the axe balanced on the cake.
NOTE: The axe needs to be set hard so best to leave for a day or so before adding to the cake.
11. Placing the axe and adding the tail
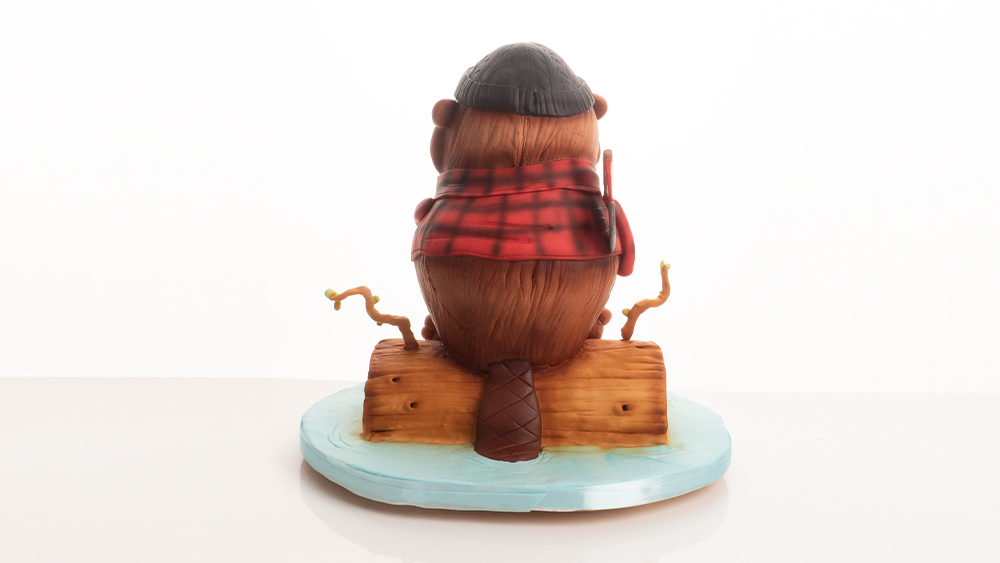
This is where the axe’s centre of gravity becomes very important as it’s carefully placed onto the cake. No beaver would be complete without their distinctive tail so Janette shows how to make and add the tail to finish the wee guy off.
12. adding the branches
Janette shares a great little tip on how to make the branches using cocktail stick and florist wires. Once the shape has been created it’s just a case of covering them, leaving to set, then adding to the cake.
13. Covering the board
With a blue marbled effect Janette covers the board in sections. The elasticity of the Cake Duchess covering paste means that it joins together easily and can be stretched around the tail.
14. Airbrushing and finishing touches
In the final lesson, Janette add some finishing touches to the coat and fur with the airbrush.
15. Other Ideas
Some other ideas for the Logger Beaver cake.
16. Pro Lesson
Everything a pro needs to know about pricing and distributing a cake like this.
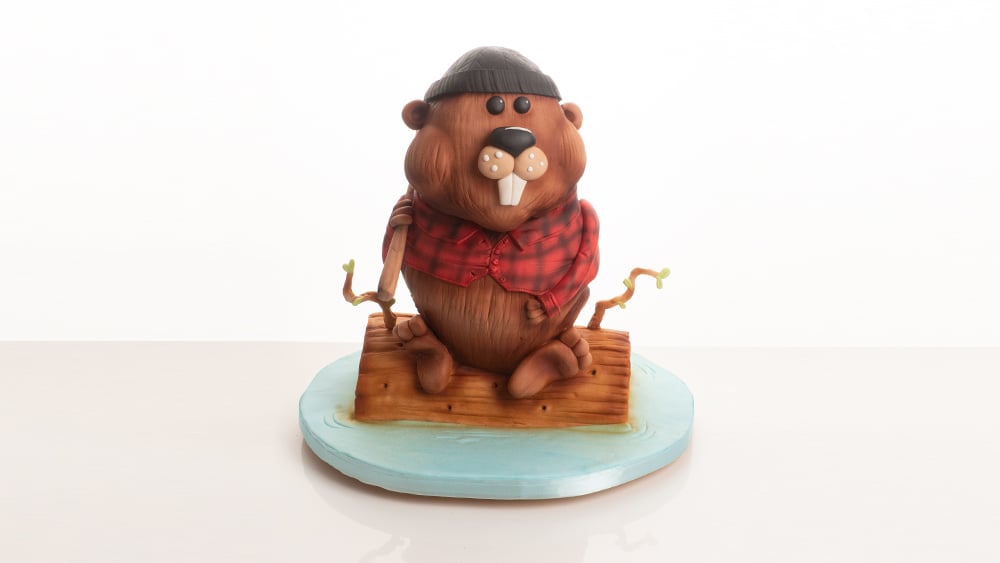
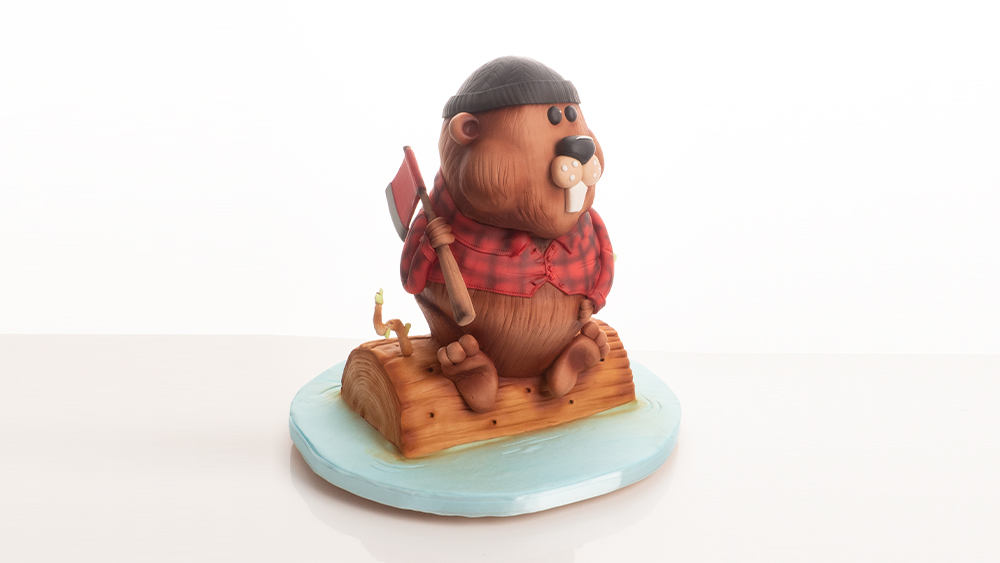
Create a character cake packed with personality in this charming Logger Beaver Cake Tutorial with the talented Janette MacPherson of Janette MacPherson CakeCraft.
In this detailed lesson, Janette shows you how to transform cake and modelling materials into an adorable logger beaver, complete with a woolly hat, checked shirt, large front teeth and plenty of character. Seated on a realistic wooden log and surrounded by small branches, the finished design would make a wonderful centrepiece for a woodland-themed celebration or animal lover’s birthday.
Janette begins by demonstrating how to create a secure internal structure to support the unusual shape. She then explains how to carve the cake carefully, helping you form the rounded body while keeping the design balanced and stable. These are valuable skills that can be adapted for many other novelty and sculpted cakes.
One of the highlights of this beaver cake tutorial is the variety of textures used throughout the design. You will learn how to create realistic fur, wood grain, clothing and character details using simple but effective modelling techniques. Janette also shares her tips for shaping the beaver’s expressive face, paws, feet and distinctive teeth.
You will also discover how airbrushing can add depth, shading and warmth to the finished cake. The carefully applied colour brings the fur, checked shirt and wooden elements to life, creating a professional finish without losing the character’s friendly appearance.
Throughout the tutorial, Janette shares plenty of practical advice to help you work confidently with carved cakes and structured designs. Her approachable teaching style makes each stage easy to follow, while the techniques offer plenty of inspiration for your own creations.
Whether you want to recreate the Logger Beaver or develop your novelty cake skills, this tutorial offers a fantastic combination of carving, modelling, texturing, structure and airbrushing. It is a fun and rewarding project with techniques you can use again and again.
Don’t forget to share your interpretations of this wonderful cake with Paul and the rest of the CakeFlix community on our Facebook group.
View hundreds of more world-class tutorials only at www.cakeflix.com.