Tutorial Preview
Highlights
Here, we’ve carefully selected the key parts from the entire tutorial and condensed it into an 12 min long video. More than enough to get you started without taking too much time.
1. Covering the cake
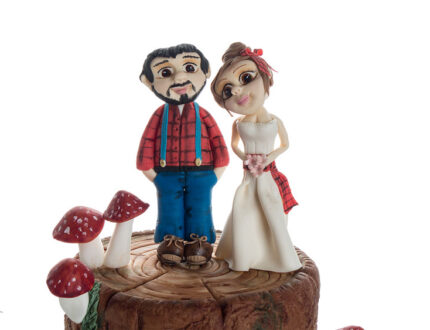
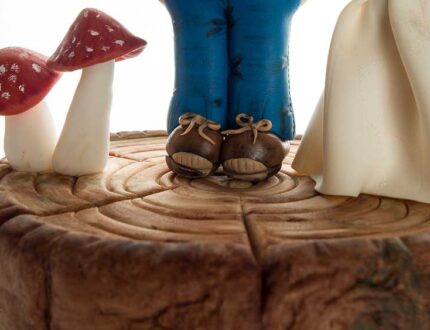
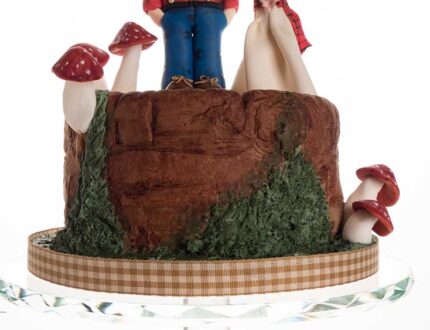
Paul demonstrates a quick and simple way to create a wood effect, by mixing two colours of sugarpaste. He also uses a Karen Davies mould to cover the side of the cake.
2. Adding the moss
Paul shows a little trick to create a moss effect, using a star nozzle and a little green sugarpaste. If you don’t have this tool, fear not! Paul shows us another way we can get a similar effect.
3. Making the toadstools
Paul makes some cute mushroom frog stools, which really add character to the cake.
4. Lesson 4 - Painting the cake
Paul uses dusts to bring the cake to life, with a mixture of Sugarflair and Sugarmill colours.
5. Making the groom’s body
In this lesson, Paul starts on the lumberjack, making the legs and body.
6. Finishing the body
Paul now gets some dusts out to paint the chequered shirt and add character to the rest of the body.
7. Making the groom’s head pt 1
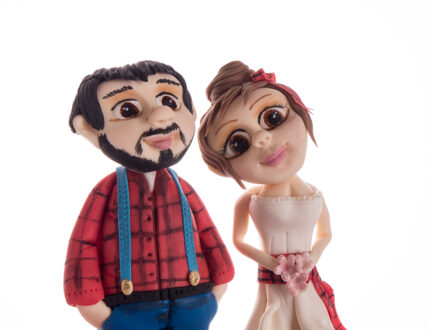
Paul shows us how to make a cute head, by using just one piece of flesh-coloured sugarpaste and a couple of modelling tools.
8. Making the groom’s head pt 2
Paul adds the eyes and paints on facial hair with black dust.
9. Finishing the lumberjack groom
Paul finishes off the lumberjack by adding cute little ears, and some more hair with little pieces of black sugarpaste.
10. Making the bride’s body pt 1
Paul moves onto the bride, who’s wearing an ivory wedding dress – which makes things easier as there are less limbs to make!
11. Making the bride’s body pt 2
Paul adds a stripe of colour to the dress to give the bride a lumberjack feel.
12. Making the bride’s body pt 3
Paul makes the bride’s dress, which keeps things simple and acts as the body. Then all you have to make are the arms. You could always go a step further and make boots to match the groom.
13. Making the bride’s head pt 1
Paul creates a head from one piece of sugarpaste, using the same techniques as used for the groom’s head, but with a more feminine touch.
14. Making the bride’s head pt 2
Paul paints on the bride’s eyes using the same technique and colours as used for the grooms eyes. He then adds the head and makes some lovely little flowers for the bride’s bouquet.
15. Finishing touches
Paul finishes off the bride by adding her hair, and then attaches her head to the body.
16. Other ideas
Paul shares some other ideas you can try out during this project. We’re sure you’ve some of your own, and we’d love to see what brilliant alterations you’ve made.
Share your pics with us on our Facebook page
17. Pro lesson
In this lesson, Paul shares some insider information about the cost to make this cake, as well as pricing, portions and other vital information for any professional cake designer.
We’d love to see your take on the Lumberjack Bride and Groom Cake – so make sure you share your photos with us on our Facebook page.


