Tutorial Preview
Highlights
Here, we’ve carefully selected the key parts from the entire tutorial and condensed it into a 10 min long video. More than enough to get you started without taking too much time.
1. Making the Frills
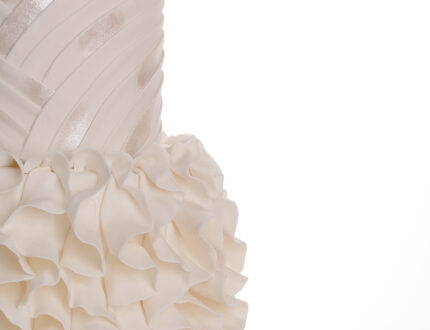
Vida gets right into it and shows us how to make the beautifully delicate frills.
2. Adding the Frills
In this lesson, Vida shows us how to add the lovely strips to the second tier. Along the way, she gives us some handy tips in case you accidentally damage the delicate strips or the cake.
3. Adding the strips PT 1
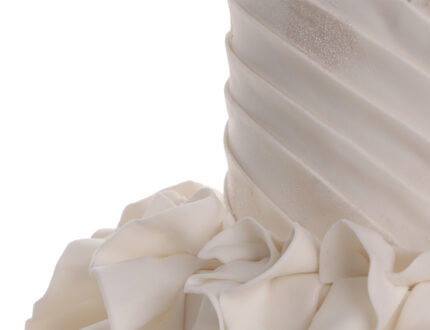
In this lesson, Vida shows us how to add the lovely strips to the second tier. She again gives us some handy tips in case we accidentally damage the delicate strips or the cake.
4. Adding the strips PT 2
Vida continues to add the lovely strips to the second tier. Along the way she gives us some handy tips if you accidentally damage the delicate strips or the cake.
5. The petals and stamen
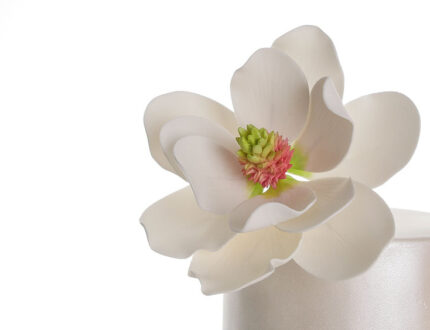
Here Vida shows us how to make the centre of the magnolia flower as well as the petals. A pair of very small scissors or even some bent nose tweezers would be handy to use for the stamen.
6. Dusting the petals and stamen
Now that the petals and stamen have set. It’s time to apply the first layer of dust using a nice soft brush. A handy tip to save waste is to put the dusts onto tin foil so you can pour the unused dust back into the tubs when you are finished.
7. Putting the flower together
You don’t always need the fancy gadgets! Here Vida shows us that the humble kettle works perfectly as a steamer. Steaming the petals and stamens deepens the colour of the dusts and prevents it from falling onto the cake.
8. Airbrushing and completing the frills
In this lesson, Vida uses Paul’s famous airbrush to add a lovely shimmer of silver to the second tier.
9. Completing the middle tier
Here we see Vida add the middle tier on top of the bottom tier and then adds some extra pieces of sugarpaste to join them together seamlessly.
10. Finishing touches
In this final lesson Vida adds some little touches to hide joins and gives some other suggestions. Then it’s time to insert the flower and add some ribbon and we’re all finished.
11. Other ideas
Paul and Vida share some other ideas you can try out during this project. We’re sure you’ve some of your own, and we’d love to see what brilliant alterations you’ve made.
Share your pics with us on our Facebook page.
12. Pro lesson
In this lesson, Paul and Vida share some insider information about the cost of make this cake. She also discusses pricing, portions and other vital information for any professional cake designer.
Frill guests with this stunning ruffled wedding cake!
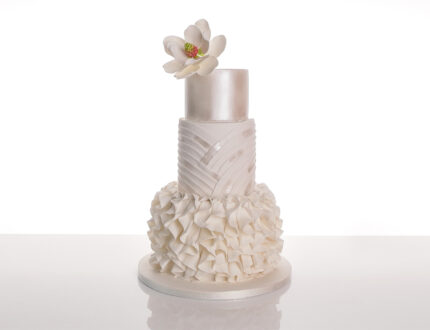
Veda Albrezenchi from Vida Cakes has come to the studio to show us how to make her beautiful Magnolia Frill. A beautiful ruffled wedding cake consisting of three-tiers.
- Create a frilled dress effect
- Decorate with sugarpaste
- Edible paintwork including simple airbrushing
- Making an edible magnolia flower
- Dust work and much much more!
We’d love to see your take on the Magnolia Frills – so make sure you share your photos with us on our Facebook page.


