Tutorial Preview
Highlights
Here, we’ve carefully selected the key parts from the entire tutorial and condensed it into a 10 min long video. More than enough to get you started without taking too much time.
1. The structure
In this lesson, Sachiko shows us how to put the basic structure for the body together. She does this using her secret but simple method.
2. Making the body
In this lesson, Sachiko shows us how to start the body using sugarpaste mixed with tylo powder.
3. Making the straight legs
Here we see Sachiko use a brilliant technique for creating limbs without having to worry about making sure we are using equal amounts of sugarpaste.
4. Making the bent leg
This requires a different approach to the previous lesson as we are having to form an angle in the leg that looks natural. Pinching and smoothing as she goes. Sachiko shows us how to slowly but surely create a natural bent leg.
5. Making the chest
Sachiko now makes the kneck and chest. She moulds the shoulder line and structures the body.
6. Painting the eyes
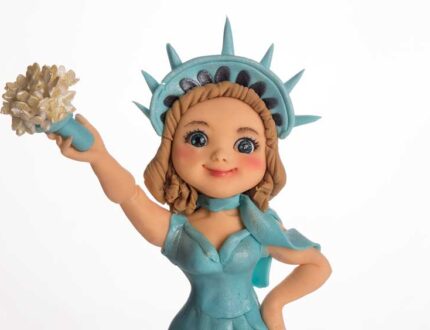
Painting realistic eyes has never looked so easy! You will be shocked at just how quickly you can achieve the famous Sachiko eyes!
7. Making the Head
Here Sachiko shows us how to form the face from one piece of sugarpaste using only her fingers. Using a dresden tool and a craft knife she manages to create an adorable child’s face.
8. Finishing the eyes and face
Firstly, Sachiko finishes the eyes. She uses thin pieces of black sugarpaste to create eye liner along with other little tricks to make the pop. Then it’s time to add some makeup using lovely dusts and soft brushes.
9. Making the dress
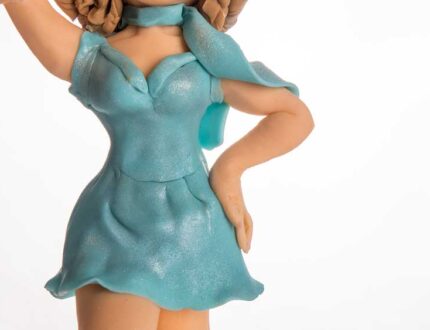
In this lesson, we learn how to make an elegant dress to cover the body using two pieces of sugarpaste.
10. Making the high heels
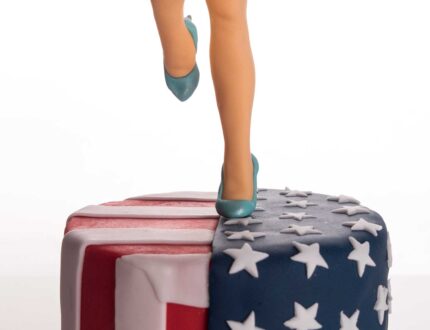
Here we see Sachiko make some cute little high heels that are wonderfully simple to make.
11. Attaching the head
Now it’s time to attach the head and here we learn how to create a seamless join with the help of a modelling tool and a little sugarpaste.
12. Making the arms
Sachiko shows us how to make lovely delicate arms that fit firmly onto the model. The arms can be manipulated into shape while the paste is still soft.
13. Making the Hair
In this lesson, we learn a very simple but brilliant technique for creating a lovely 1950’s inspired hairstyle.
14. Making the Crown
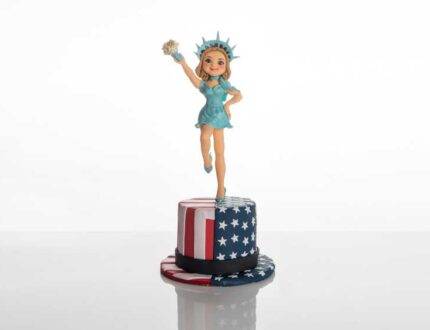
As you might have guessed by now, this design has been inspired by the Statue of Liberty and so we begin to make her crown.
15. Making the Bouquet
Instead of giving her a lantern, Sachiko opts to have her holding a bouquet of flowers. Here we see how to make a lovely miniature flower bouquet with the help of a plunger cutter.
16. Finishing touches
Here we see Sachiko give the last little touches by adding a lovely scarf and some sparkle to her dress.
17. Other ideas
Paul and Sachiko share some other ideas you can try out during this project. We’re sure you’ve some of your own, and we’d love to see what brilliant alterations you’ve made.
Share your pics with us on our Facebook page.
18. Pro lesson
In this lesson, Paul and Sachiko share some insider information about the cost of make this cake. She also discusses pricing, portions and other vital information for any professional cake designer.
The much sought after and highly acclaimed Sachiko Windbiel from mimicafe has come to the PBSS studio to teach us a few of our phenomenal techniques!
- Create a structured model
- Advanced modelling
- Create beautiful faces
- Realistic eyes
- Miniature clothing and much much more!
We’d love to see your take on Miss Liberty – so make sure you share your photos with us on our Facebook page.


