Tutorial Preview
Highlights
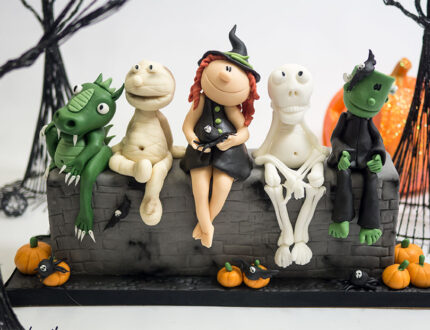
Here we have carefully selected the key parts from the entire tutorial and condensed it into an 10 min long video. More than enough to get you started without taking too much time.
1. The design
Bettina starts by telling us how she has prepared her cakes – dummies in this case. Then it’s on to preparing the paste for modelling.
2. Making the witch's legs
Bettina starts by making the legs for the witch without using any tools, other than a knife!
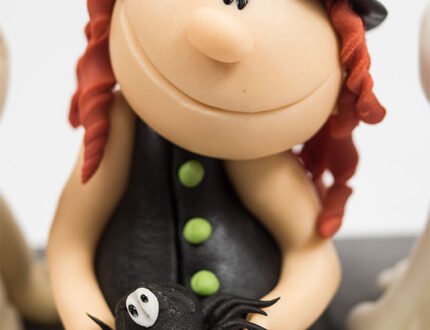
3. Making the witch's dress
In this lesson, Bettina shows us how to make the witch’s dress, with some black sugarpaste and tiny little balls of green.
4. Making the witch's arms
Here, Bettina shows us how to make the arms, using very similar techniques to making the legs.
5. Making the head
Bettina shows us how to create a lovely cartoon head with cute simple features.
6. Finishing the witch
Bettina demonstrates how to make very simple hair. She then makes the hat and paints on the eyes using a toothpick.
7. Making the mummy pt 1
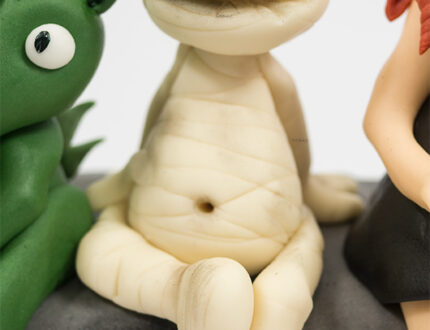
In this lesson, Battina makes the body and the legs for the mummy using her craft knife to make the bandage markings.
8. Making the mummy pt 2
Bettina finishes off the mummy, by adding the arms and the head, and finishing it all off with a little dust work.
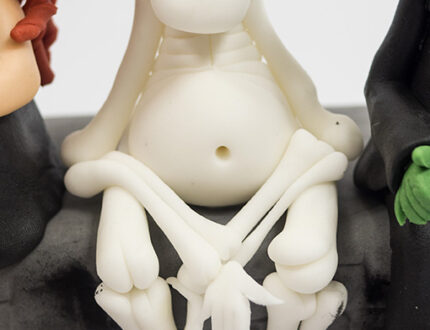
9. Making the skeleton pt 1
Bettina makes a friendly little skeleton in a cartoon style complete with a plump belly.
10. Making the skeleton pt 2
Bettina makes the arms by creating all the different bones and putting then together with some edible glue.
11. Making the skeleton pt 3
Bettina now finishes the skeleton by making the head and adding it to the body using a plastic skewer and some edible glue.
12. Making the dragon pt 1
In this lesson, we learn how to make a plump dragon’s body using a mixture of dark and light green sugarpaste, plus some white.
13. Making the dragon pt 2
Bettina makes the arms and the tail for the dragon.
14. Making the dragon pt 3
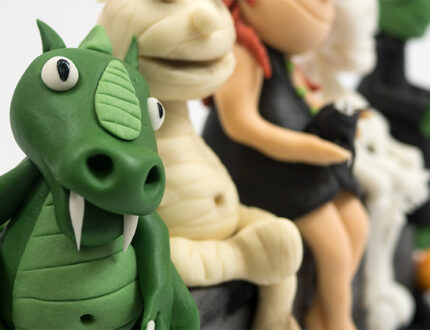
Bettina finishes off the dragon making its head, along with some scary claws and teeth.
15. Making Frankenstein's monster pt 1
In this lesson, Bettina makes the monster’s legs and body.
16. Making Frankenstein's monster pt 2
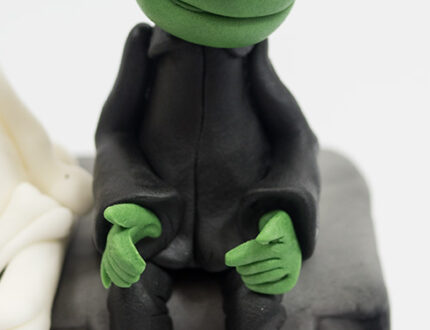
Bettina now makes the arms and green hands. She inserts a skewer leaving it out 1 inch for the head to fit onto.
17. Making frankenstein's monster pt 3
She finishes off Frankenstein’s monster by making his head, complete with painted screws and a quirky face.
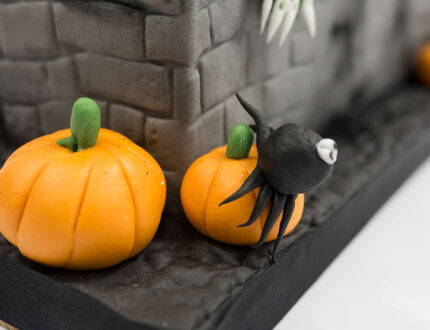
18. Making the pumpkins
Bettina demonstrates how to make nice little pumpkins to decorate the board.
19. Making the spiders
Now to make some more decorations – and this time it’s spiders! Don’t worry… they’re actually quite cute. They’re also very quick and easy to make. These would be great on a cupcake.
20. Finishing touches
Bettina shows one last decoration in the form of mini bats, and she then finishes the cake with some black dust work.
21. Other ideas
Bettina shares some other ideas you can give a bash during this project. We’re sure you’ve some of your own and we’d love to see what you come up with.
Share your photos with us on our Facebook page.
22. Pro lesson
In this lesson, Bettina shares some insider information about the cost to make this cake, as well as pricing, portions and other vital information for any professional cake designer.
We’d love to see your take on the Monster Gang – so make sure you share your pics with us on our Facebook page.
