Tutorial Preview
1. Preparing the truck
Time to strip your truck back to the chassis and making sure that it’s all going to work once the cake has been added.
NOTE: Paul bought his truck from Maplin which has since ceased trading. Here are a couple of alternatives that you can choose from Amazon:
https://amzn.to/2K3xGIo
https://amzn.to/2IoPbWs
2. Making the truck food safe
In this lesson, Paul adds the small structural pieces.
NOTE: Paul’s first attempt at the front arms doesn’t work out, but watch how he recovers and finds the perfect solution
3. Ganaching the board and carving the cake
A little more to it than you might think as you need to start to cover the plastic of the car to ensure the overall finished cake-look.
4. Ganaching the cake
A generous covering in ganache will ensure that the structure stays firm so if you need some reassurance Paul will guide you through in this lesson.
5. Adding the fur
There are a number of ways to add the fur, but using an extruder Paul creates the furry animal look to give our monster a cuddly look.
6. Adding the tail and arms
It’s looking more like a mop on wheels, but now it’s time for the tail and arms to go on where it starts to take the little monster look that we’re looking for. Careful not to put too much sugarpaste on or it won’t be able to move!
7. Adding the horns and making space for the eye
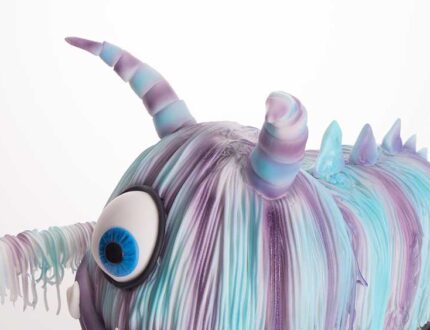
With this being a monster you pretty much have poetic license do make the shapes and sizes you like here. However, you need to watch and not take off too much of the fur in the process.
8. Adding the mouth and horns
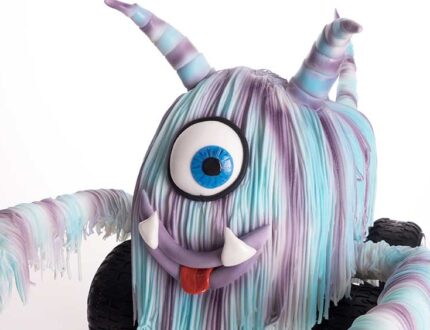
Getting down to the final characteristics it’s time to add the smile, teeth and horns and anything else that you’d like to see on your monster.
9. Airbrushing
Choose whichever colours and styles you like, but here Paul chooses to go with a combination of purple and turquoise stripes.
10. Adding the eye
In this case it’s a blue-eyed monster, but your prerogative if you want to make it green! Paul creates then paints the eye to continue the cute monster theme.
11. Finishing the mouth and preparing the wheels
Nearly there! In this lesson Paul finishes the mouth then cuts the wheels out of flower paste allowing them to dry before adding them in the next lesson.
12. Adding the eyes to the wheels
You can always leave the wheels as they are, but it’s a lovely little finishing touch to decorate them and why not continue the monster theme by adding eyes turning this into a five eyed monster!
13. Other Ideas
Paul shares some other ideas for the monster truck cake tutorial.
14. Pro Lesson
Paul discusses everything a professional cake decorator would need to know about this design.
15. Highlights
We take a look at some of the highlights from the monster truck cake lesson.
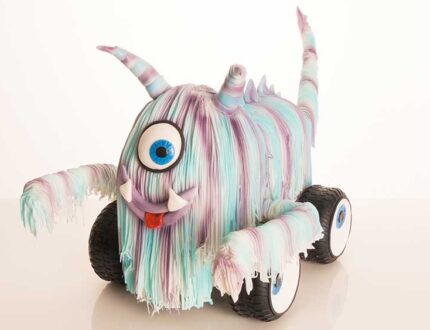
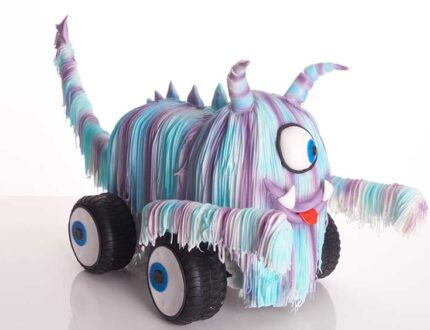
Learn how to make a monster truck cake with Paul Bradford…
In this tutorial, Paul shows you how to make this fully mobile monster truck cake. Perfect for young childrens birthdays or car enthusiasts. This is one cake tutorial you simply don’t want to miss…
In this tutorial, you will learn how to…
- Strip a remote control car and make it food safe
- Create edible fur
- Airbrush
- Cake carve
- and much, much more
Don’t forget to share your interpretations of this wonderful cake with Paul and rest of the Sugarcraft community on our Facebook group.
Who knows? You may even end up featured in one of our monthly members’ cake blogs.


