Tutorial Preview
Highlights
Here we have carefully selected the key parts from the entire tutorial and condensed it into on 11 min long video. More than enough to get you started without taking too much time.
1. The design
update: Click here to see a product that will make your life much easier as discovered by one of our members hajijl.
Nikki also suggested the Water Hydration Bladder kit.
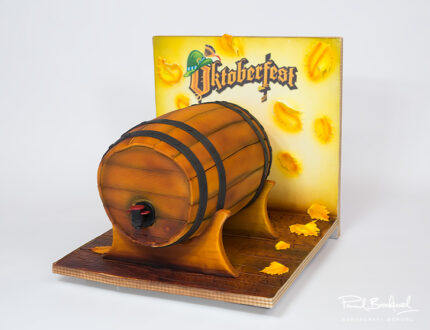
Paul explains the concept as well as how he is going to put it all together.
2. Constructing the board
Paul begins to construct the stand using cake drums attached with hot glue and screws. Paul has already cut out the supports for the barrel using a jig saw cutter. If woodwork is not your forte you can always have your DIY shop cut it out for you.
3. Constructing the stand pt 2
Paul measures and marks where the feet for the barrel are going to go and drills some holes in preparation for securing them.
4. Covering the board
Paul covers the board and then demonstrates how to create a nice old wood effect using PME modelling tools, as well as some tin foil. This effect will later be brought to life with some airbrush work.
5. Covering the feet
Paul decides to cover the feet before adding them to the board which makes life a lot simpler. Paul covers them in edible glue and then allows them to dry a little before texturing them with PME modelling tools to create a wood effect.
6. Creating the barrel
In this lesson Paul shows us how to create the barrel shape from the polystyrene dummies. Just make sure to do this away from your food preparation area, as this gets very messy.
7. Assembling the barrel
Here Paul attaches the two halves with some hot glue and dowels for extra security. You could always use ganache but Paul felt a little nervous at the thought of it collapsing under the weight of the cake.
8. Carving the cake
Here Paul cuts the cake and secures it to the barrel with ganache, and then carves it into shape.
9. Ganaching the Cake
In this lesson Paul first of all covers the cake in a second layer of ganache and smoothes it off with an acetate smoother. He then goes on to cover the side of the cake cutting away the lip, once chilled in the fridge.
10. Adding the wooden panels
In this lesson, Paul begins to add the wooden panels to the barrel using strips of white sugarpaste textured with a wood grain effect texture mat. The strips are cut at 13” in length and 2” wide, which are then cut to shape on the cake.
11. Attaching the barrel holders
Here Paul attaches the holders for the barrel to the cake board using screws. You could always use hot glue which Paul advises could actually be simpler and just as secure.
12. Airbrushing pt 1
Paul uses a mixture of orange, brown and black airbrush paints to create lovely warm wood tones. In this lesson the focus is on the board and on the barrel holders. Remember to wear gloves and a mask when airbrushing.
13. Airbrushing pt 2
In this lesson, Paul adds the barrel fitted with the hose and goes on to bring it to life with airbrush work.
14. Adding detail to the barrel
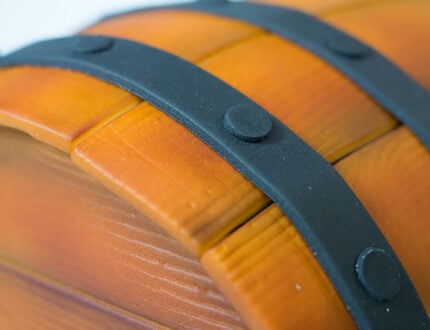
Paul adds strips of sugarpaste around the barrel, along with small circles, using the PME plunger cutter.
15. Attaching the pipe pt 1
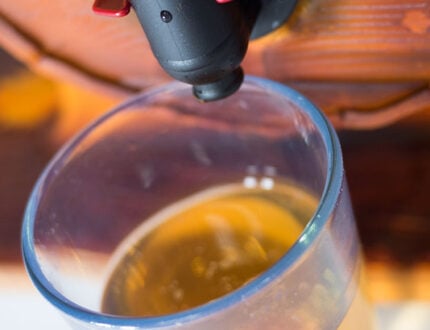
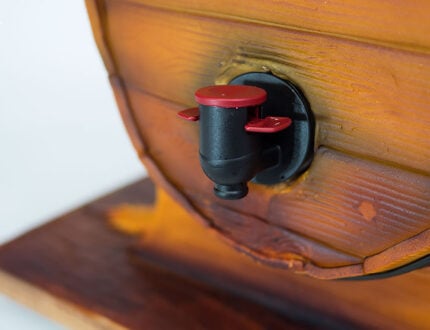
Paul begins to assemble the hose and funnel system for the beer to travel through… but has some trouble along the way!
16. Attaching the pipe pt 2
Second time lucky. Paul figures out what went wrong and fixes it.
17. Finishing touches
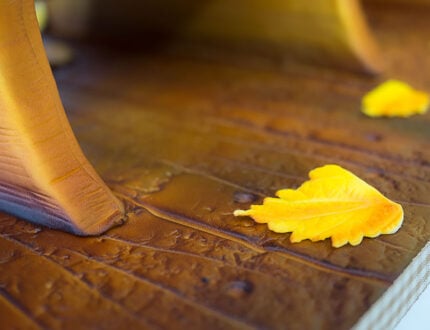
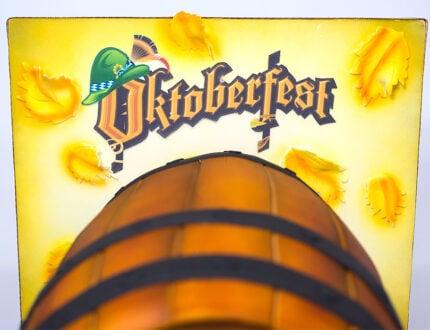
Paul adds the logo as well as leaves to decorate the board which he then airbrushes to life.
18. Other ideas
Paul shares some other ideas you can try out when making this cake. We’re sure you have some of your own great ideas and we’d love to see what you come up with.
Share your pics with us on our Facebook page
19. Pro lesson
In this lesson, Paul shares some insider information about the cost to make this cake, as well as pricing, portions and other vital information for any professional cake designer.
We’d love to see your take on the Oktobeerfest Beer Barrel – so share your snaps with us on our Facebook page!
