Tutorial Preview
Highlights
Here, we’ve carefully selected the key parts from the entire tutorial and condensed it into an 8 min long video. More than enough to get you started without taking too much time.
1. Covering the board
To start off, Zoe shows us how to texture the board with a lovely wood effect using only a ruler and a dresden tool. She then shows us how to bring it to life with airbrush work.
2. Carving the cake
Zoe demonstrates how to carve the cake into the shape of a persian cat, using a long sharp cutting knife. She makes good use of her hands to fine tune the shape, so don’t be afraid to get your hands dirty.
3. Carving the head
She adds the dome shaped cake – which will be the head – onto the body and secures it with ganache. Then it’s just a case of shaping it a little more to blend into the body.
4. Adding features
Zoe adds a crumb coat of ganache and then allows it to set overnight. She adds legs and some facial features to the cake using white modelling chocolate.
5. Covering the head and adding details
Zoe has rolled out a piece of sugarpaste to around 4 or 5 mm to make sure it doesn’t tear when going around the head. She then goes around the face with a dresden tool to bring out the modelling chocolate features, as well as adding a fur effect.
6. Adding the ears and nose
Here Zoe adds the ears and nose using some sugarpaste secured with edible glue.
7. Covering the body
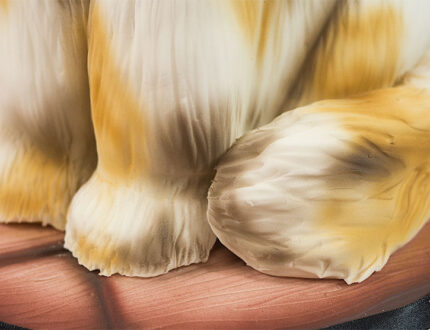
Zoe has rolled out a large piece of sugarpaste and goes onto massage it over the body being careful not to overstretch or tear it. She then gets busy with the dresden tool with short and long marks to create the fur texture.
8. Adding the tail and the ribbon
In this lesson, Zoe adds the bushy tail and the cute ribbon around the cat’s neck.
9. Finishing touches
In this final lesson, Zoe airbrushes the cake to bring it to life, as well as painting the eyes using a paintbrush and finishing them off with confectioner’s glaze.
10. Other ideas
Zoe shares some other ideas you can try out during this project. We’re sure you’ve some of your own and we’d love to see what brilliant alterations you’ve made.
Share your pics with us on our Facebook page.
11. Pro lesson
In this lesson, Zoe shares some insider information about the cost to make this cake, as well as pricing, portions and other vital information for any professional cake designer.


