Tutorial Preview
Highlights
In this video we’ve carefully selected all they key moments from the entire tutorial and have condensed it into a ten minute video. It’s more than enough to get you started, and perfect if you want to save time.
1. Covering the Board
In this lesson, Mayen shows us how to cover the board in a very quick and easy way, using contact paper. There are lots of ways to cover the board, but for now this acts as a quick and easy solution that’s very easy to clean and can’t be damaged. Perfect!
2. Preparing the Stand
Here Mayen shows us how to put the stand together, which consists of a large thick dowel and screws. It’s really simple to put together and later Mayen will complete the stand, so we can move onto cake carving.
3. Preparing the Cake
Mayen starts off by making the stand food safe, so that we are able to place the cake on safely. Mayen is using two 3” deep cakes on top of each other for height, without layering them, since it’s not going to be eaten. You could choose to use three 2” cakes or get the height in another way – just as long as it’s secure.
4. Carving and Ganaching
In this lesson, Mayen starts carving the cake using templates to help guide where to cut. The templates are available in the templates section below. Remember and make sure the cake is quite smooth, as any lumps or bumps will be obvious once the sugarpaste is on. Mayen will also show how the ganache will help smooth it out.
5. Ganaching and Attaching the Lid
Next up, Mayen finishes off ganaching the cake with acetate smoothers which she made from cheap plastic placemats. This is a great little tip and will save you some money, as they do the trick just perfectly. Once your ganache has set, it’s time to add the plastic front to support the lid of the cake. To make sure it joins with the cake seamlessly, Mayen applies another layer of ganache from the back to the front of the cake, covering the plastic sheet completely.
6. Preparing the Sugarpaste and Decorations
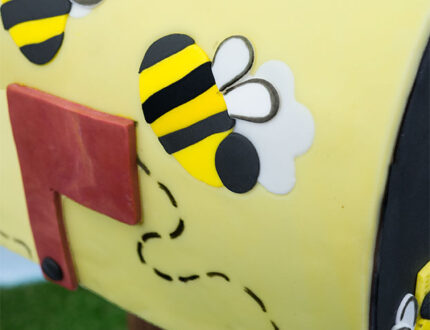
In this lesson, Mayen shows us a great way to use vinyl sheets when handling our sugarpaste, which she’ll demonstrate a little later on. Once you’ve rolled out your sugarpaste, use the plastic sheets to keep it from going dry. Then it’s time to create the cute little bees! Mayen shows how to roll them onto yellow sugarpaste to give the impression they are part of the pattern, rather than simply stuck on.
7. Covering the Cake
In this lesson, Mayen shows her special technique to handle the sugarpaste while covering the cake. This technique prevents the sugarpaste from losing its shape or being marked by fingerprints and so on. She also show us a brilliant way to allow you to be able to manoeuvre the sugarpaste while it’s on the cake without damaging anything… even after an hour! She then goes on to cover the lid, as well as attaching the handle.
8. Finishing the Lid
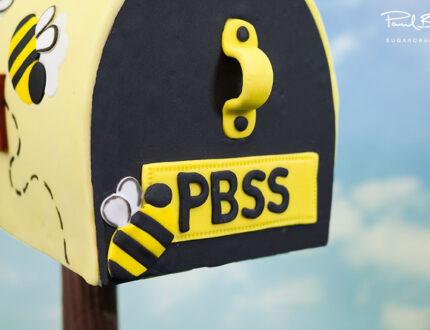
During this lesson, Mayen shows us how to finish off the lid by covering it and adding some more decorations. Here you’ll see just how beneficial it is to use vegetable fat when attaching sugarpaste decorations.
9. Finishing Touches
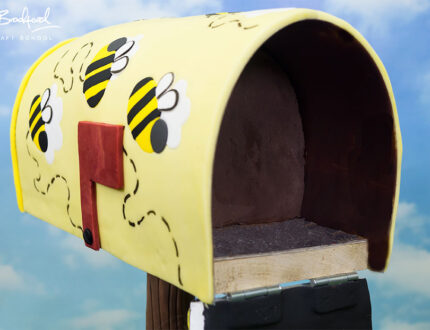
In this final lesson, Mayen shows us how to cover the dowel to create a realistic wooden pole for the post box. She then adds a couple of final little decorations to finish off the cake and gives us some ideas how to present the Post Box Gender Reveal Cake.
10. Other Ideas
Mayen shares some further ideas you can use to make this cake unique to you.
We’re sure you have some of your own ideas by now and we’d love to see your take on the Post Box Gender Reveal Cake – please share your snaps with us on our Facebook page!
11. Pro Lesson
Mayen gets down to the nitty gritty and goes into great detail about the costs involved in making this cake, as well as pricing, portions and much more. It’s vital information for any professional cake designer.
We would love to see your take on the Post Box Gender Reveal Cake – please share your snaps with us on our Facebook page as well as Mayen’s!


