Tutorial Preview
Highlights
Here, we’ve carefully selected the key parts from the entire tutorial and condensed it into a 10 min long video. More than enough to get you started without taking too much time.
1. Preparing the cake
In this lesson, Paul cuts out sections form 10” round chocolate cake to make up the body. It’s then onto layering the cake and of course Paul’s cake isn’t going to be eaten so you may want to add more layers by cutting each section in half again.
2. Covering the cake, board, making the legs
Now that the cake has set, Paul adds the first layer of ganache over the entire cake and then puts it back in the fridge to set. Paul shows us a quick and simple way to cover the board in one piece without having to remove the cake. Then it’s onto making the cute stripey legs.
3. Making the dress
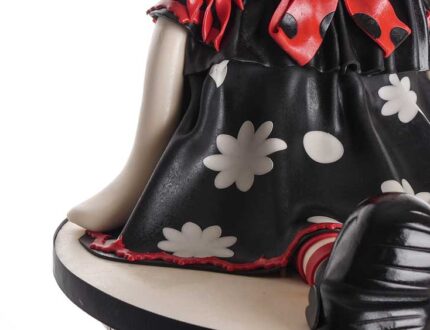
Paul has come up with a brilliant way to create the ruffles in the dress that guarantees they won’t ever go flat. We then learn a clever way to add decorations to a dress that takes no time at all.
4. Making the top of the dress
First of all, Paul adds a neck to the body. He then adds frills to continue to dress up the torso.
5. Adding the arms and detail to dress
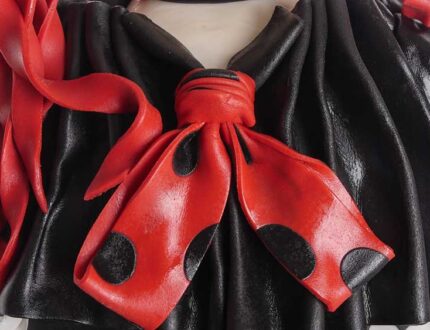
Here Paul starts by adding simple arms and then adds cute details to the dress including upper sleeves and lovely long bow.
6. Adding the shoes and starting on the head
Paul now starts on the head and he is using a dummy which is advisable otherwise it could be a bit heavy.
7. Making the head and face
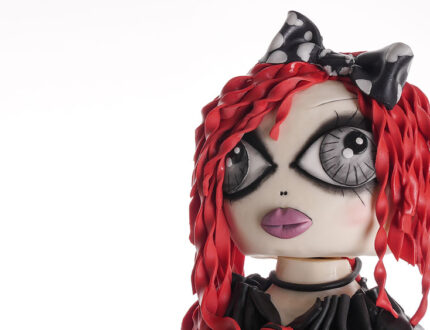
Here we see Paul turn a polystyrene ball into an adorably creepy face….if there is such a thing?. He starts off by covering it with ivory sugarpaste and then makes the eyes using very simple and quick techniques with the help of some cutters.
8. Painting the eyes
Paul now starts on the head and he is using a dummy which is advisable otherwise it could be a bit heavy. He shapes it using a carving knife and then begins to add eyes and lips.
9. Painting and dusting the face
Here Paul gets the dusts and small paintbrushes out to make large striking eyes.
10. Making the hair
As Paul starts the hair he realises that his original method is going to be a little too time consuming, which is a shame as it looks great. However, you can make the har using Paul’s first method if you have the time.
11. Finishing touches
In this final lesson, Paul makes and then adds the dolls hair before creating a lovely polka dot bow for her head. Then the final, final touch is a bit of lovely edible spray glaze. The glaze helps to make everything look better.
12. Other ideas
Paul shares some other ideas you can try out during this project. We’re sure you’ve some of your own, and we’d love to see what brilliant alterations you’ve made.
Share your pics with us on our Facebook page.
13. Pro lesson
In this lesson, Paul shares some insider information about the cost of make this cake. He also discusses pricing, portions and other vital information for any professional cake designer.
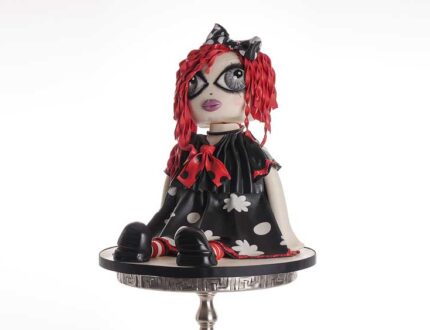
Never mind the baubles, it’s our Punk Rock Ragdoll Cake!
Learn how to make this incredible punk rock ragdoll cake with the multi-award winning Paul Bradford. An ideal design for fans of punk rock and of course… cake! This tutorial is ideal for picking up a whole host of new skills & is even suitable for beginners.
Follow this tutorial with Paul to pick up some new skills and techniques which include:
- Carving Cake
- Covering awkward shapes
- Working with ganache sugarpaste
- Modelling work
- Creating edible clothes
- Edible dusting
And much more
This tutorial is perfect for a beginner cake designer looking to try something new.


